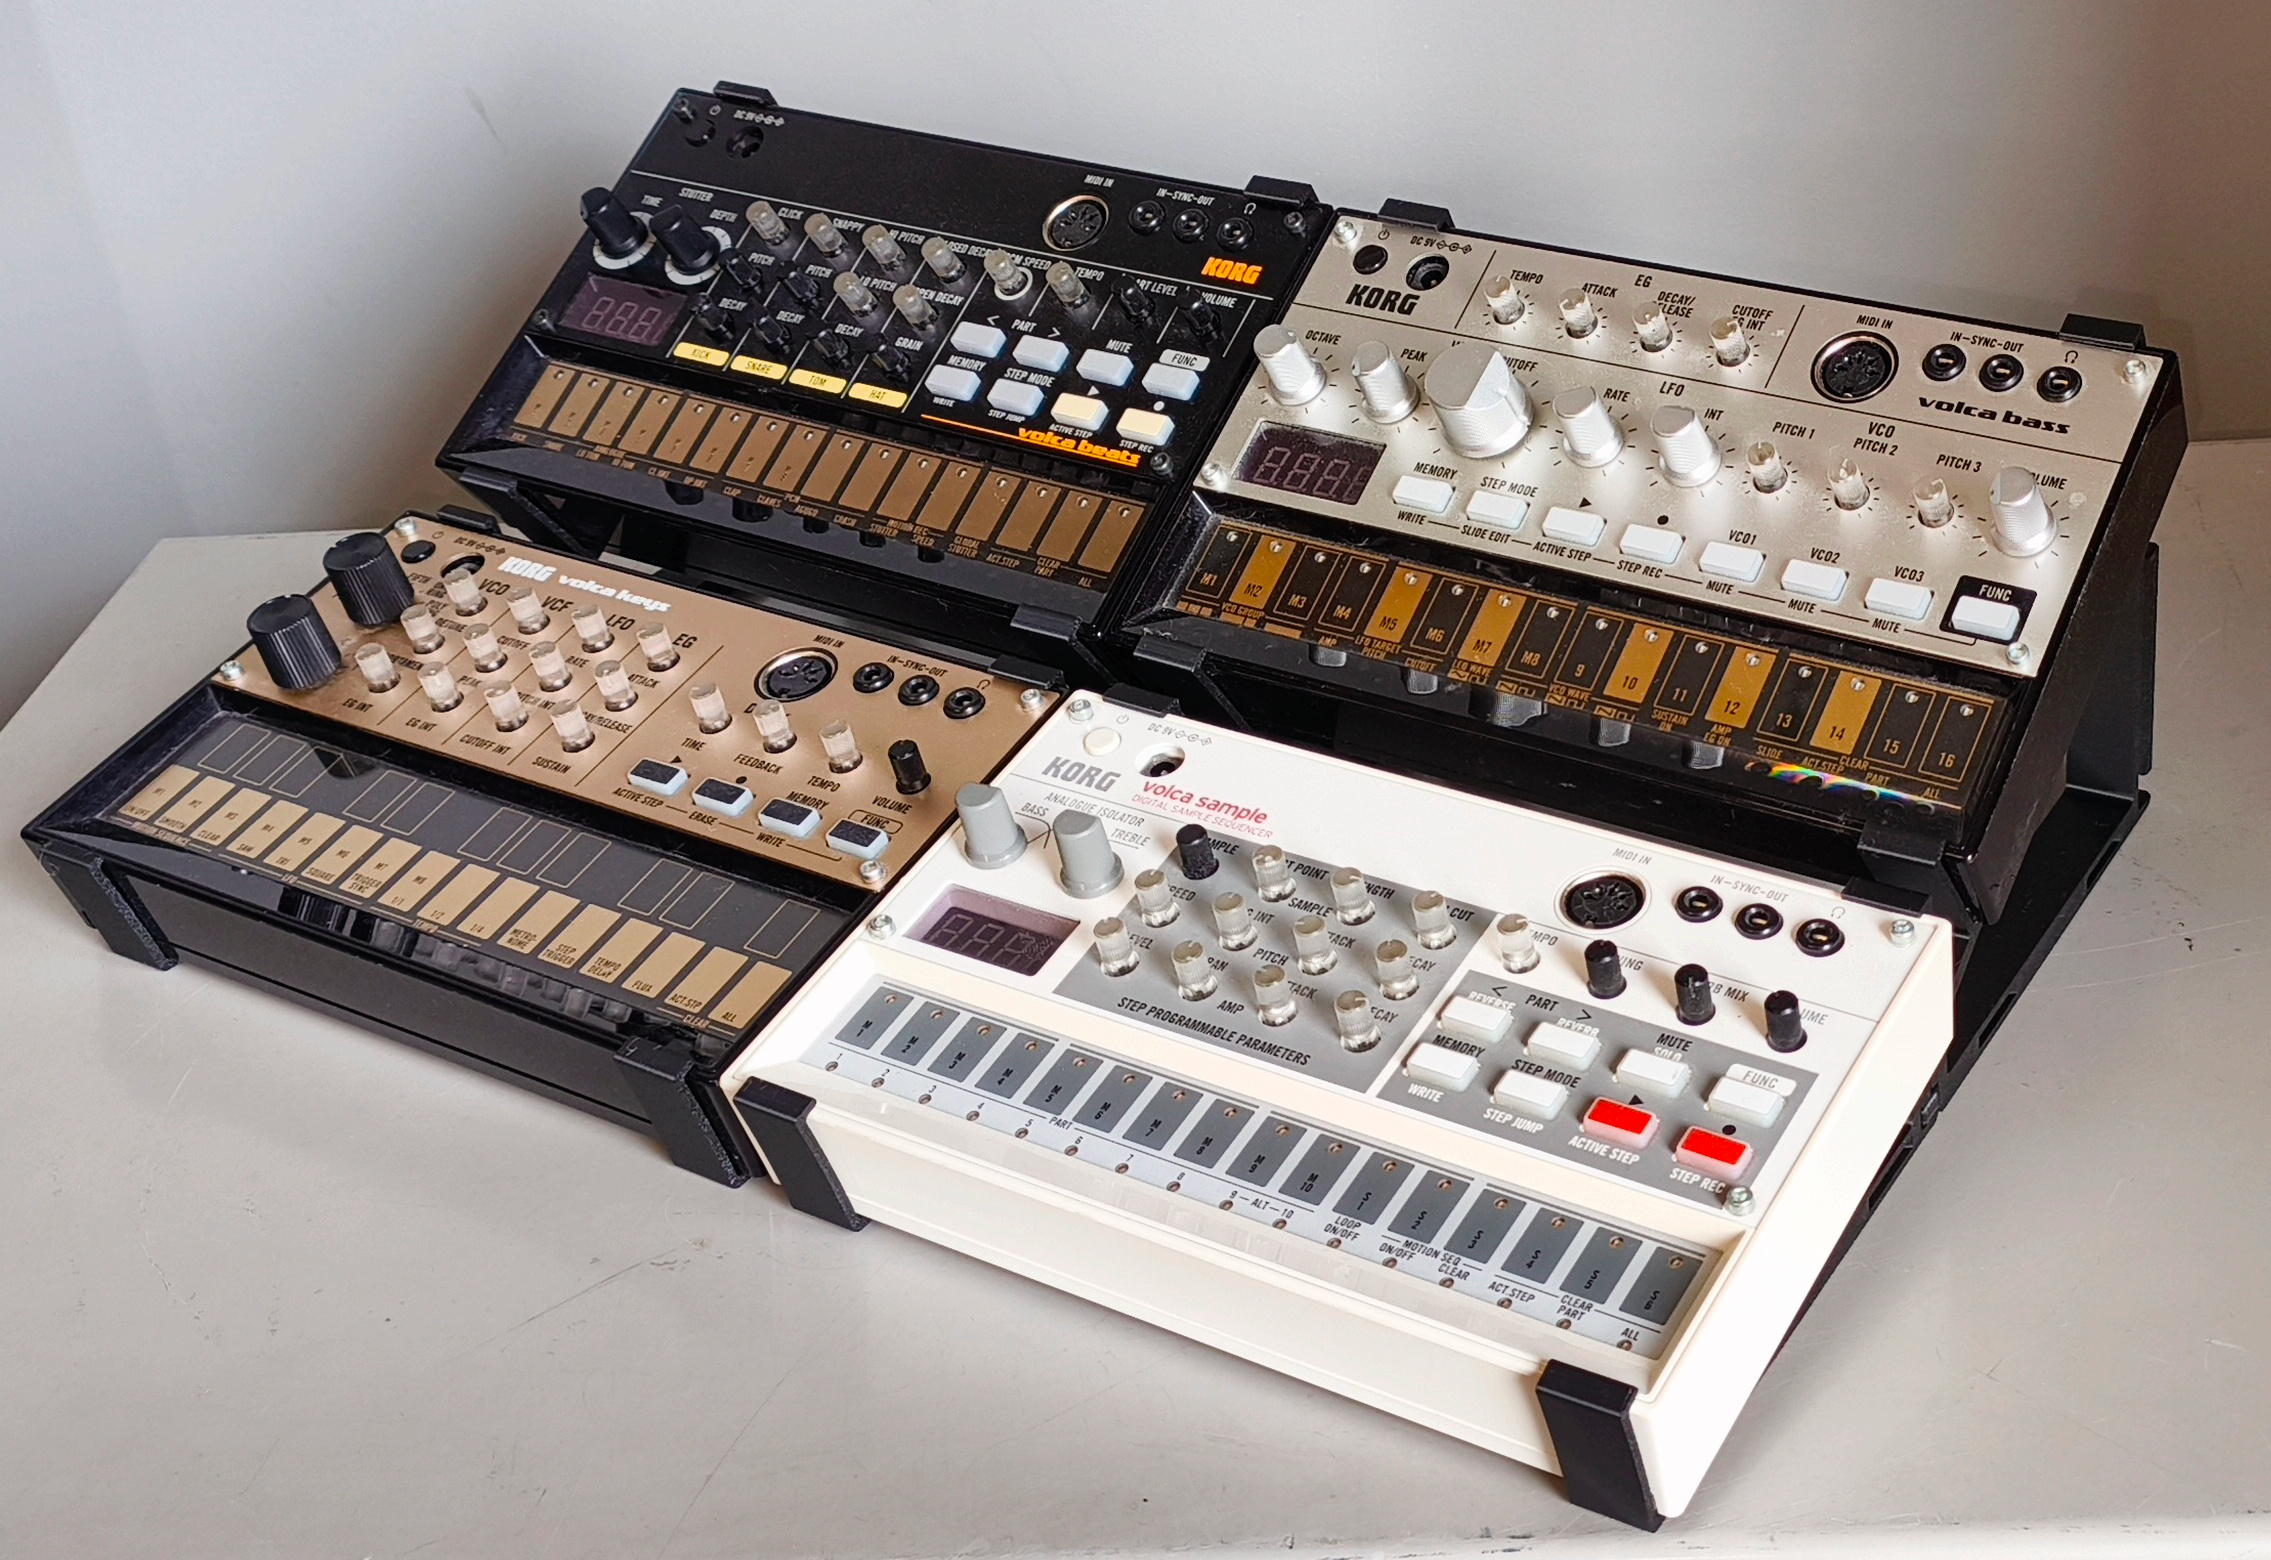
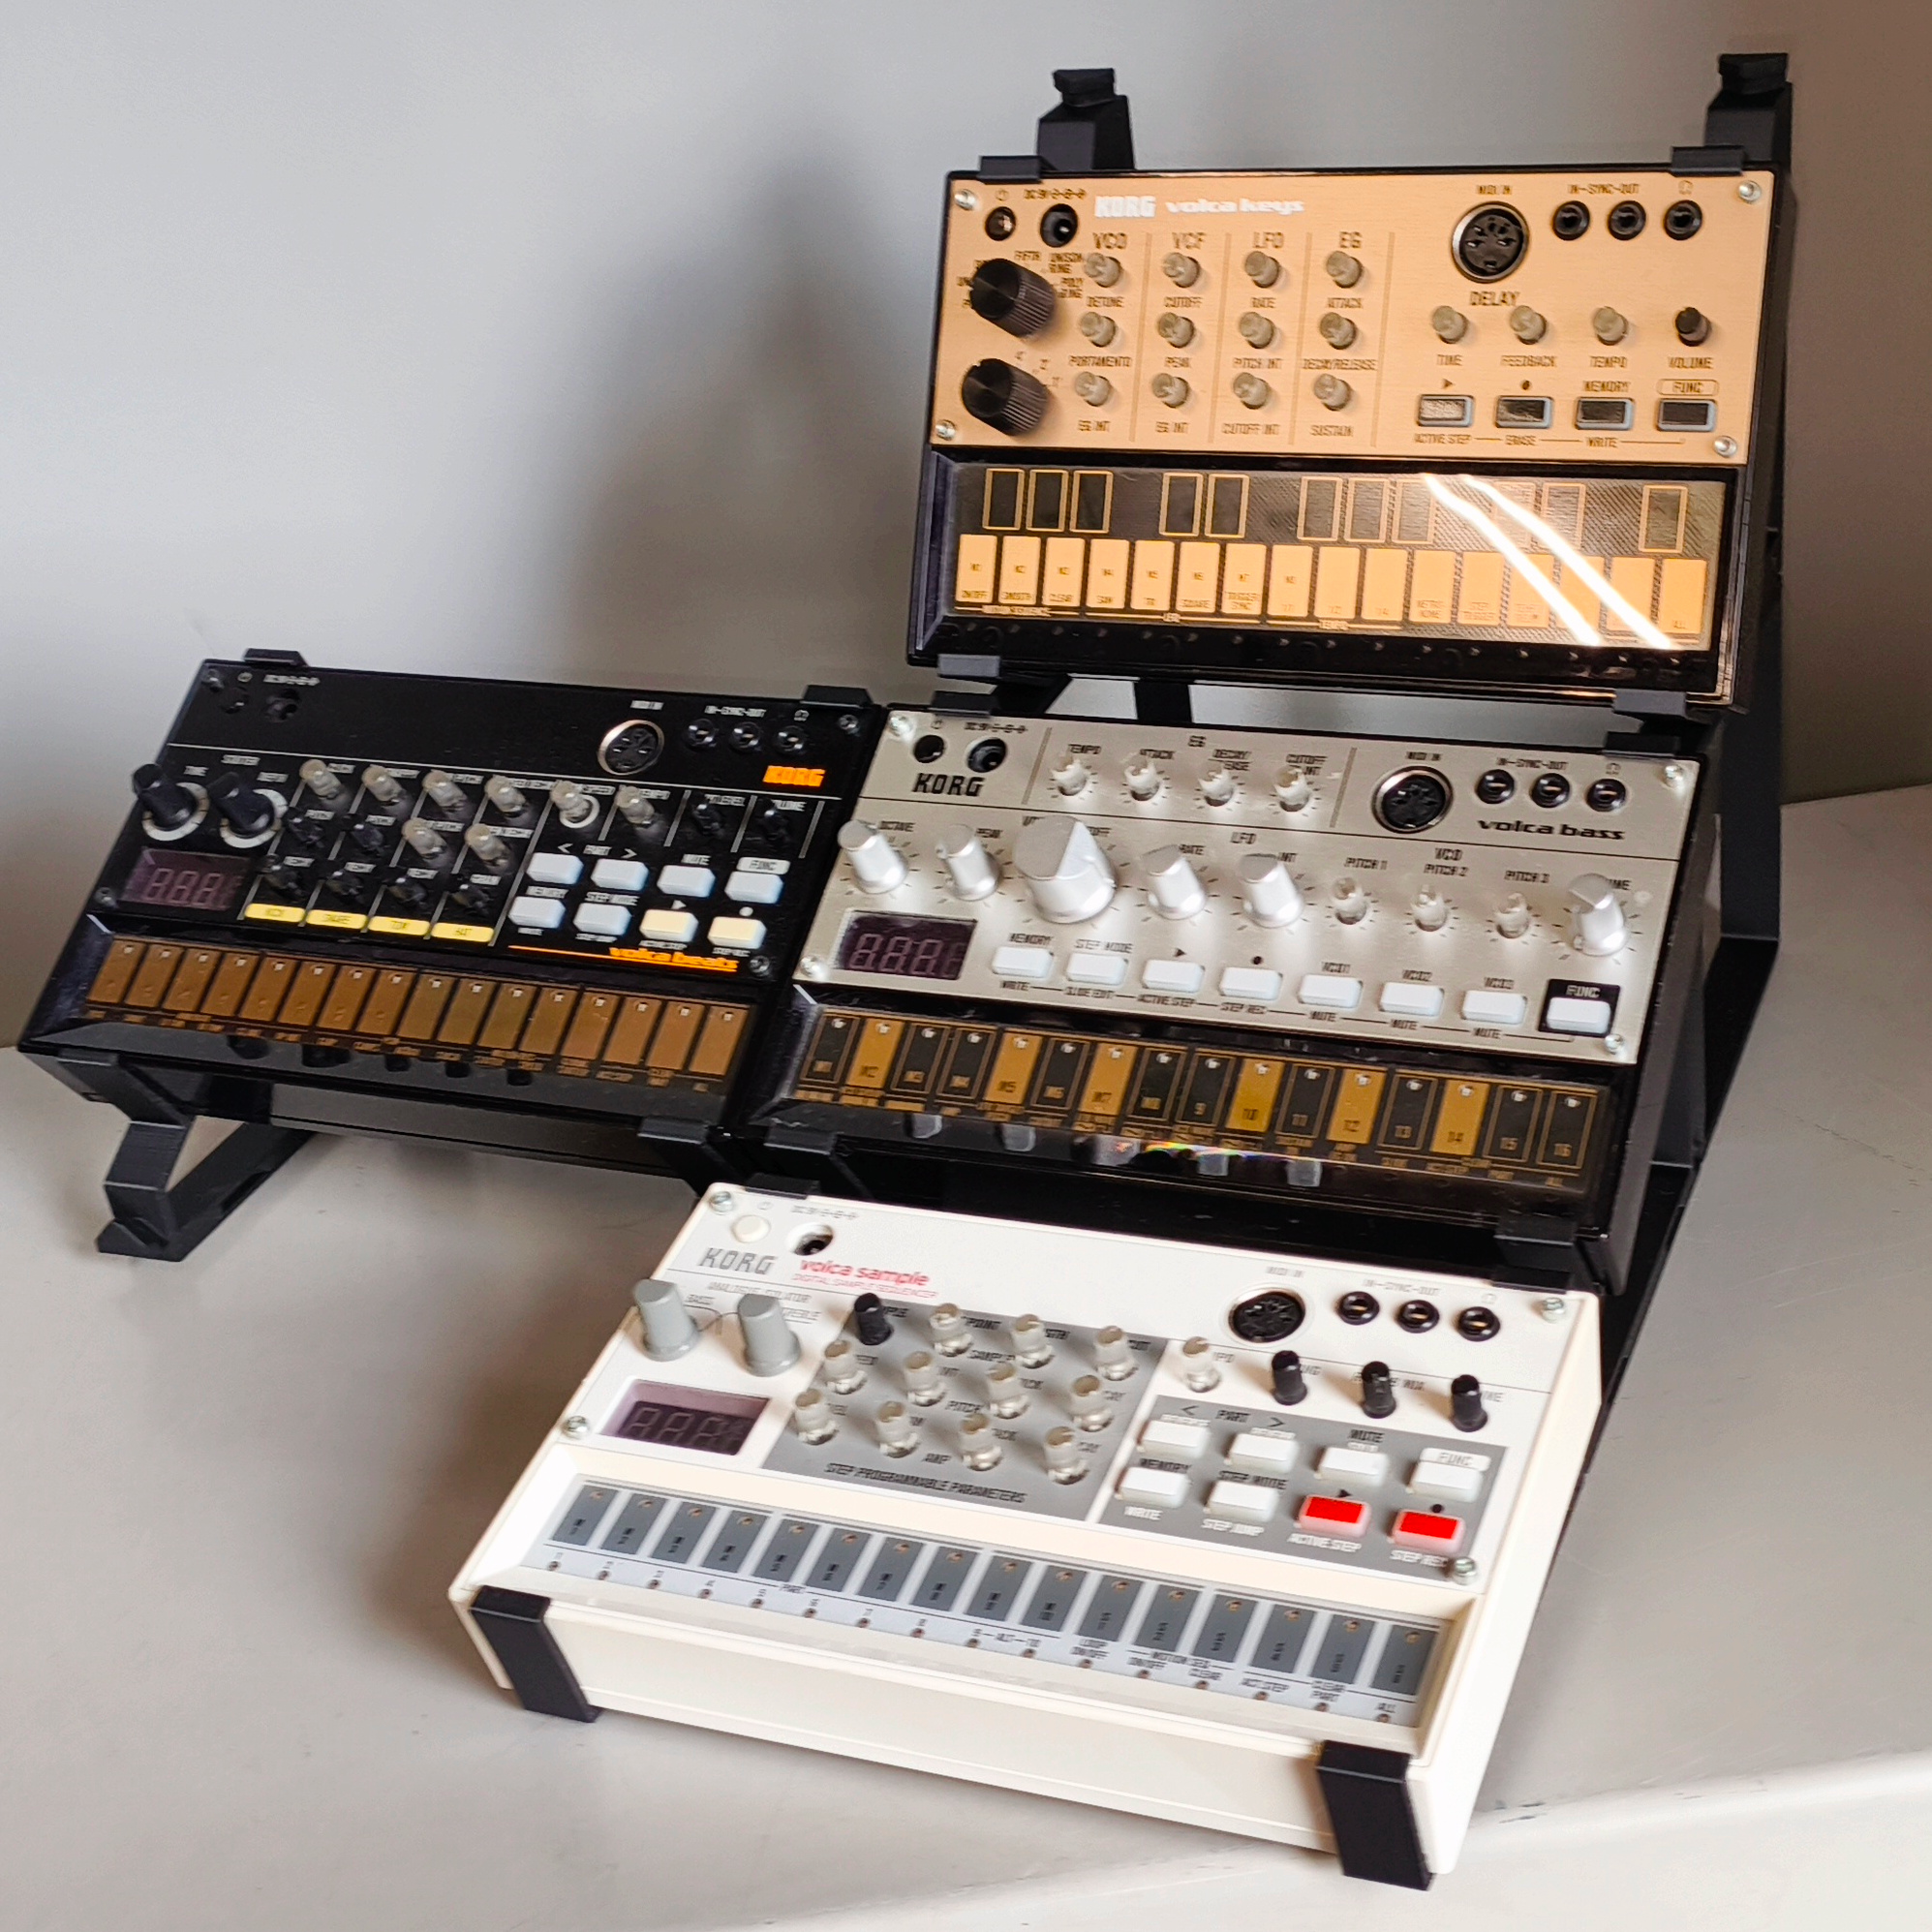
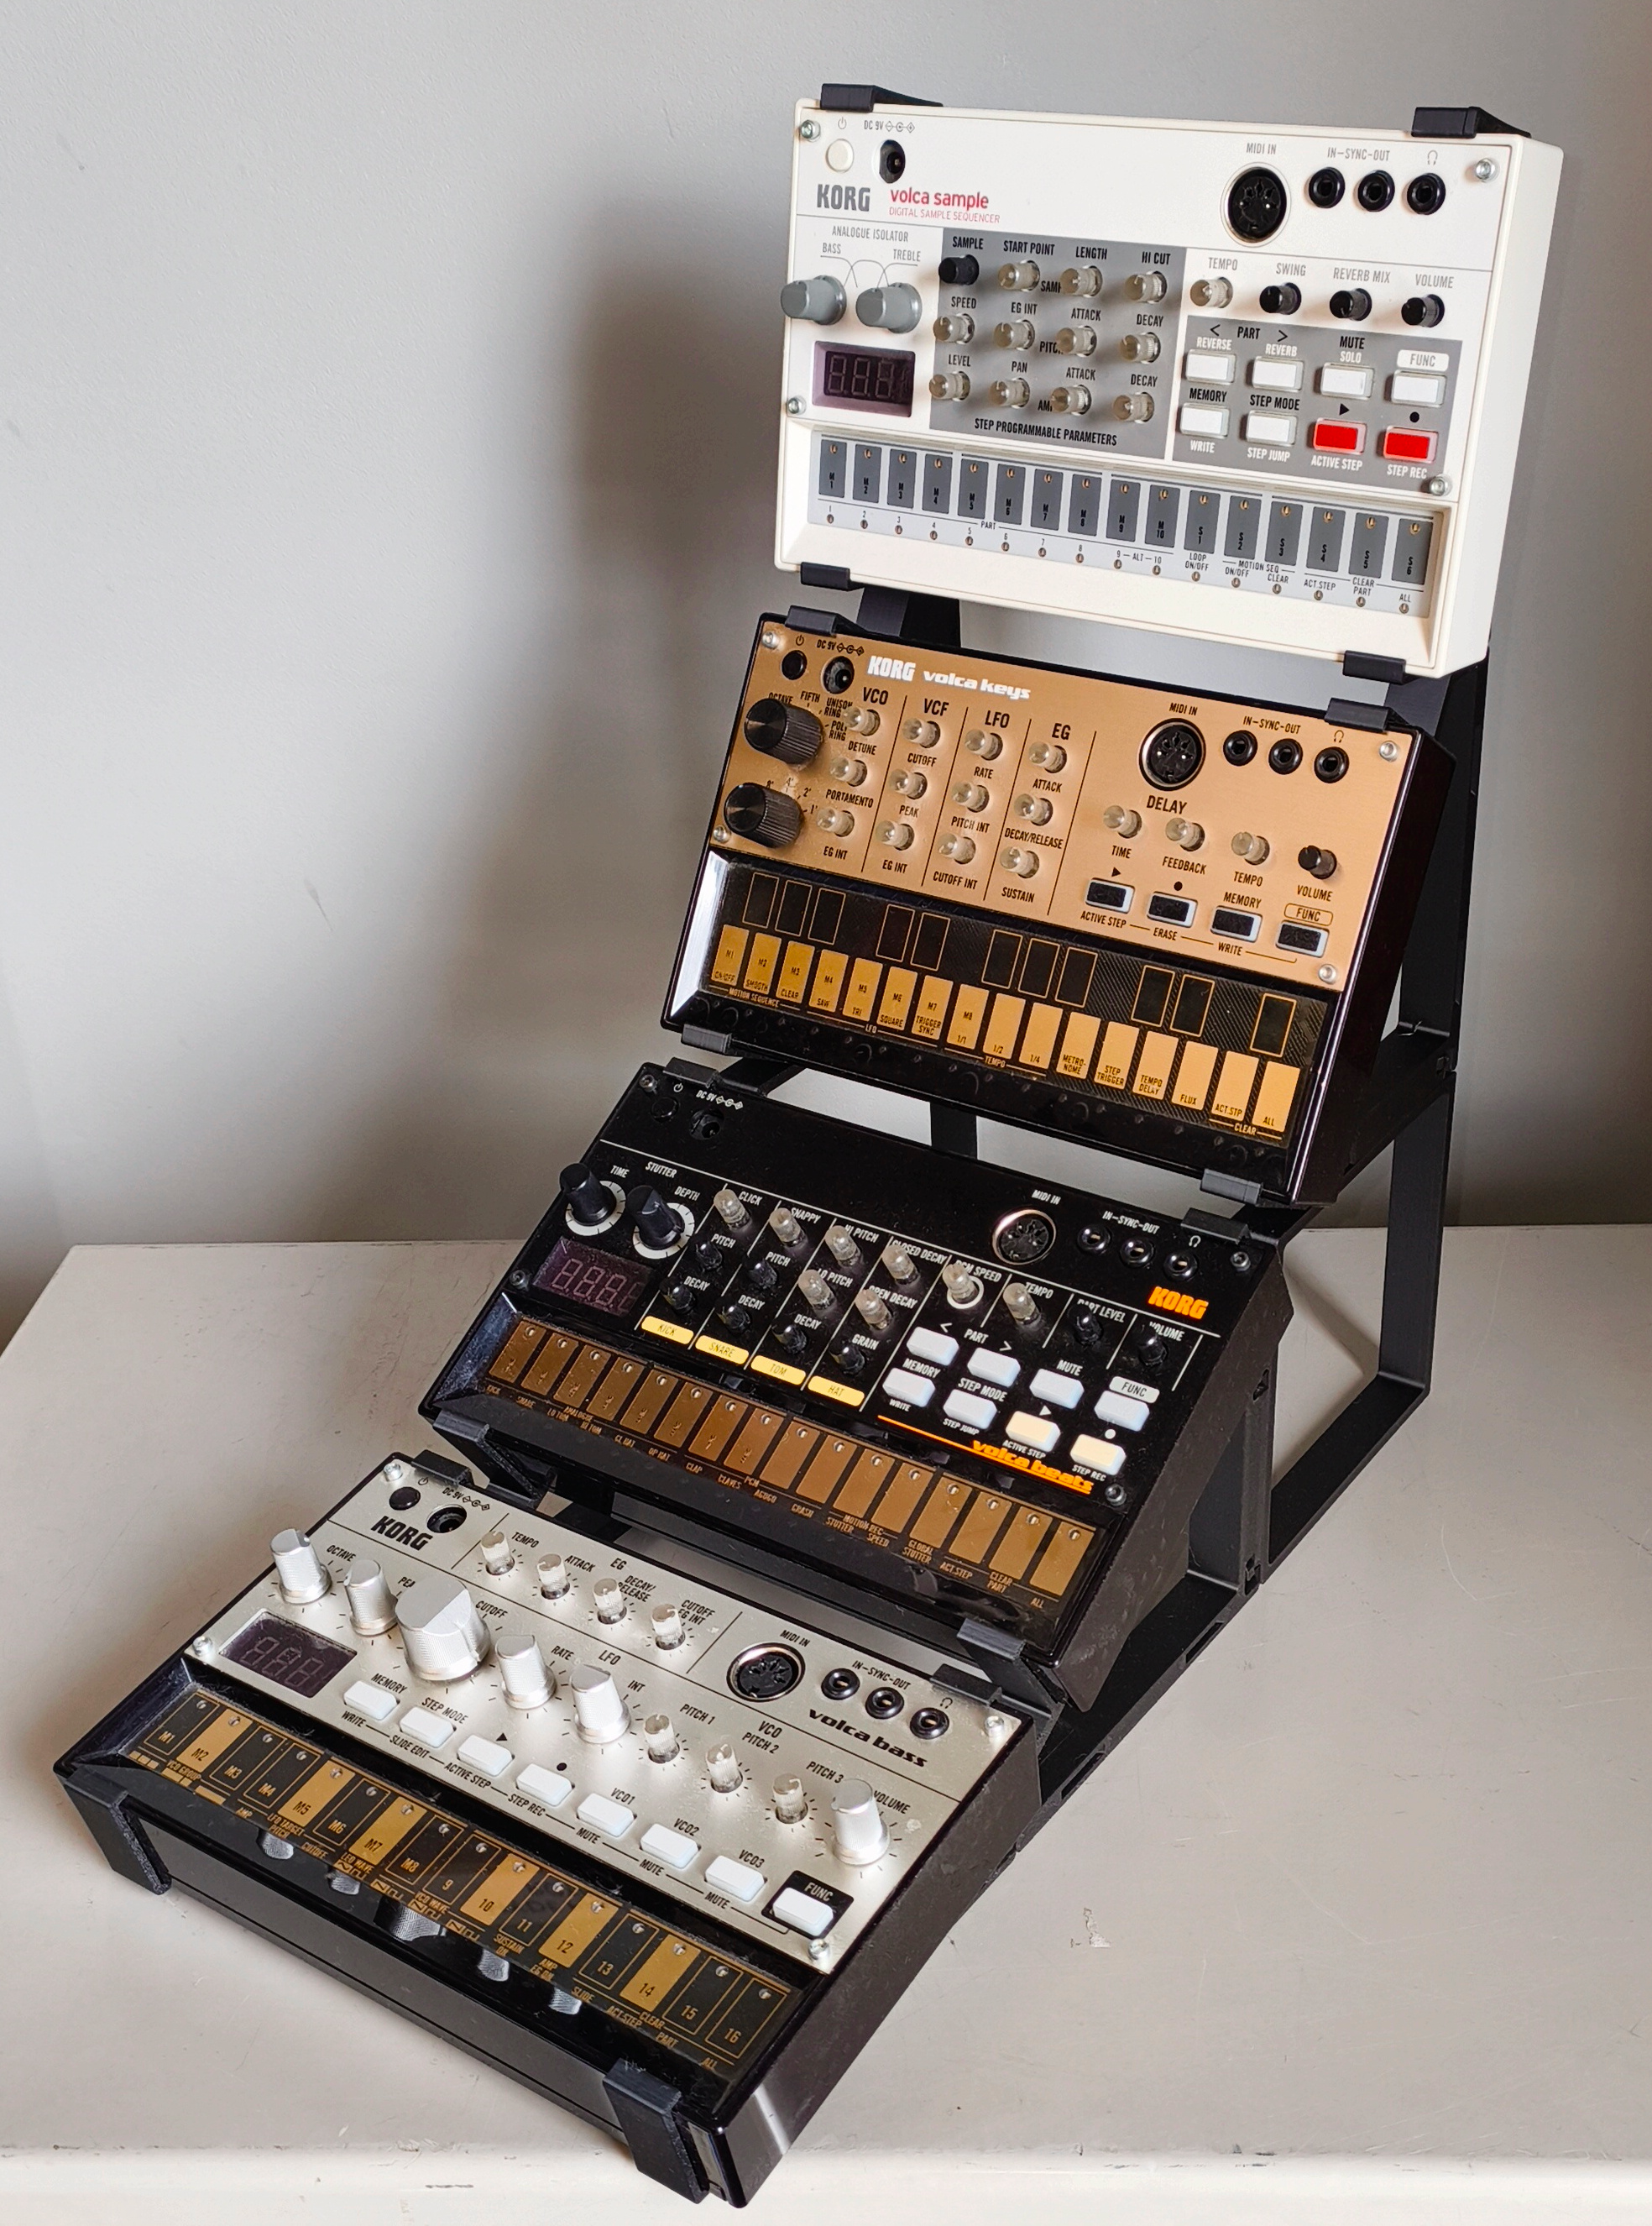
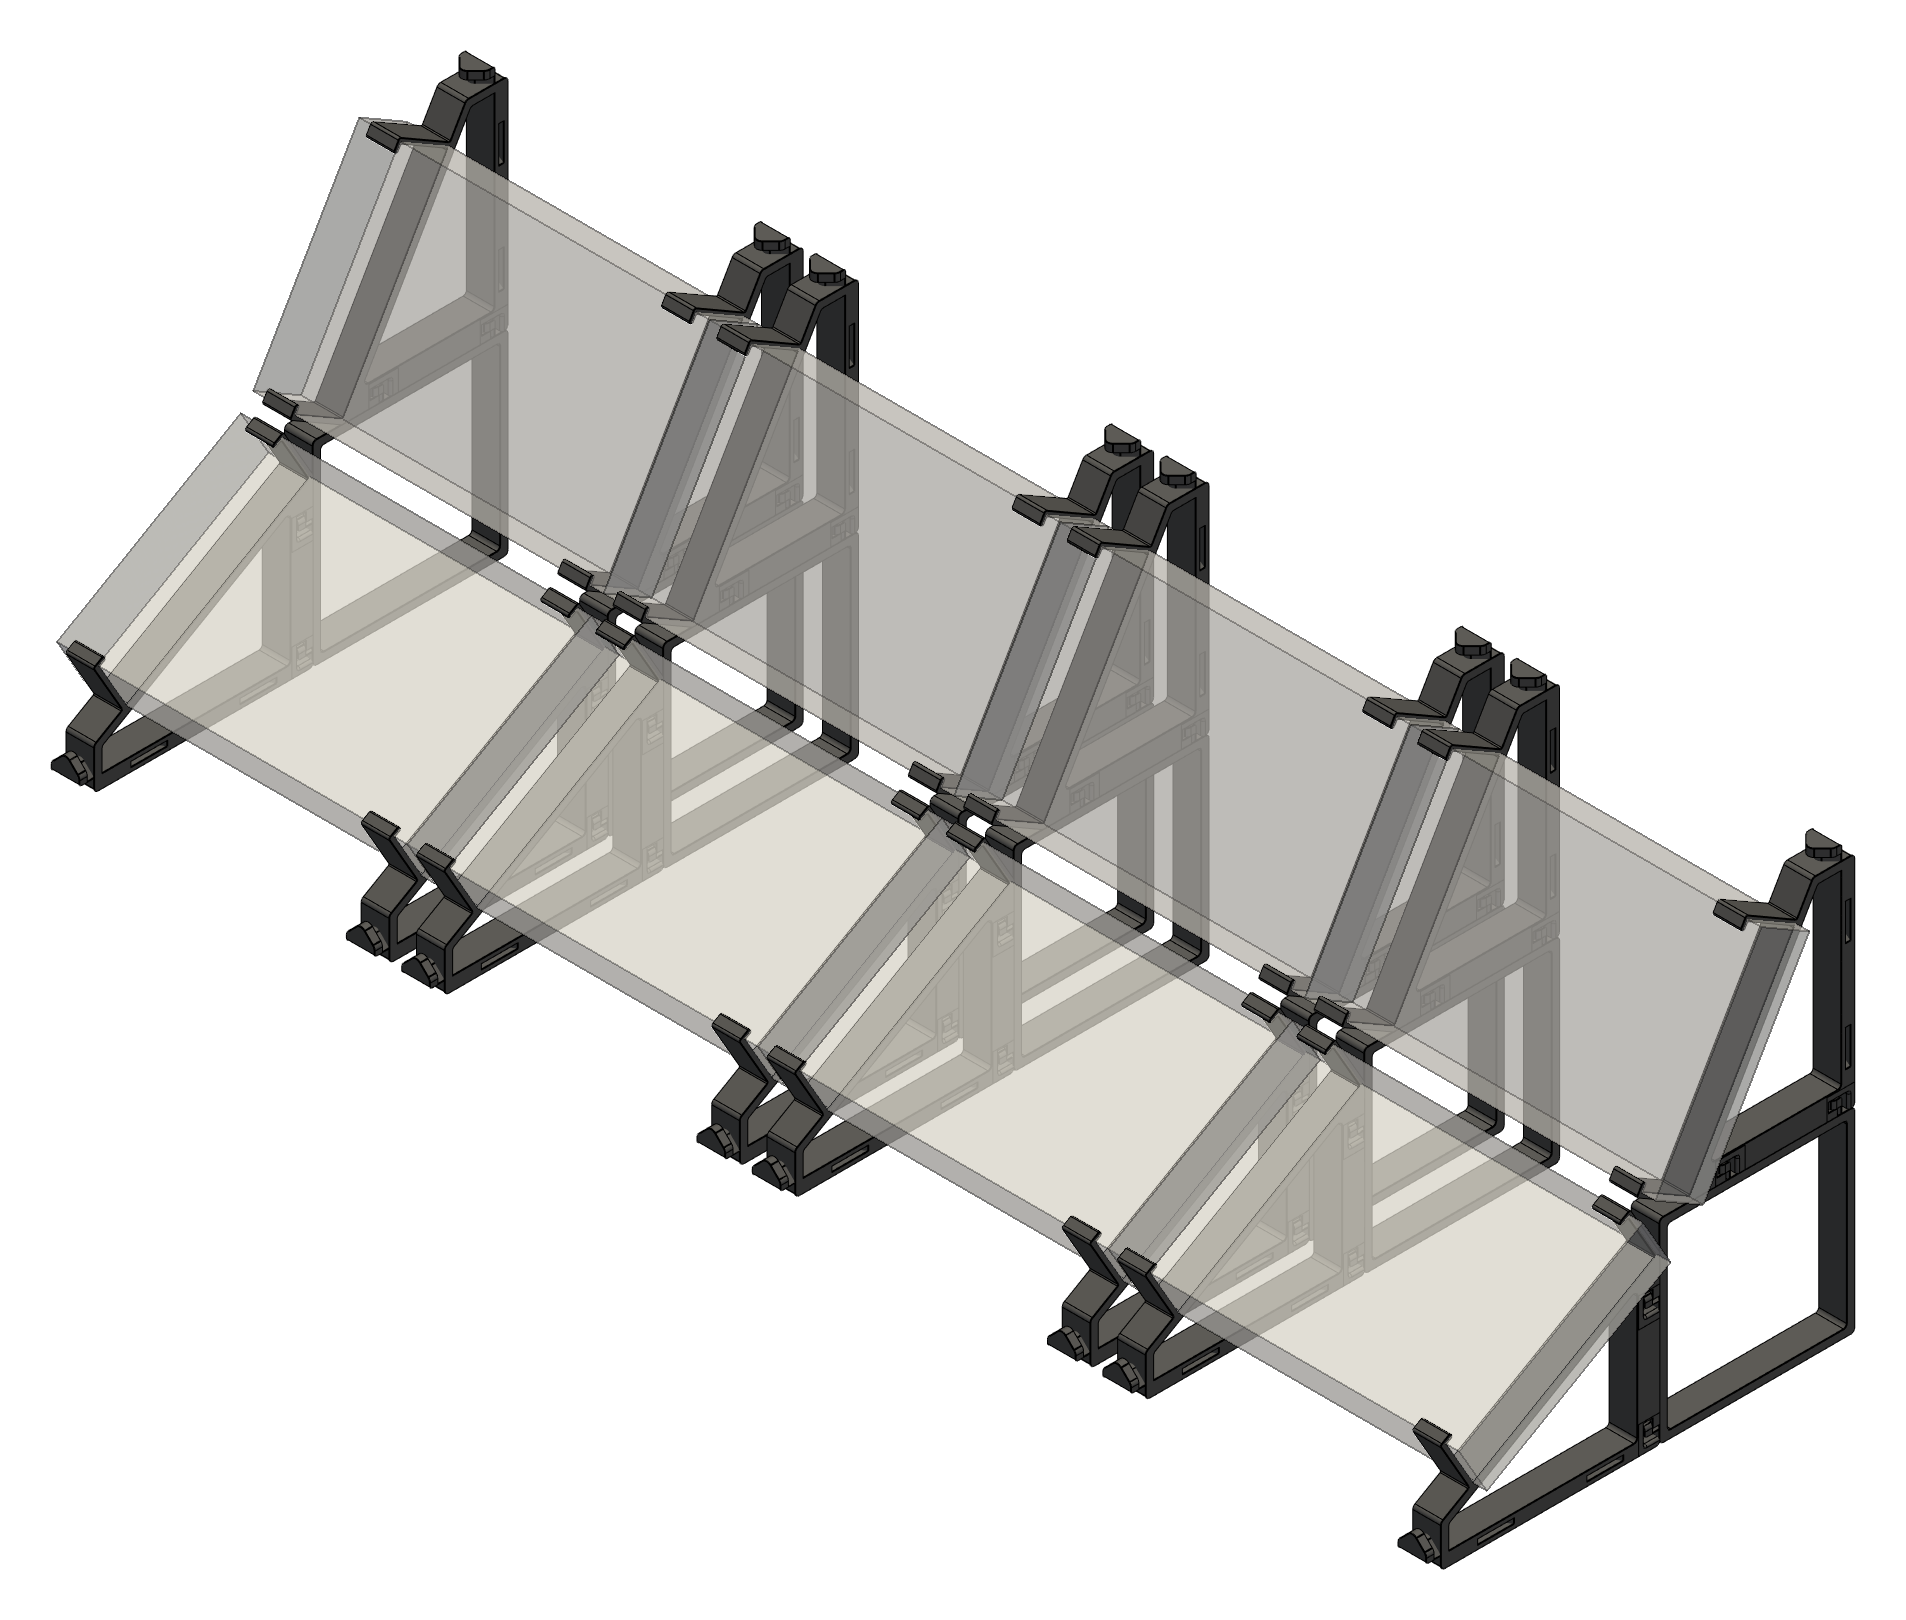
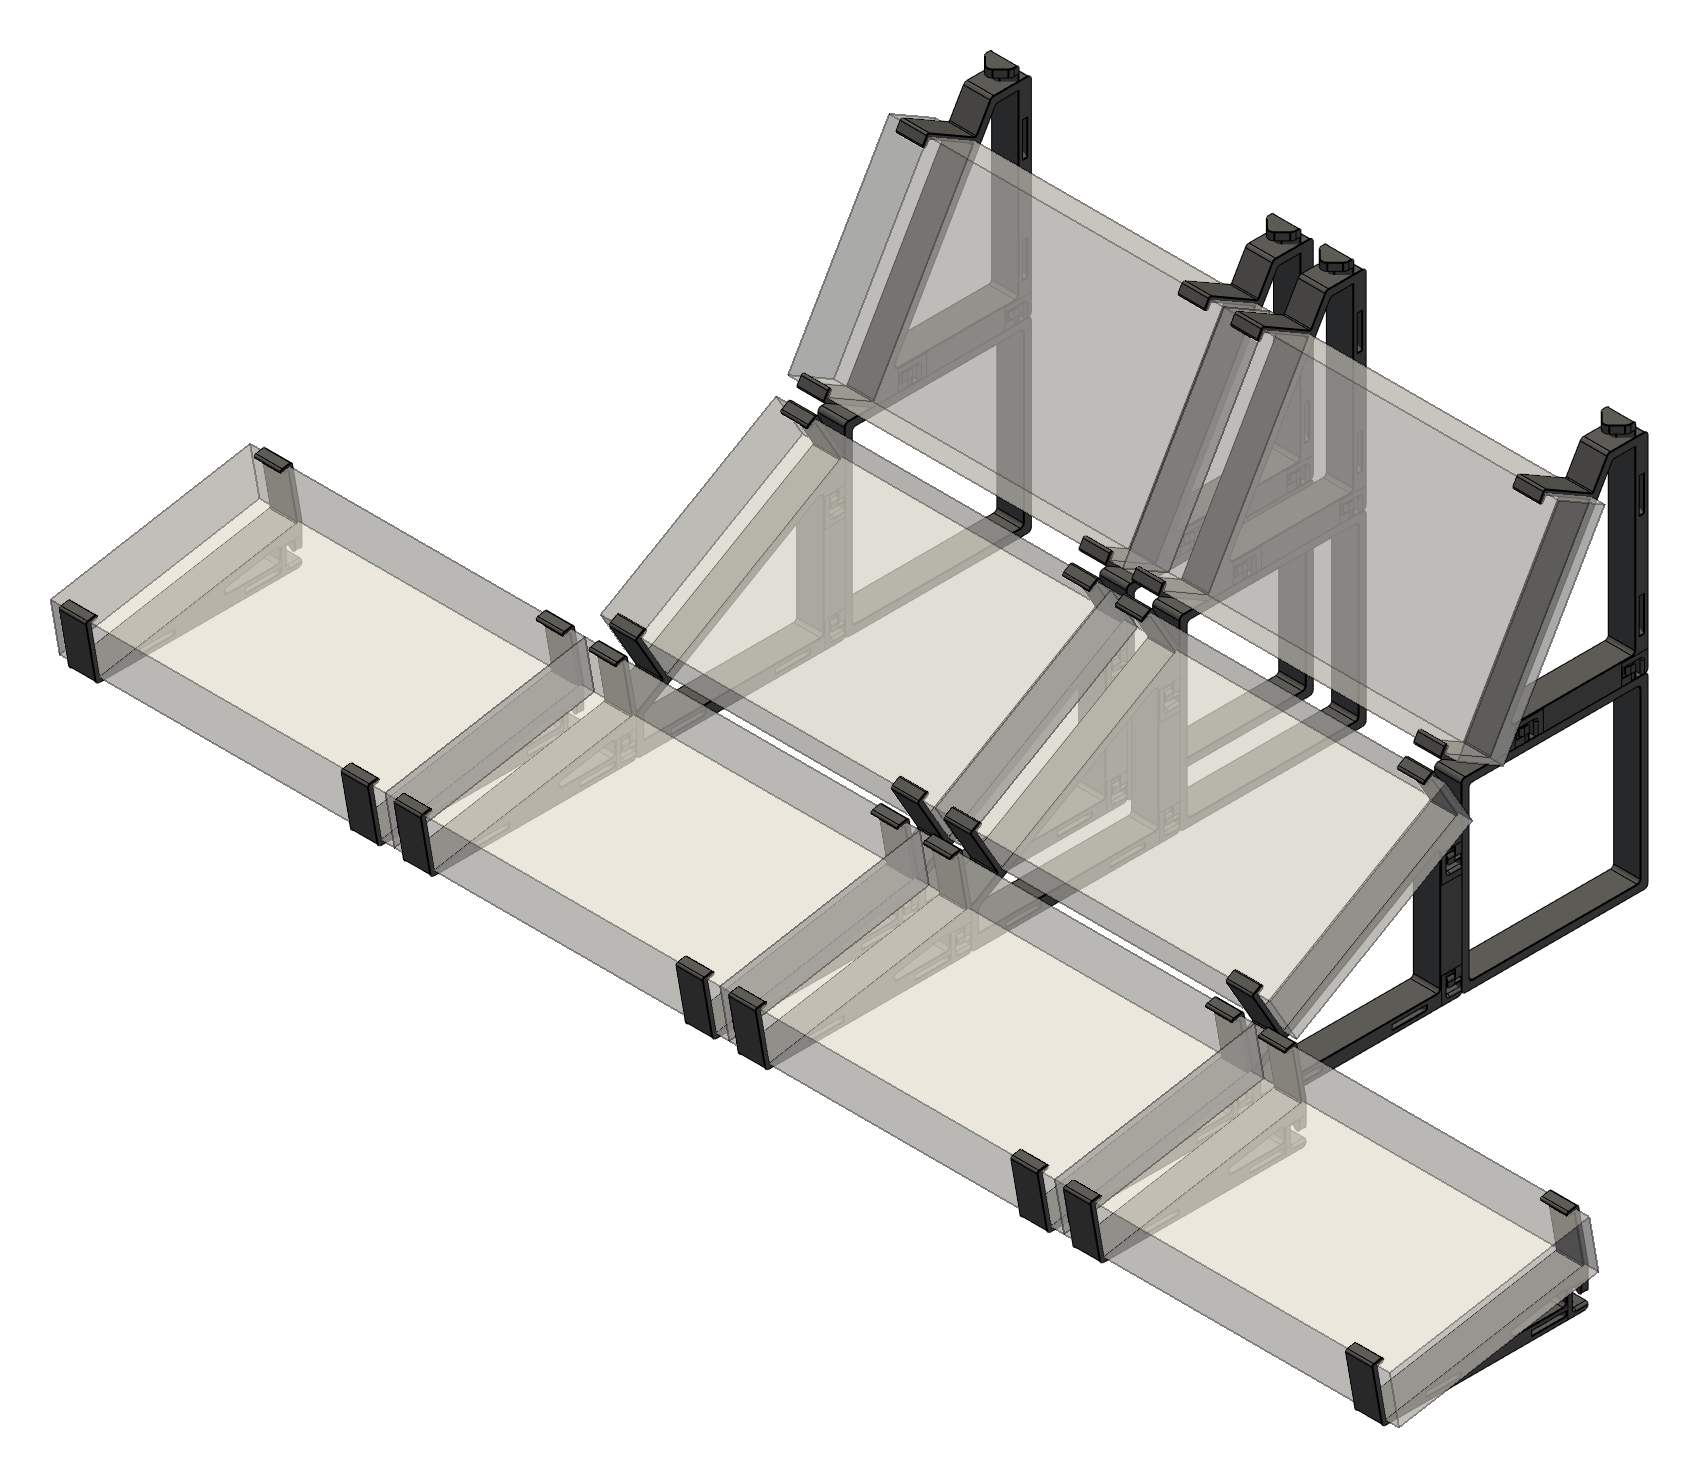
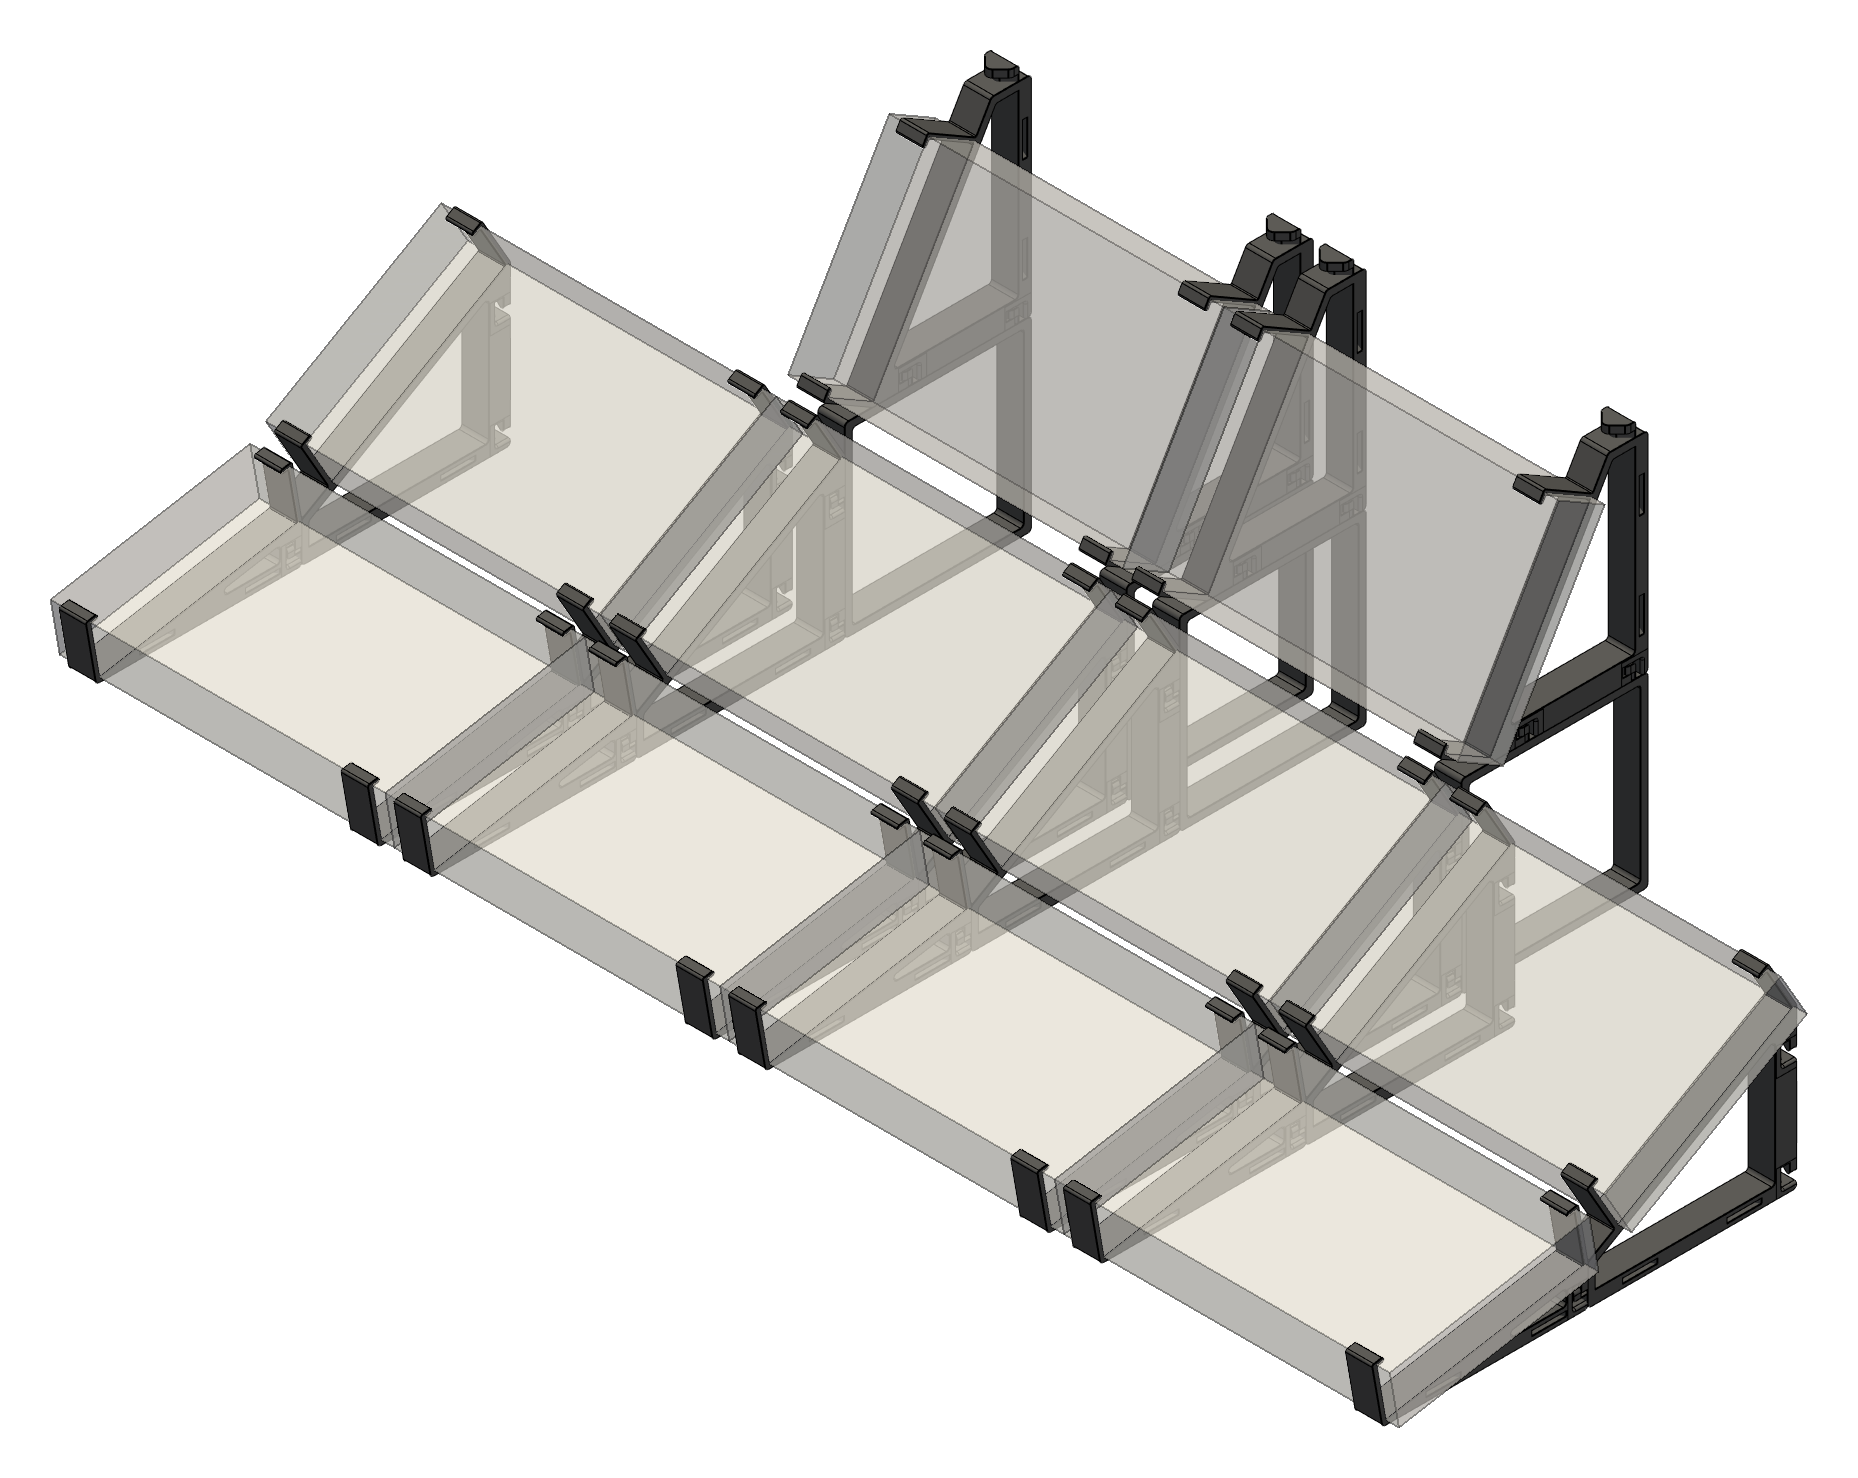
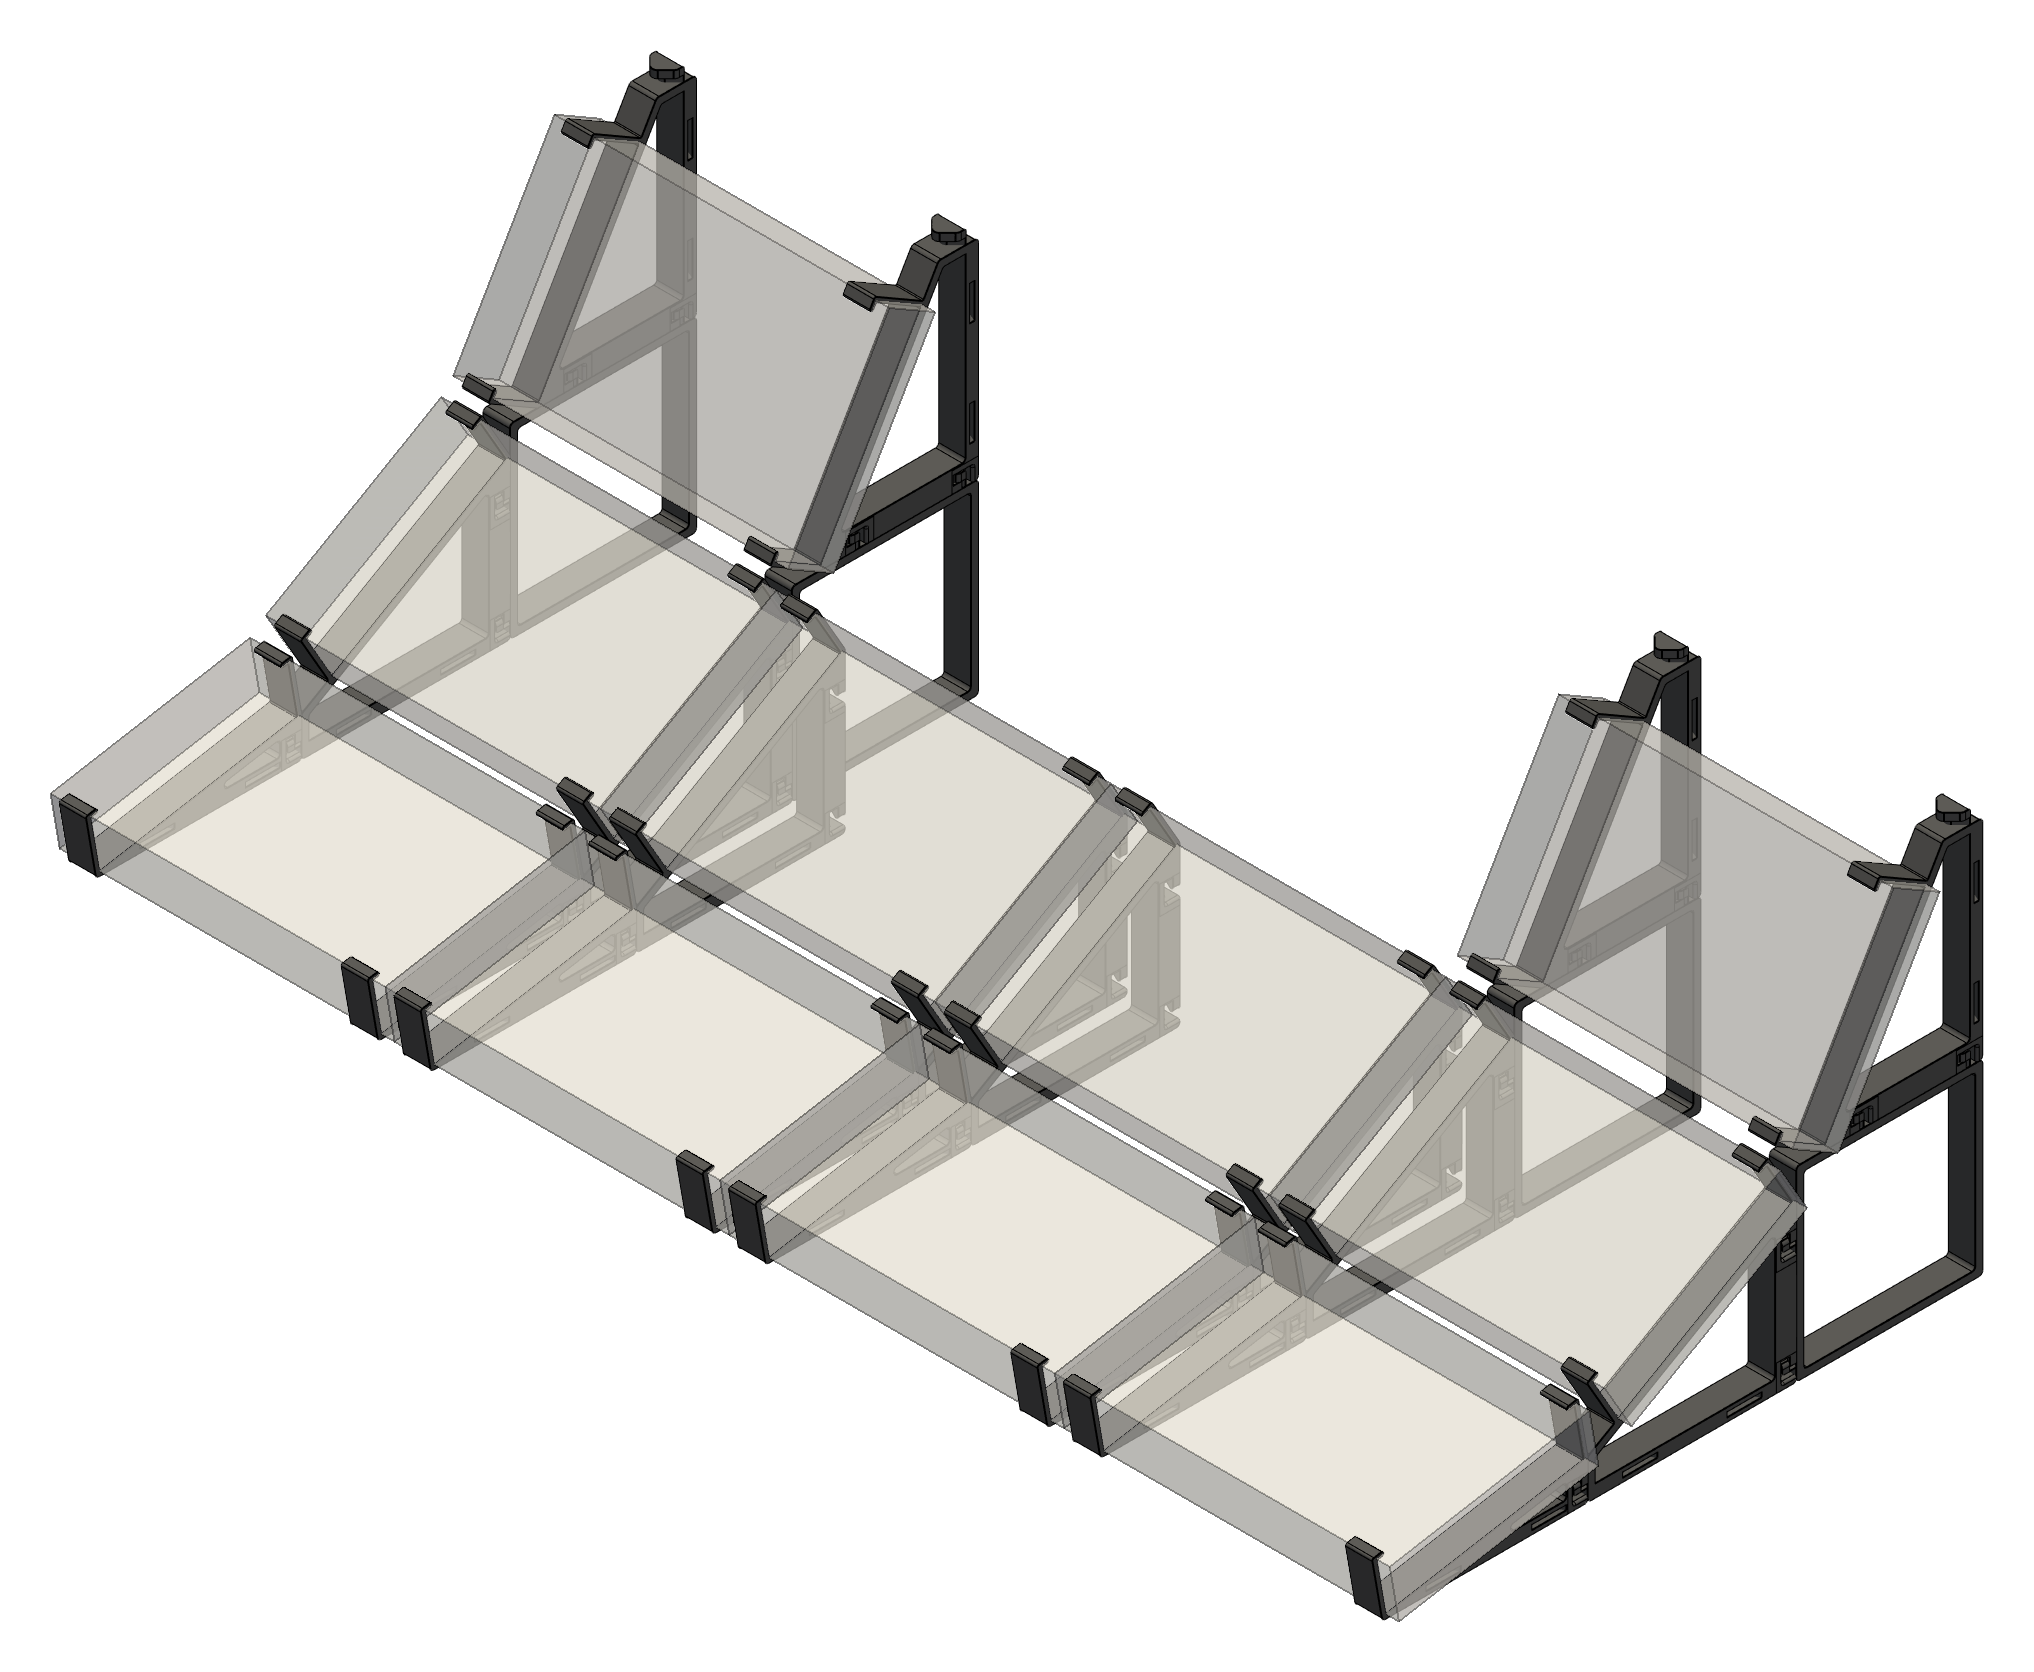
Here are some examples of setups (click for dimensions and parts list):

Custom setups and parts list
You can find, in the grid above, the most common setups from 1 to 10 Volcas. If you click on one of the setup you will get a more detailed view including the number of parts needed for the setup.
If you want to create a custom setup, here’s a description of each part and how they can be combined:
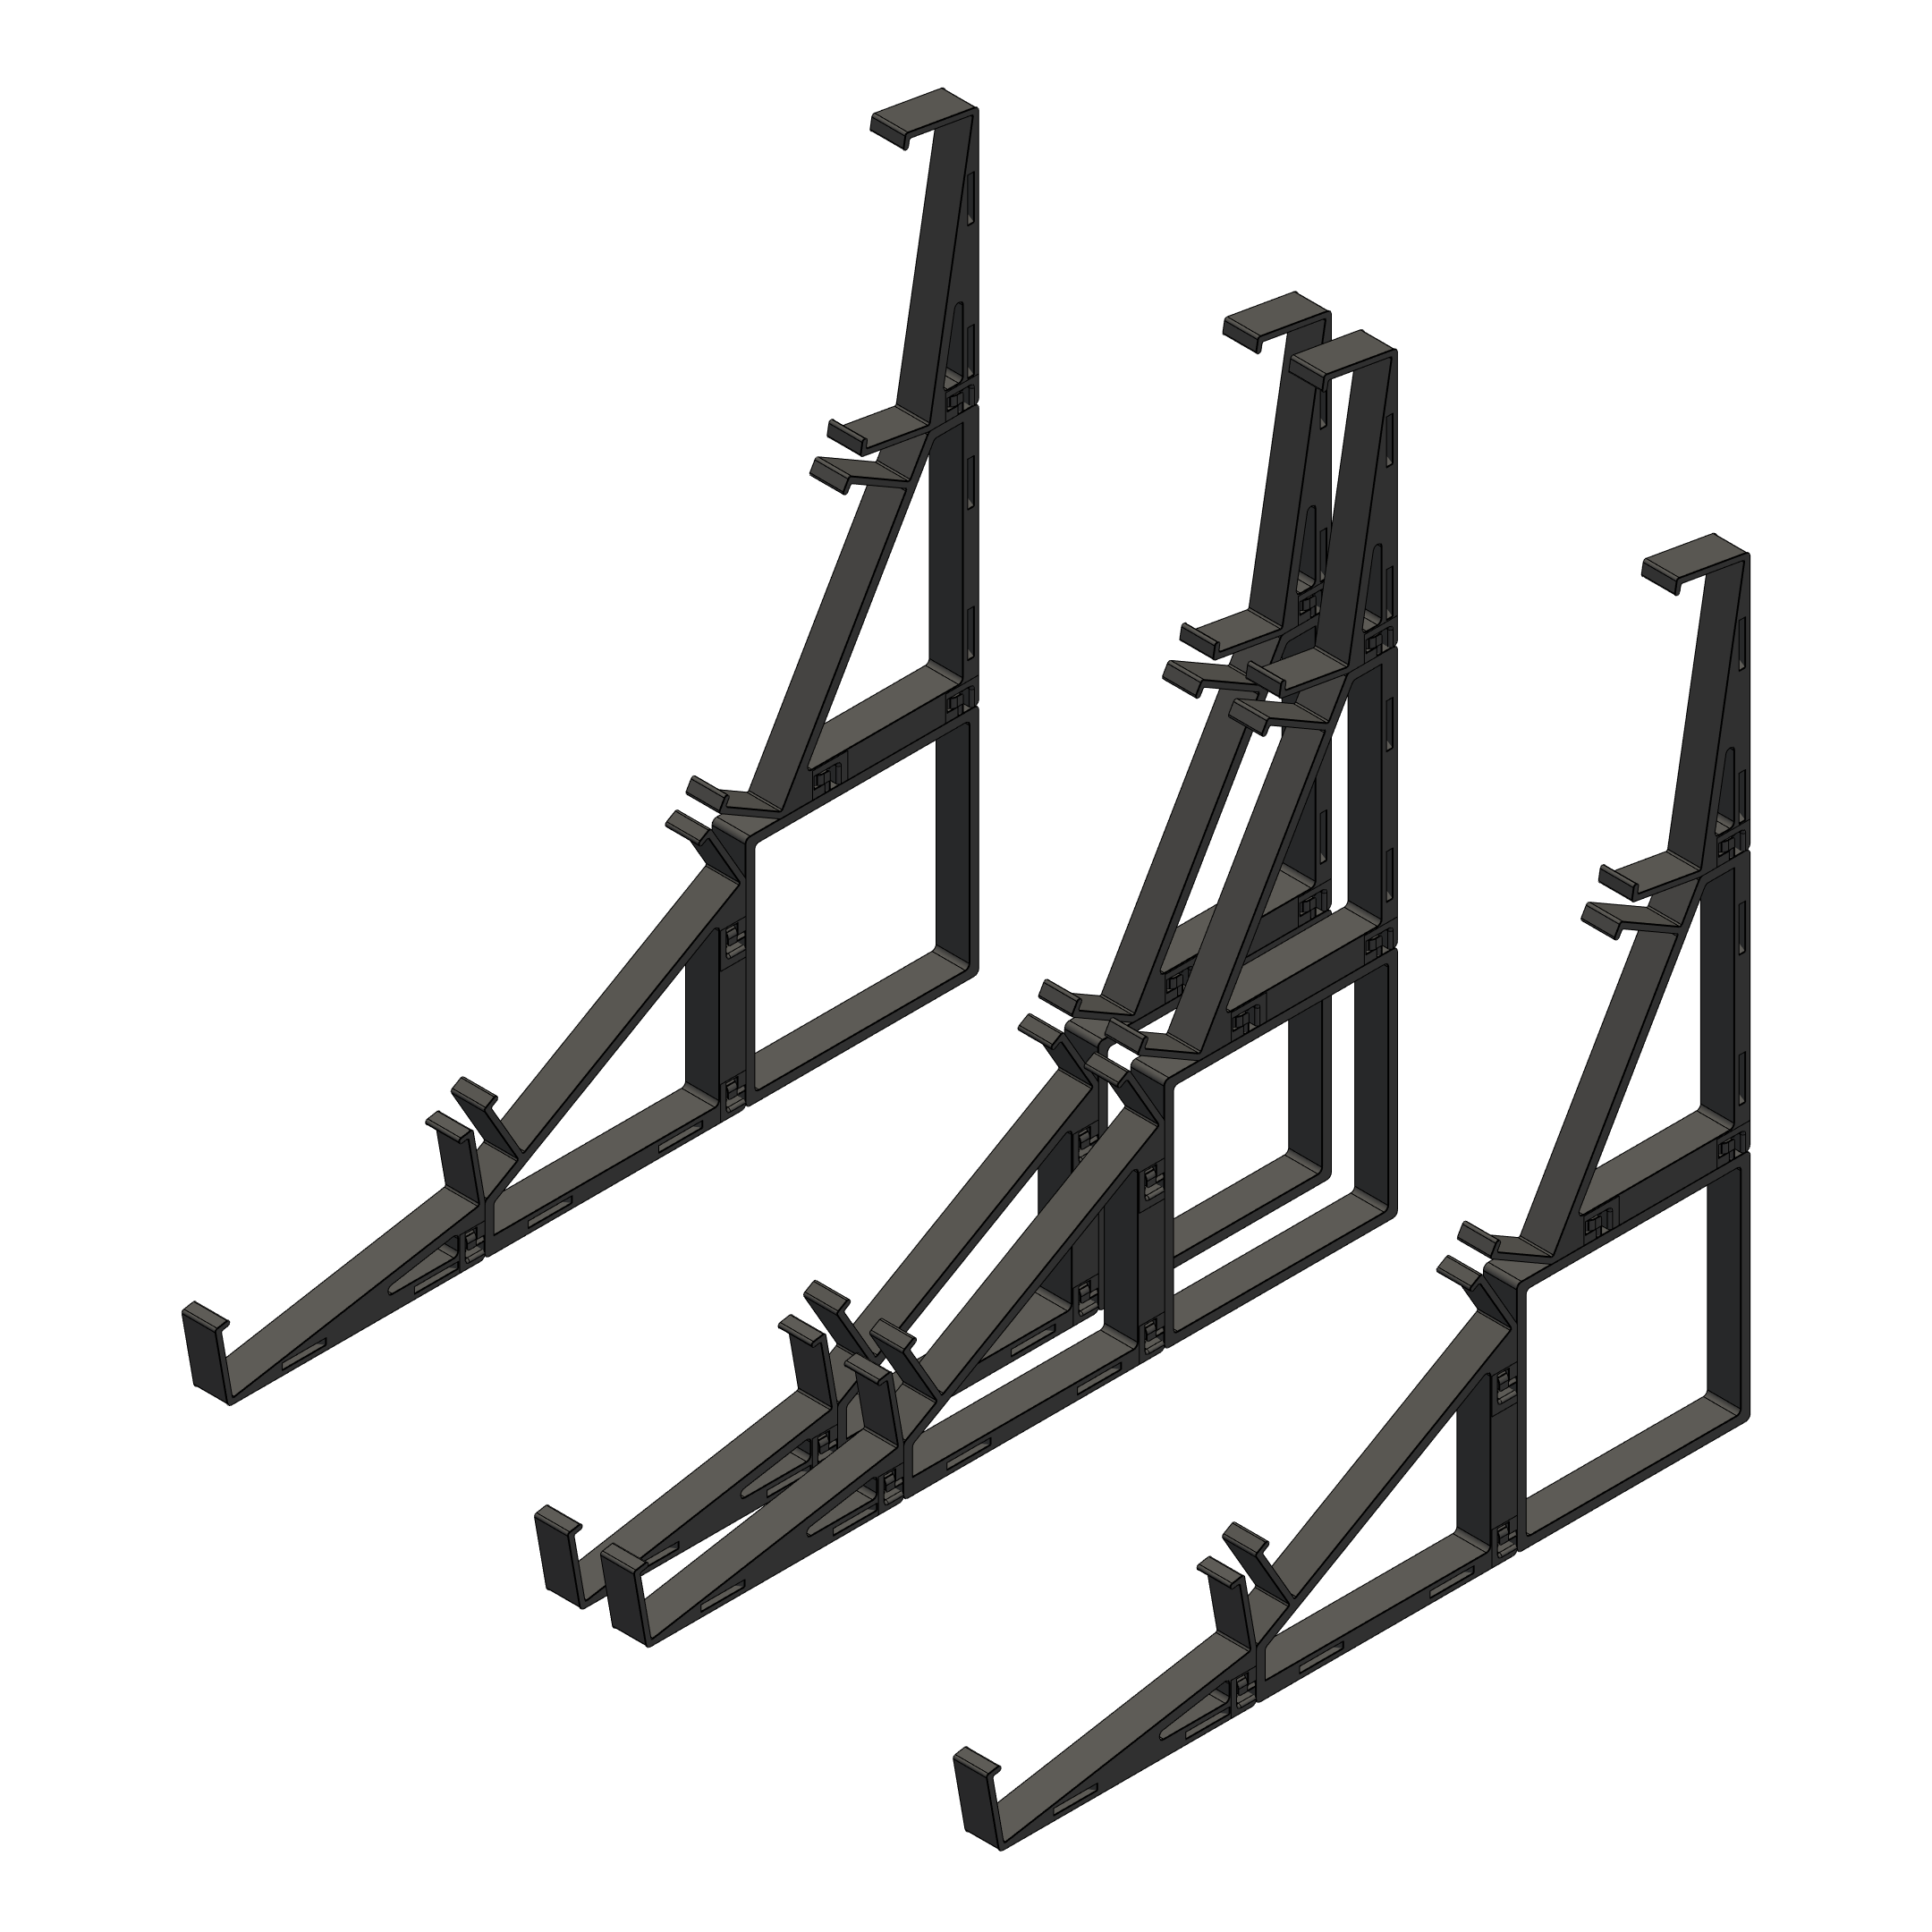
A-stand
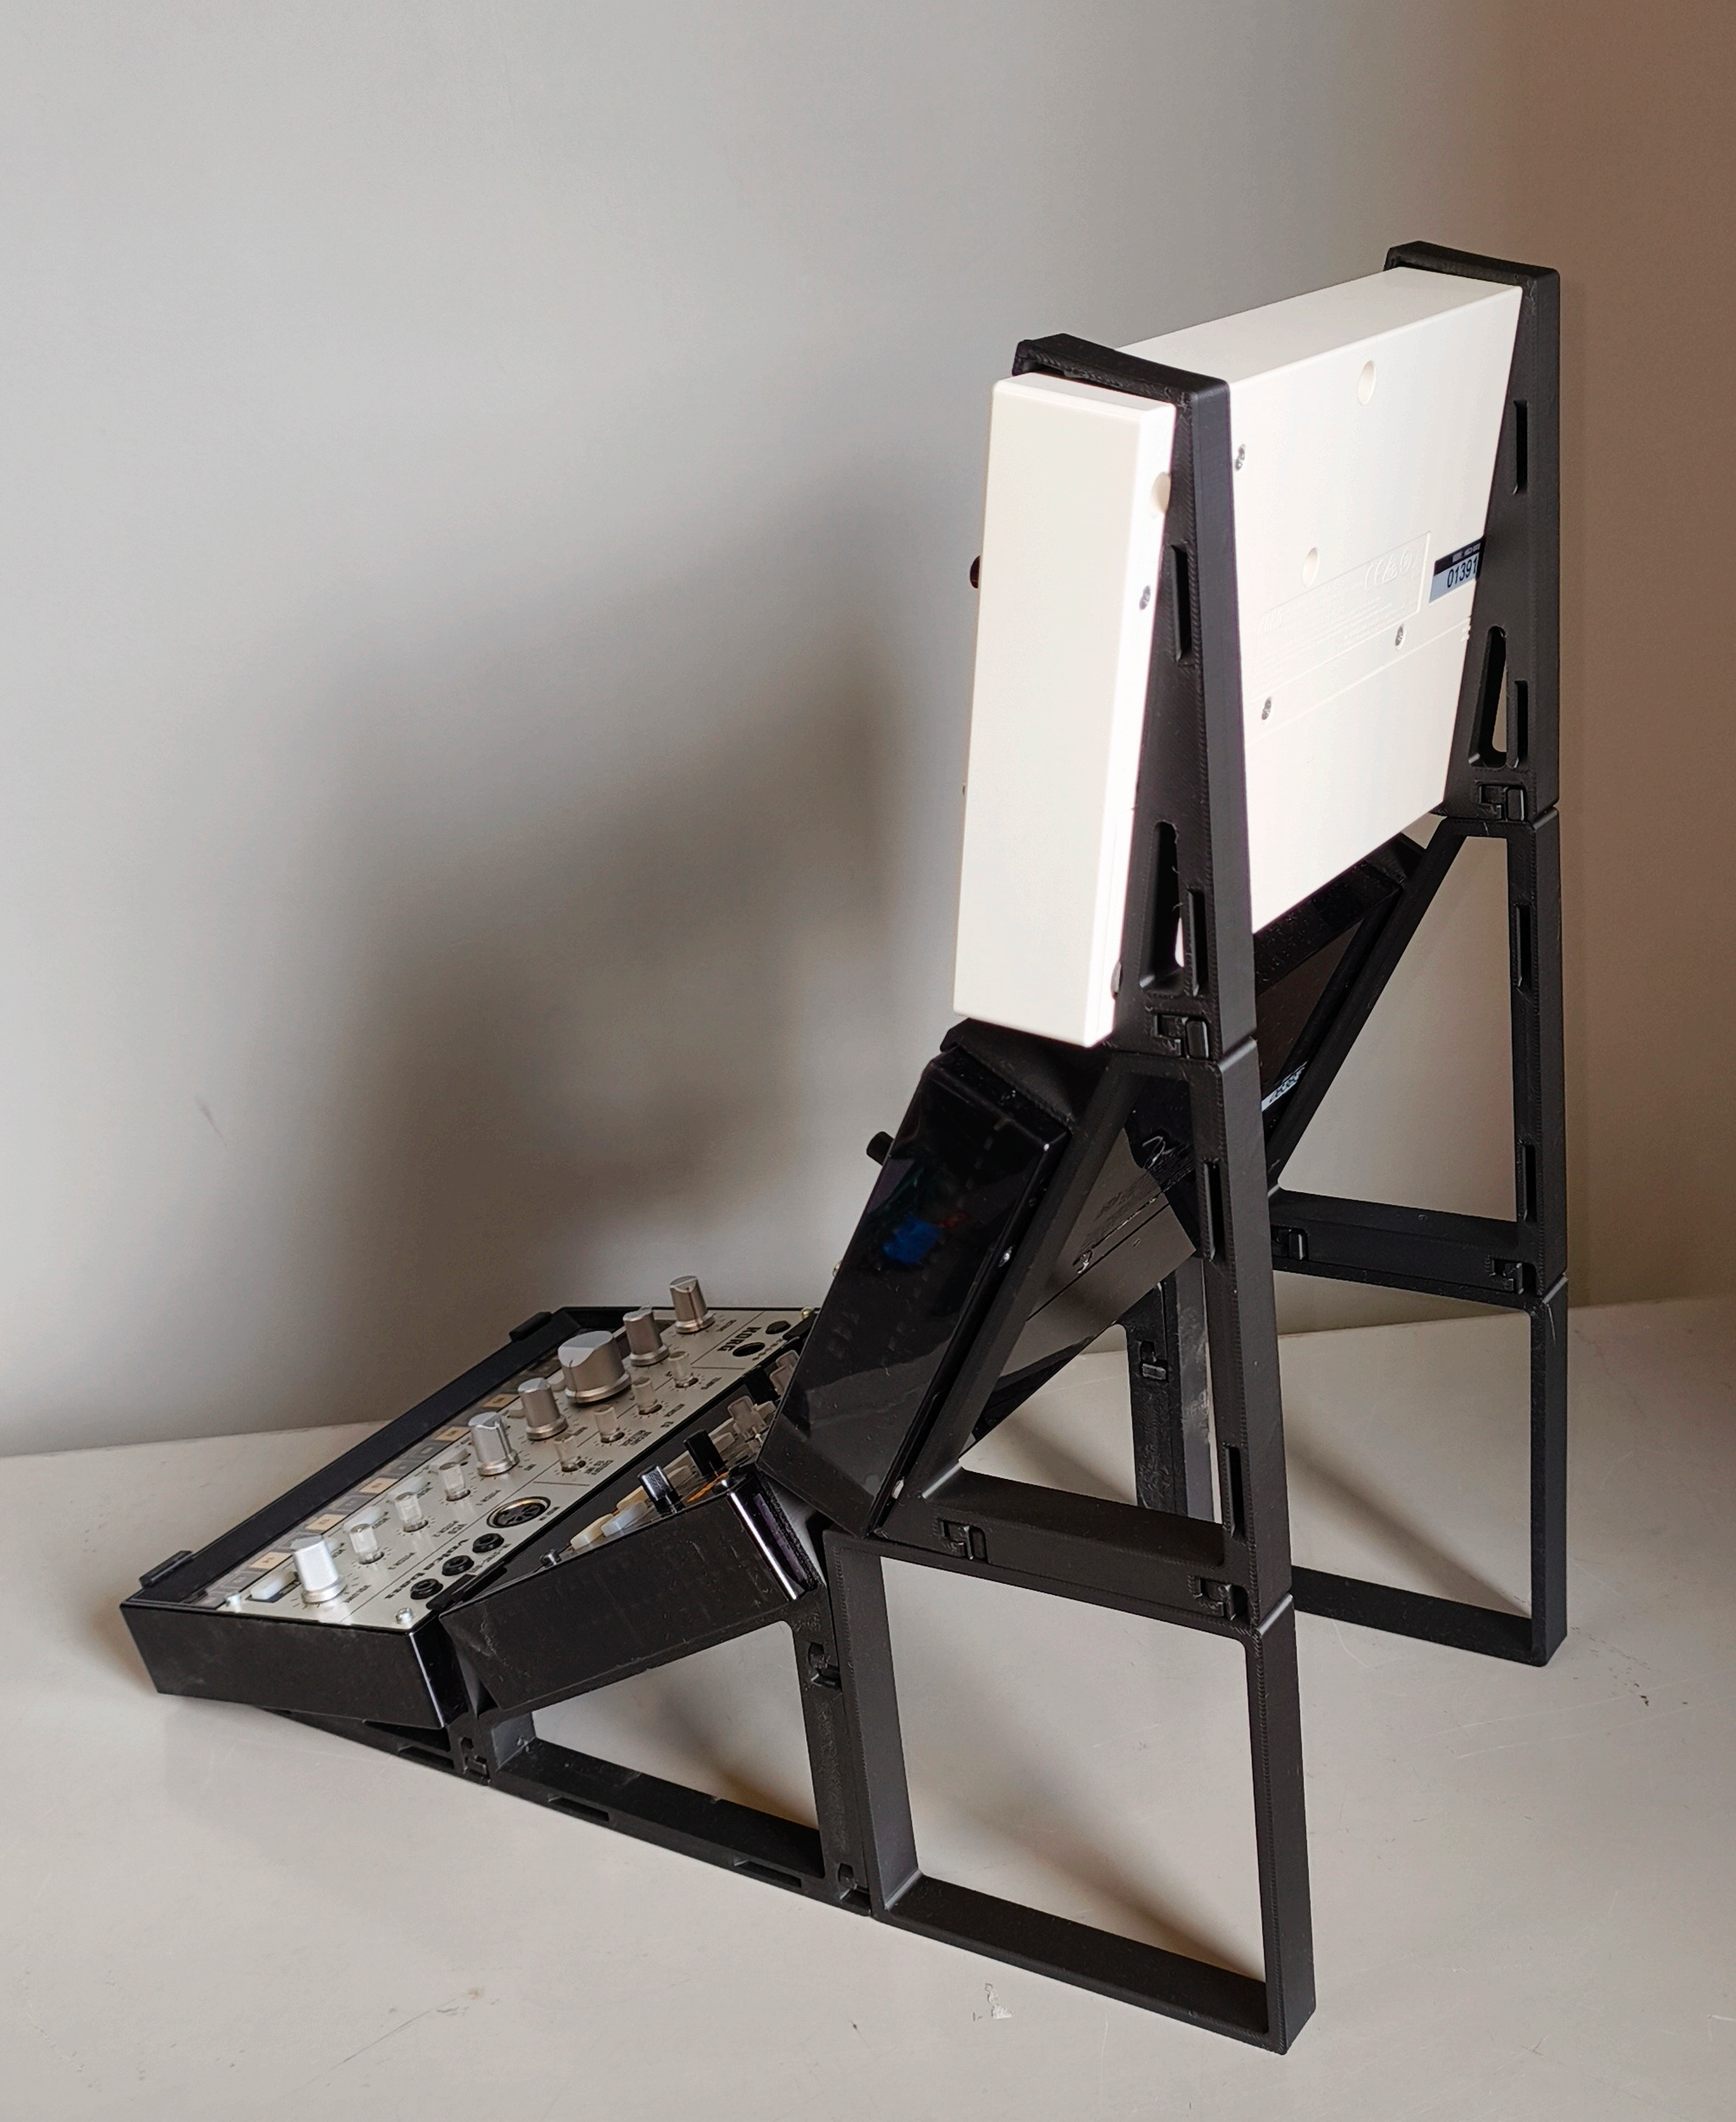
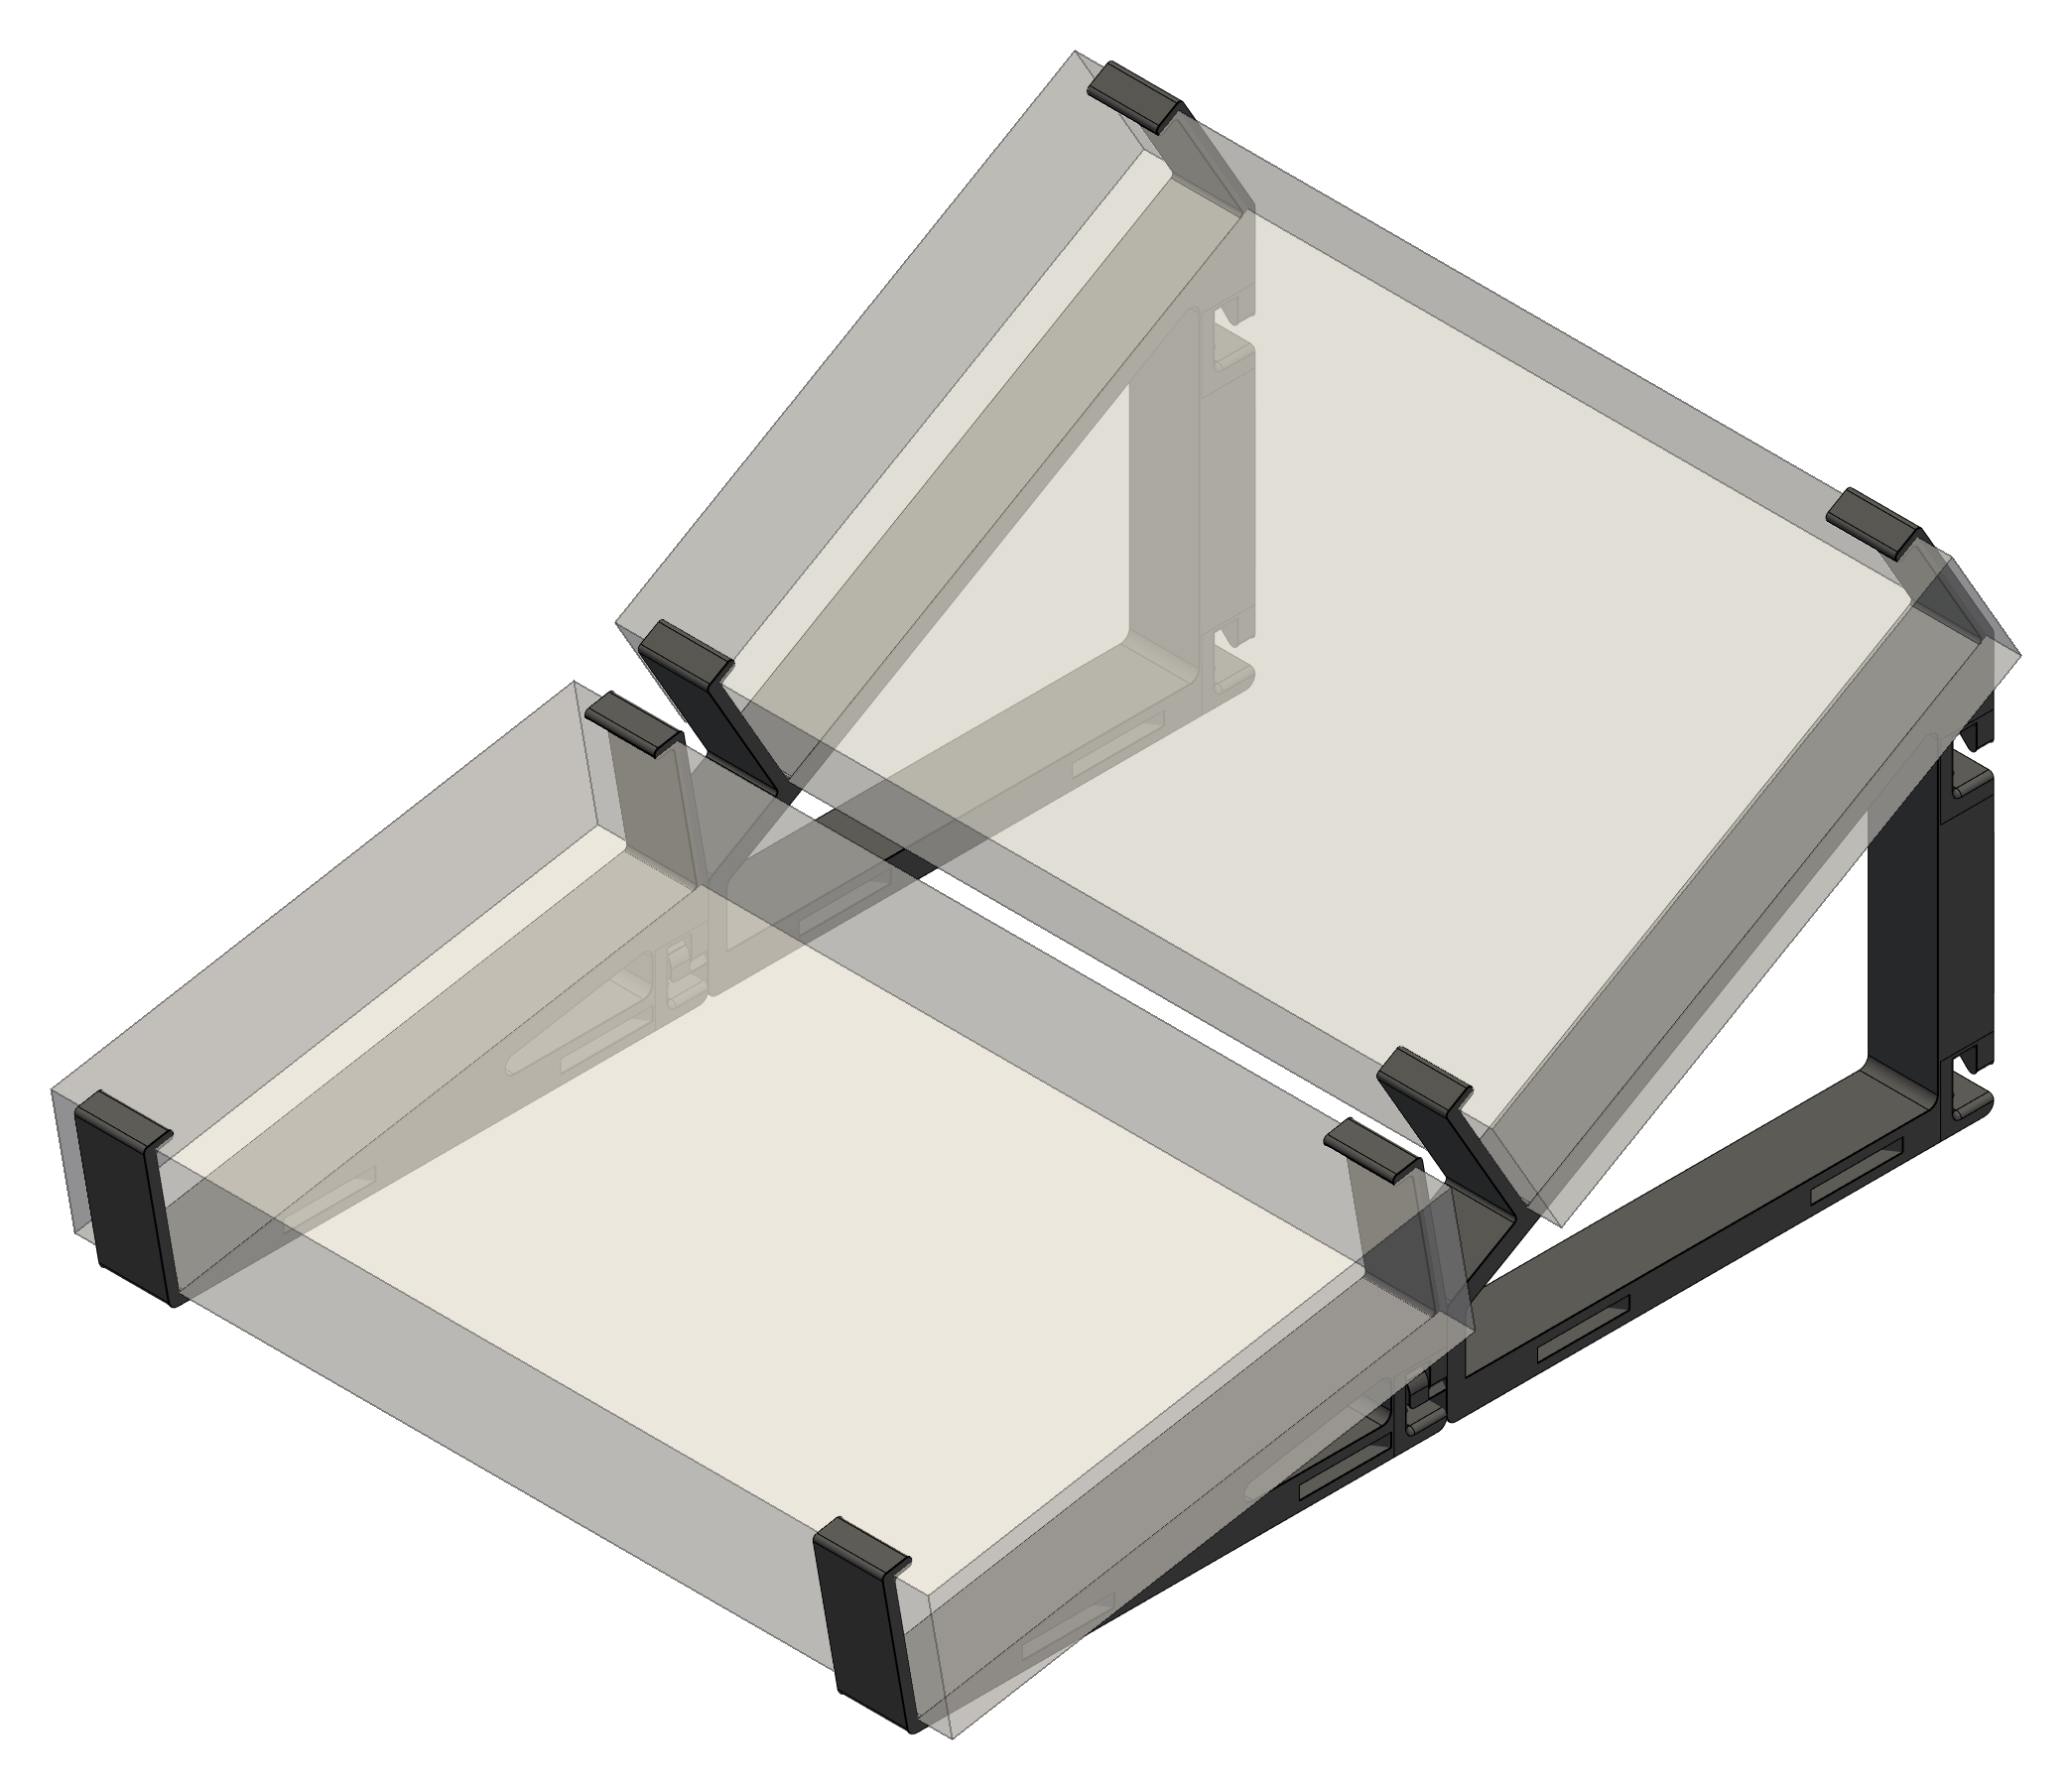
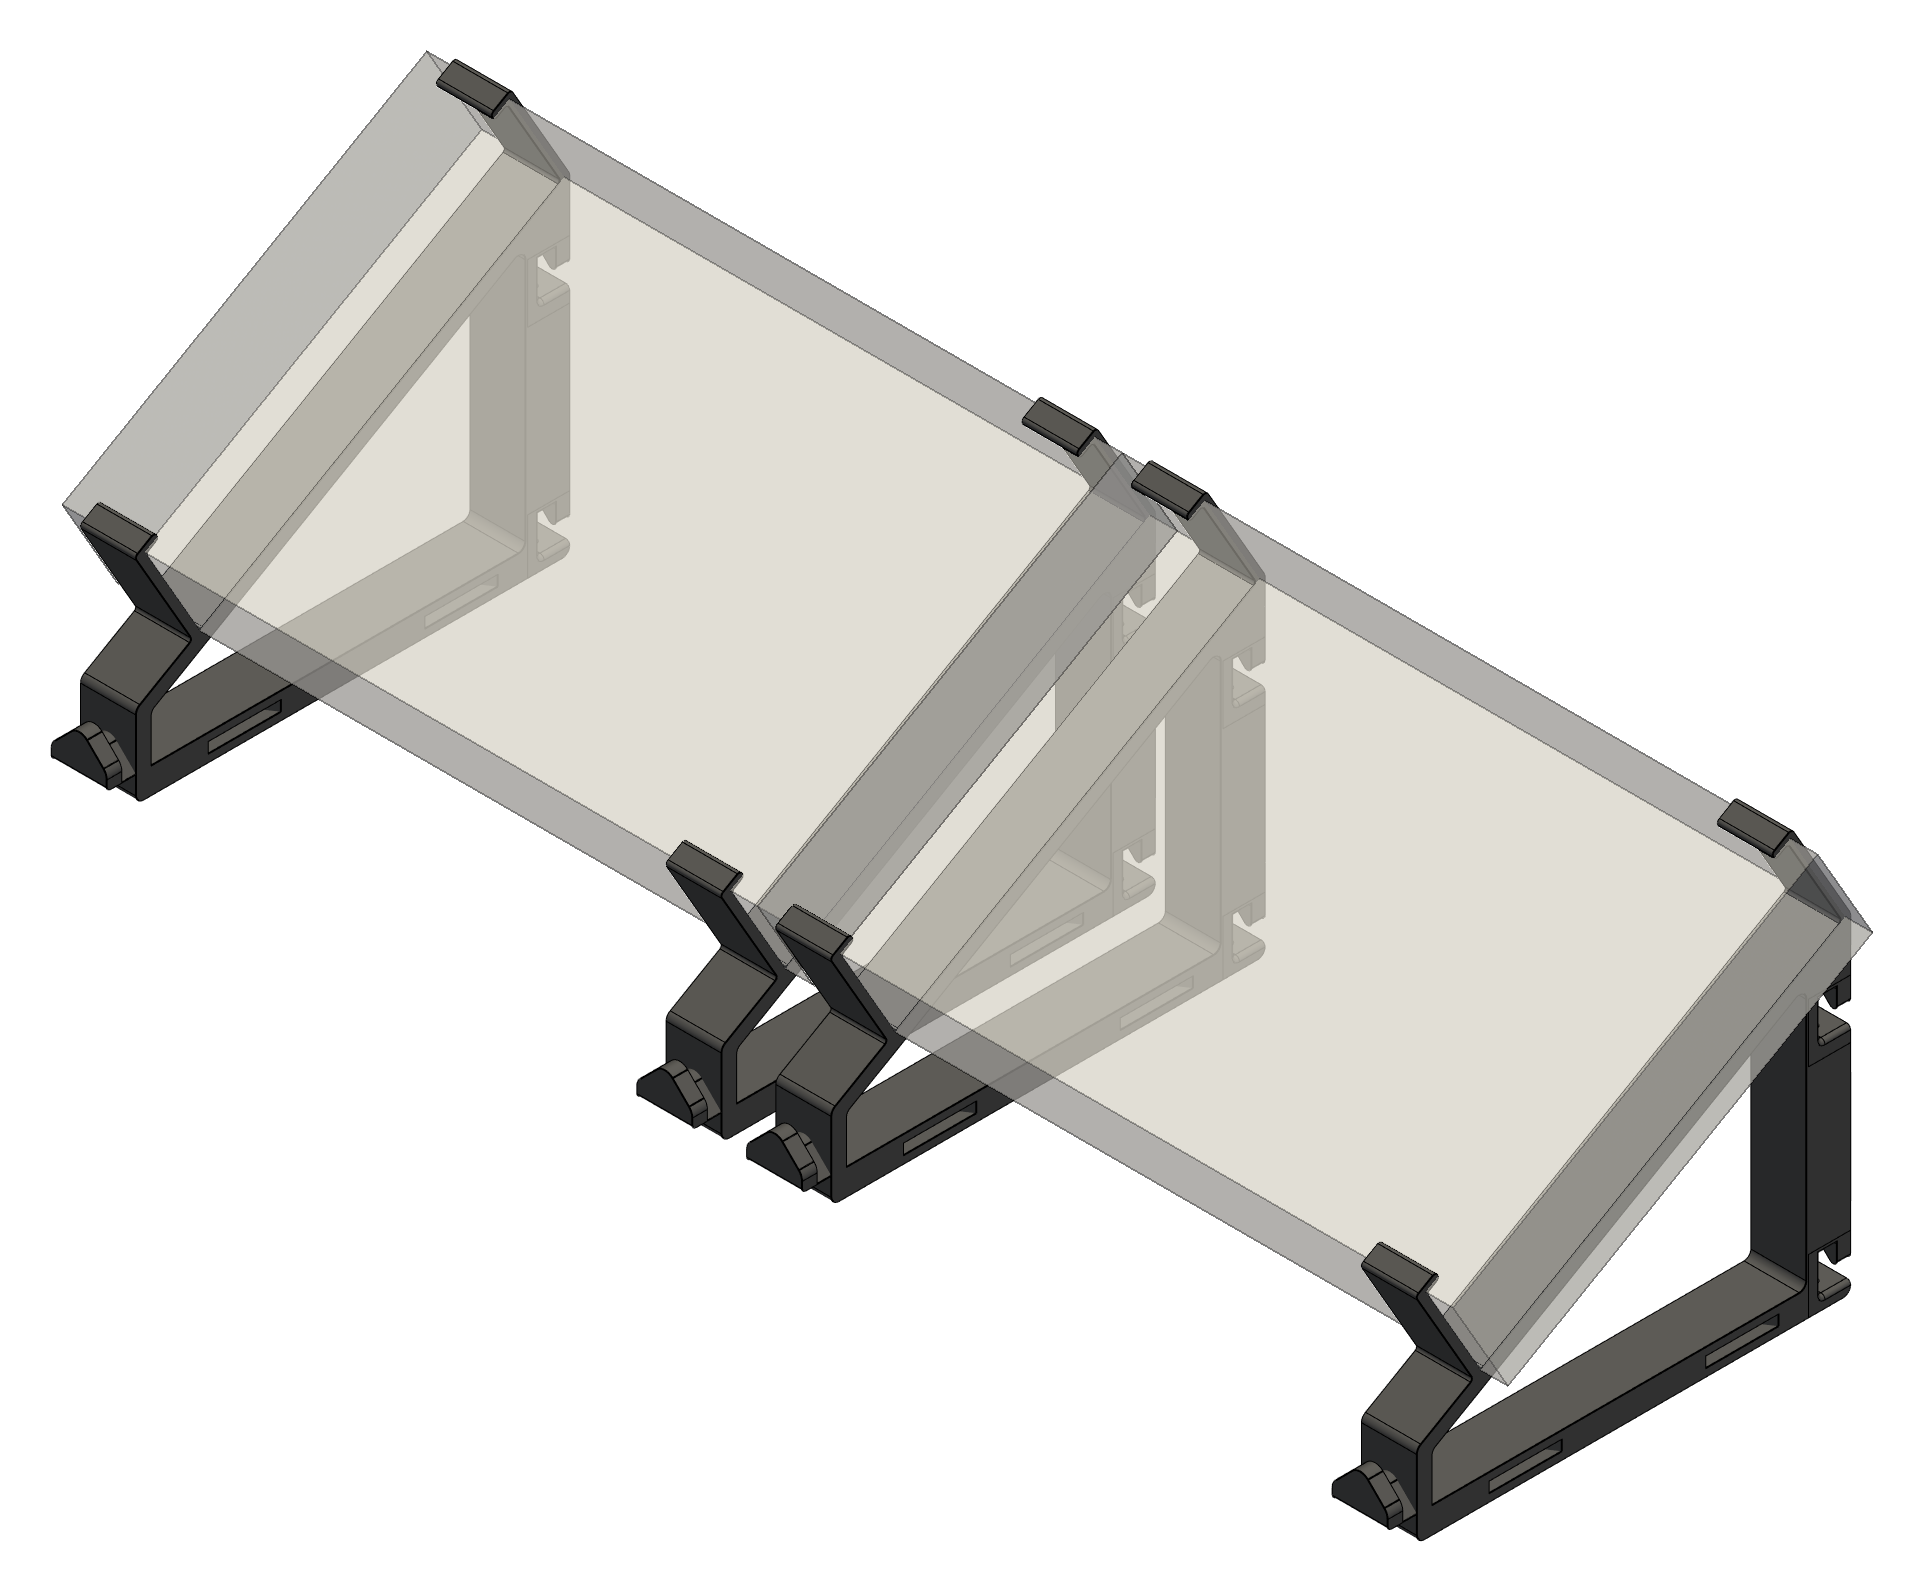
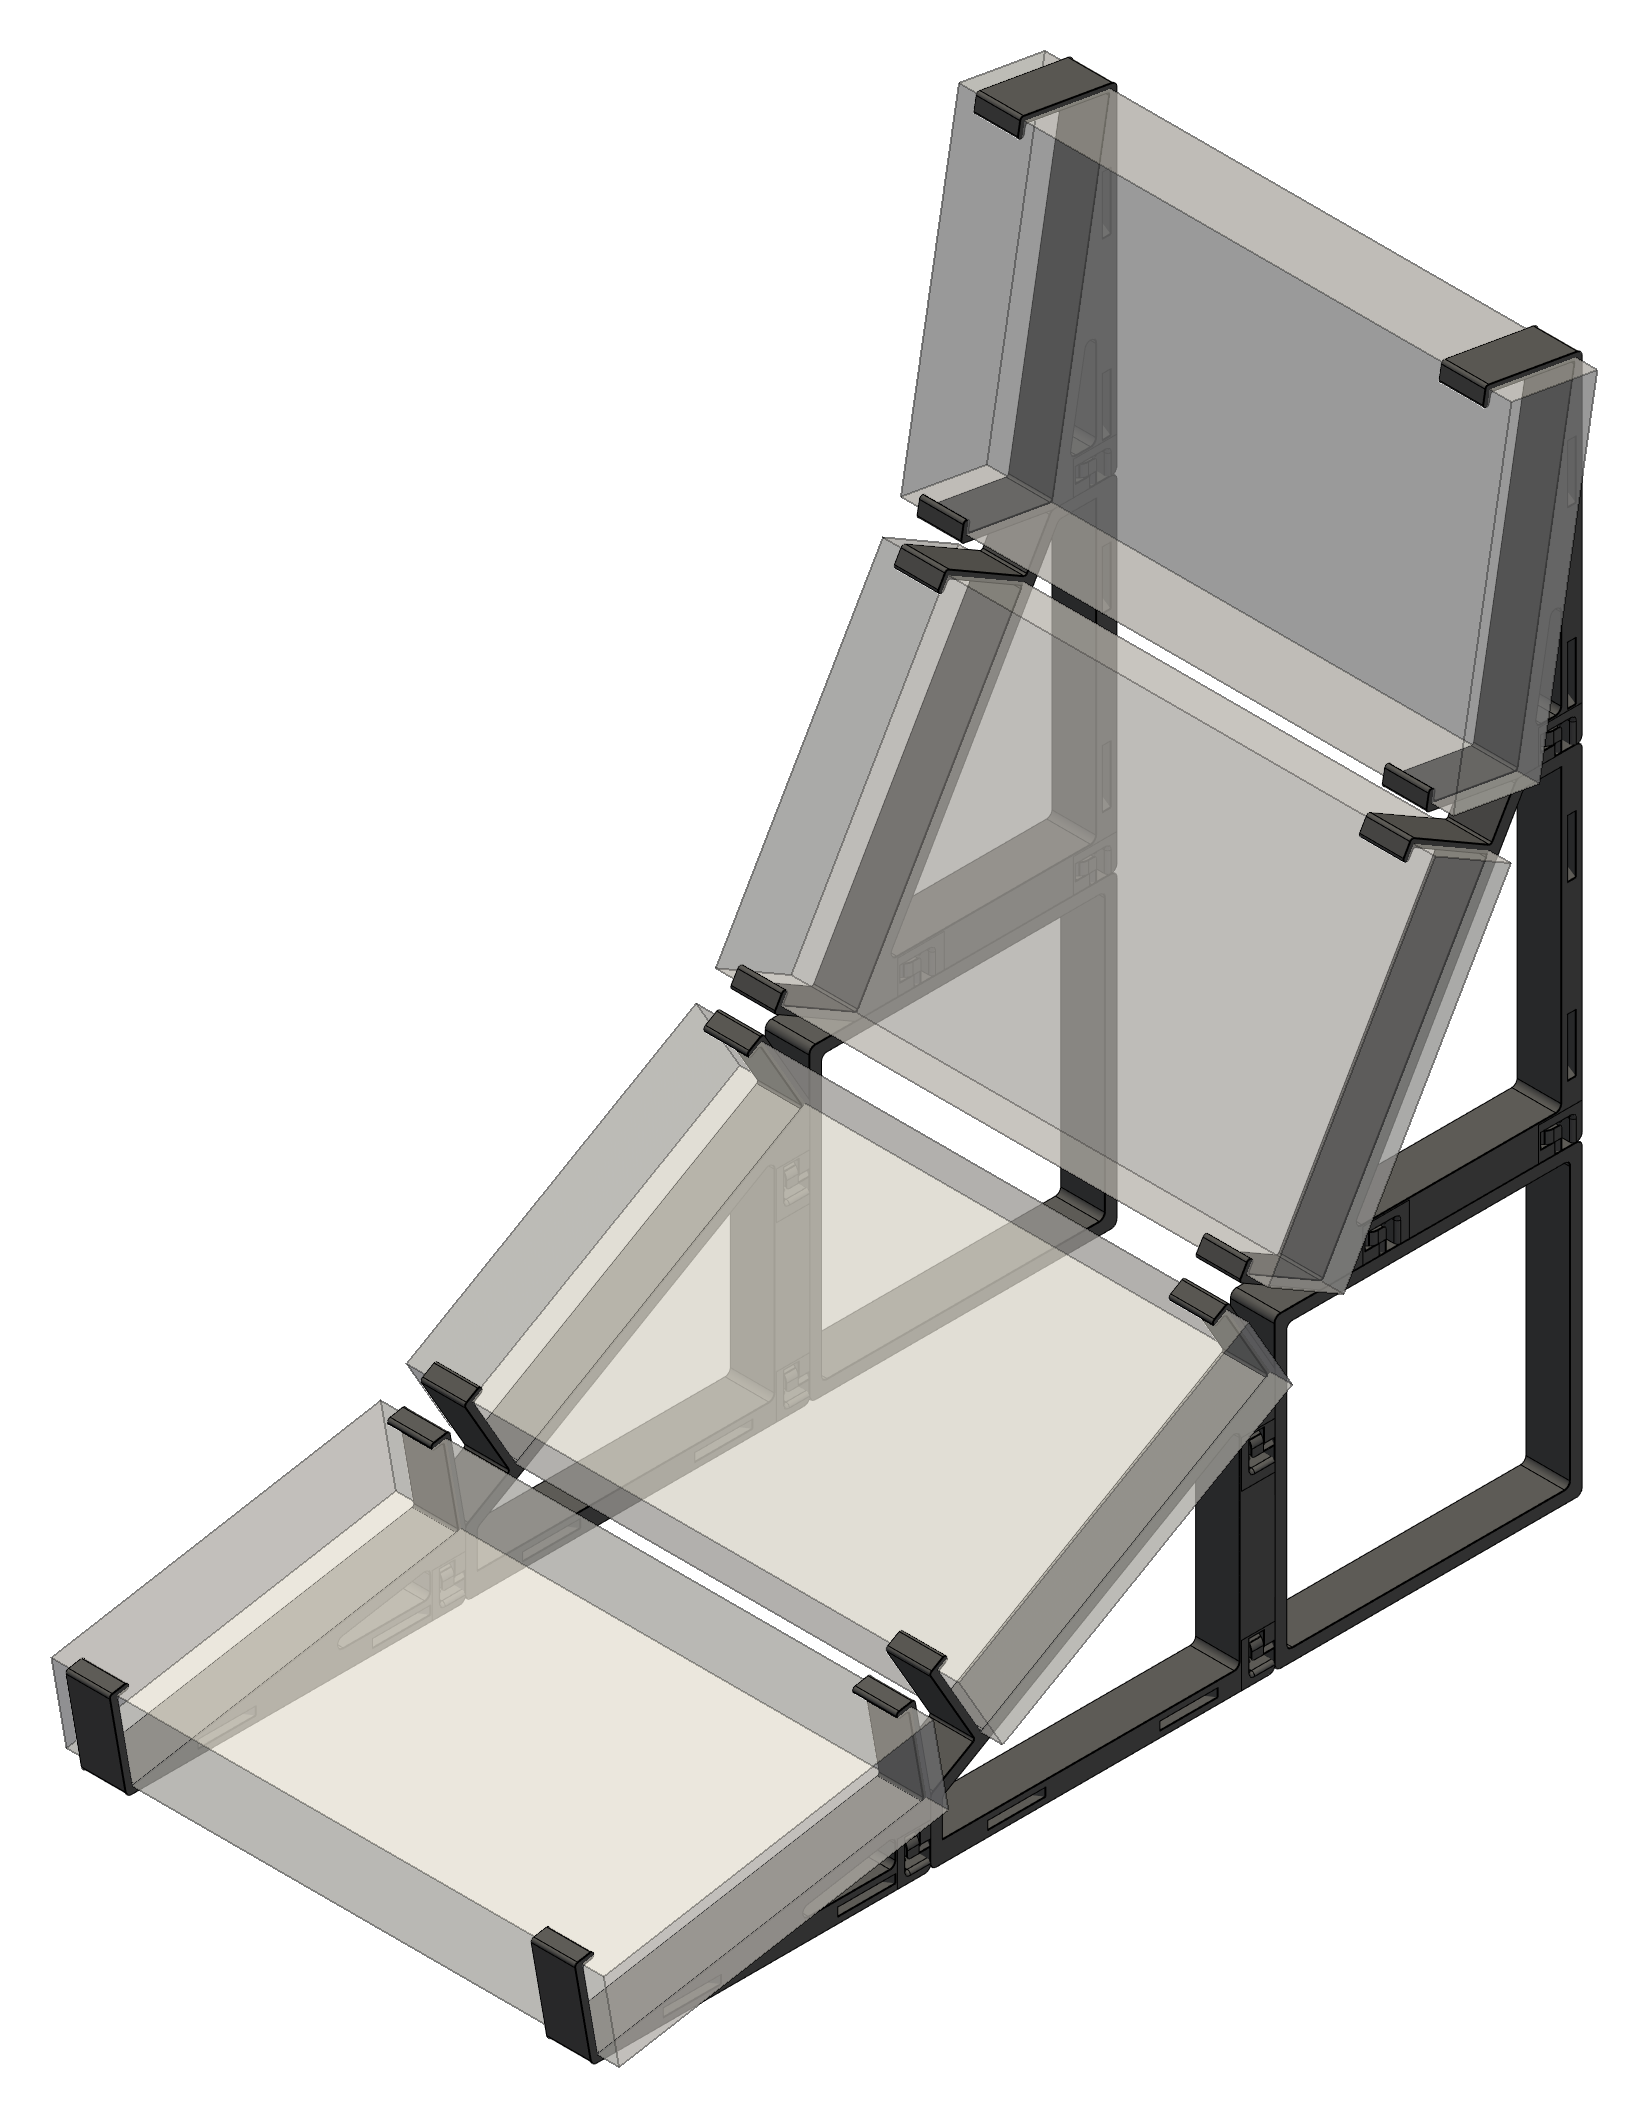
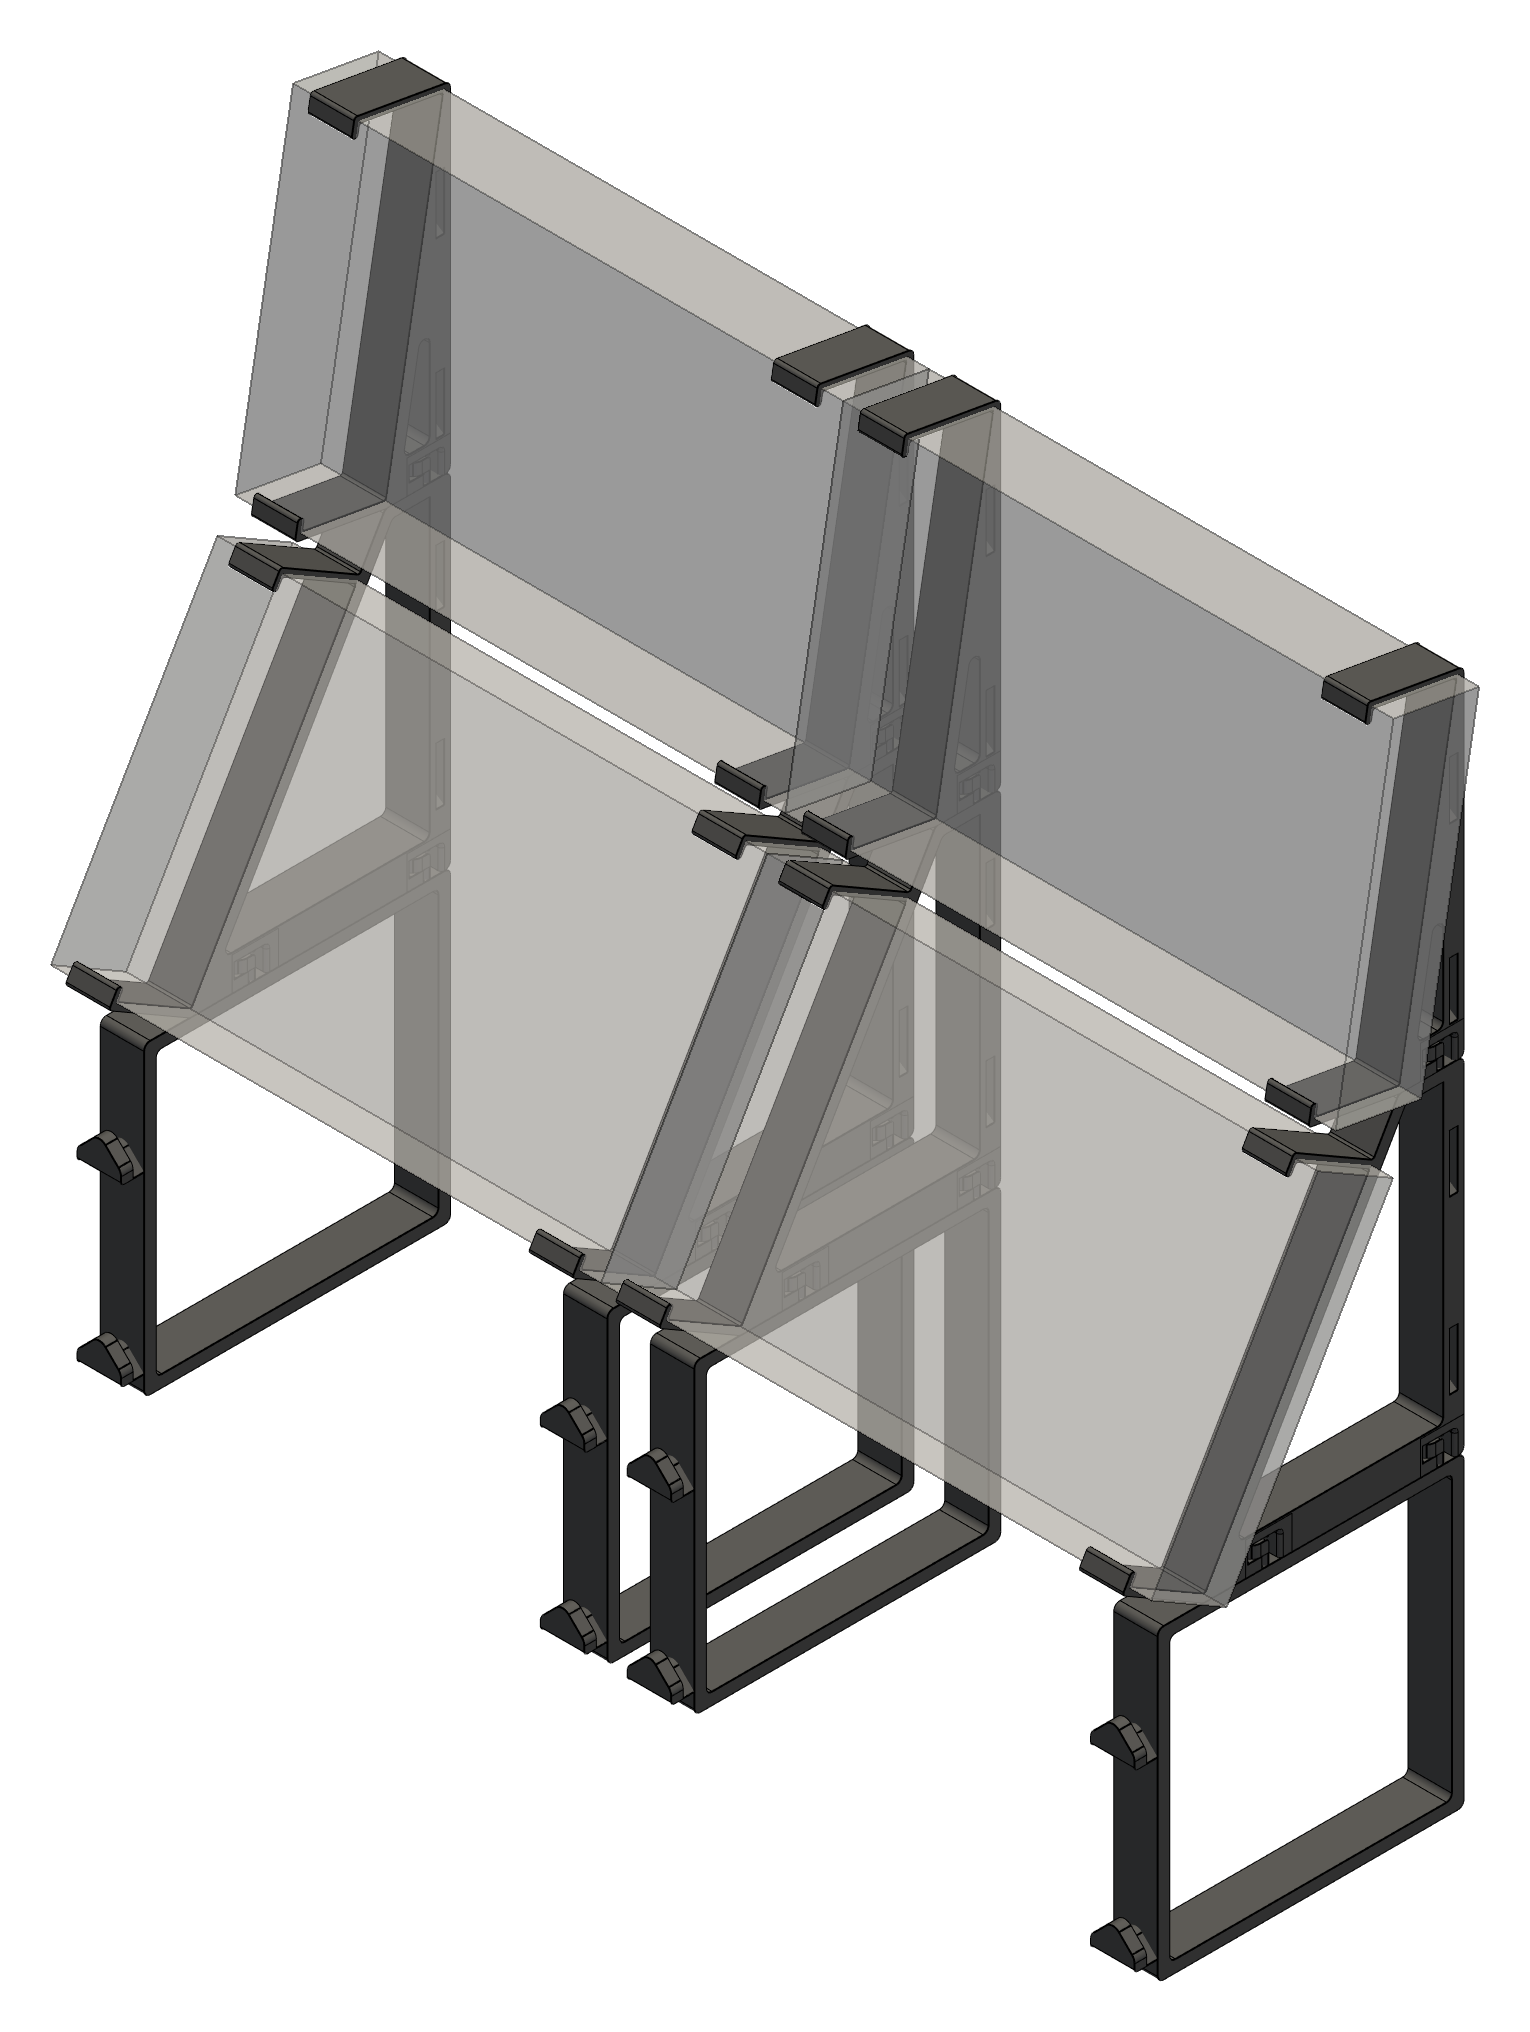
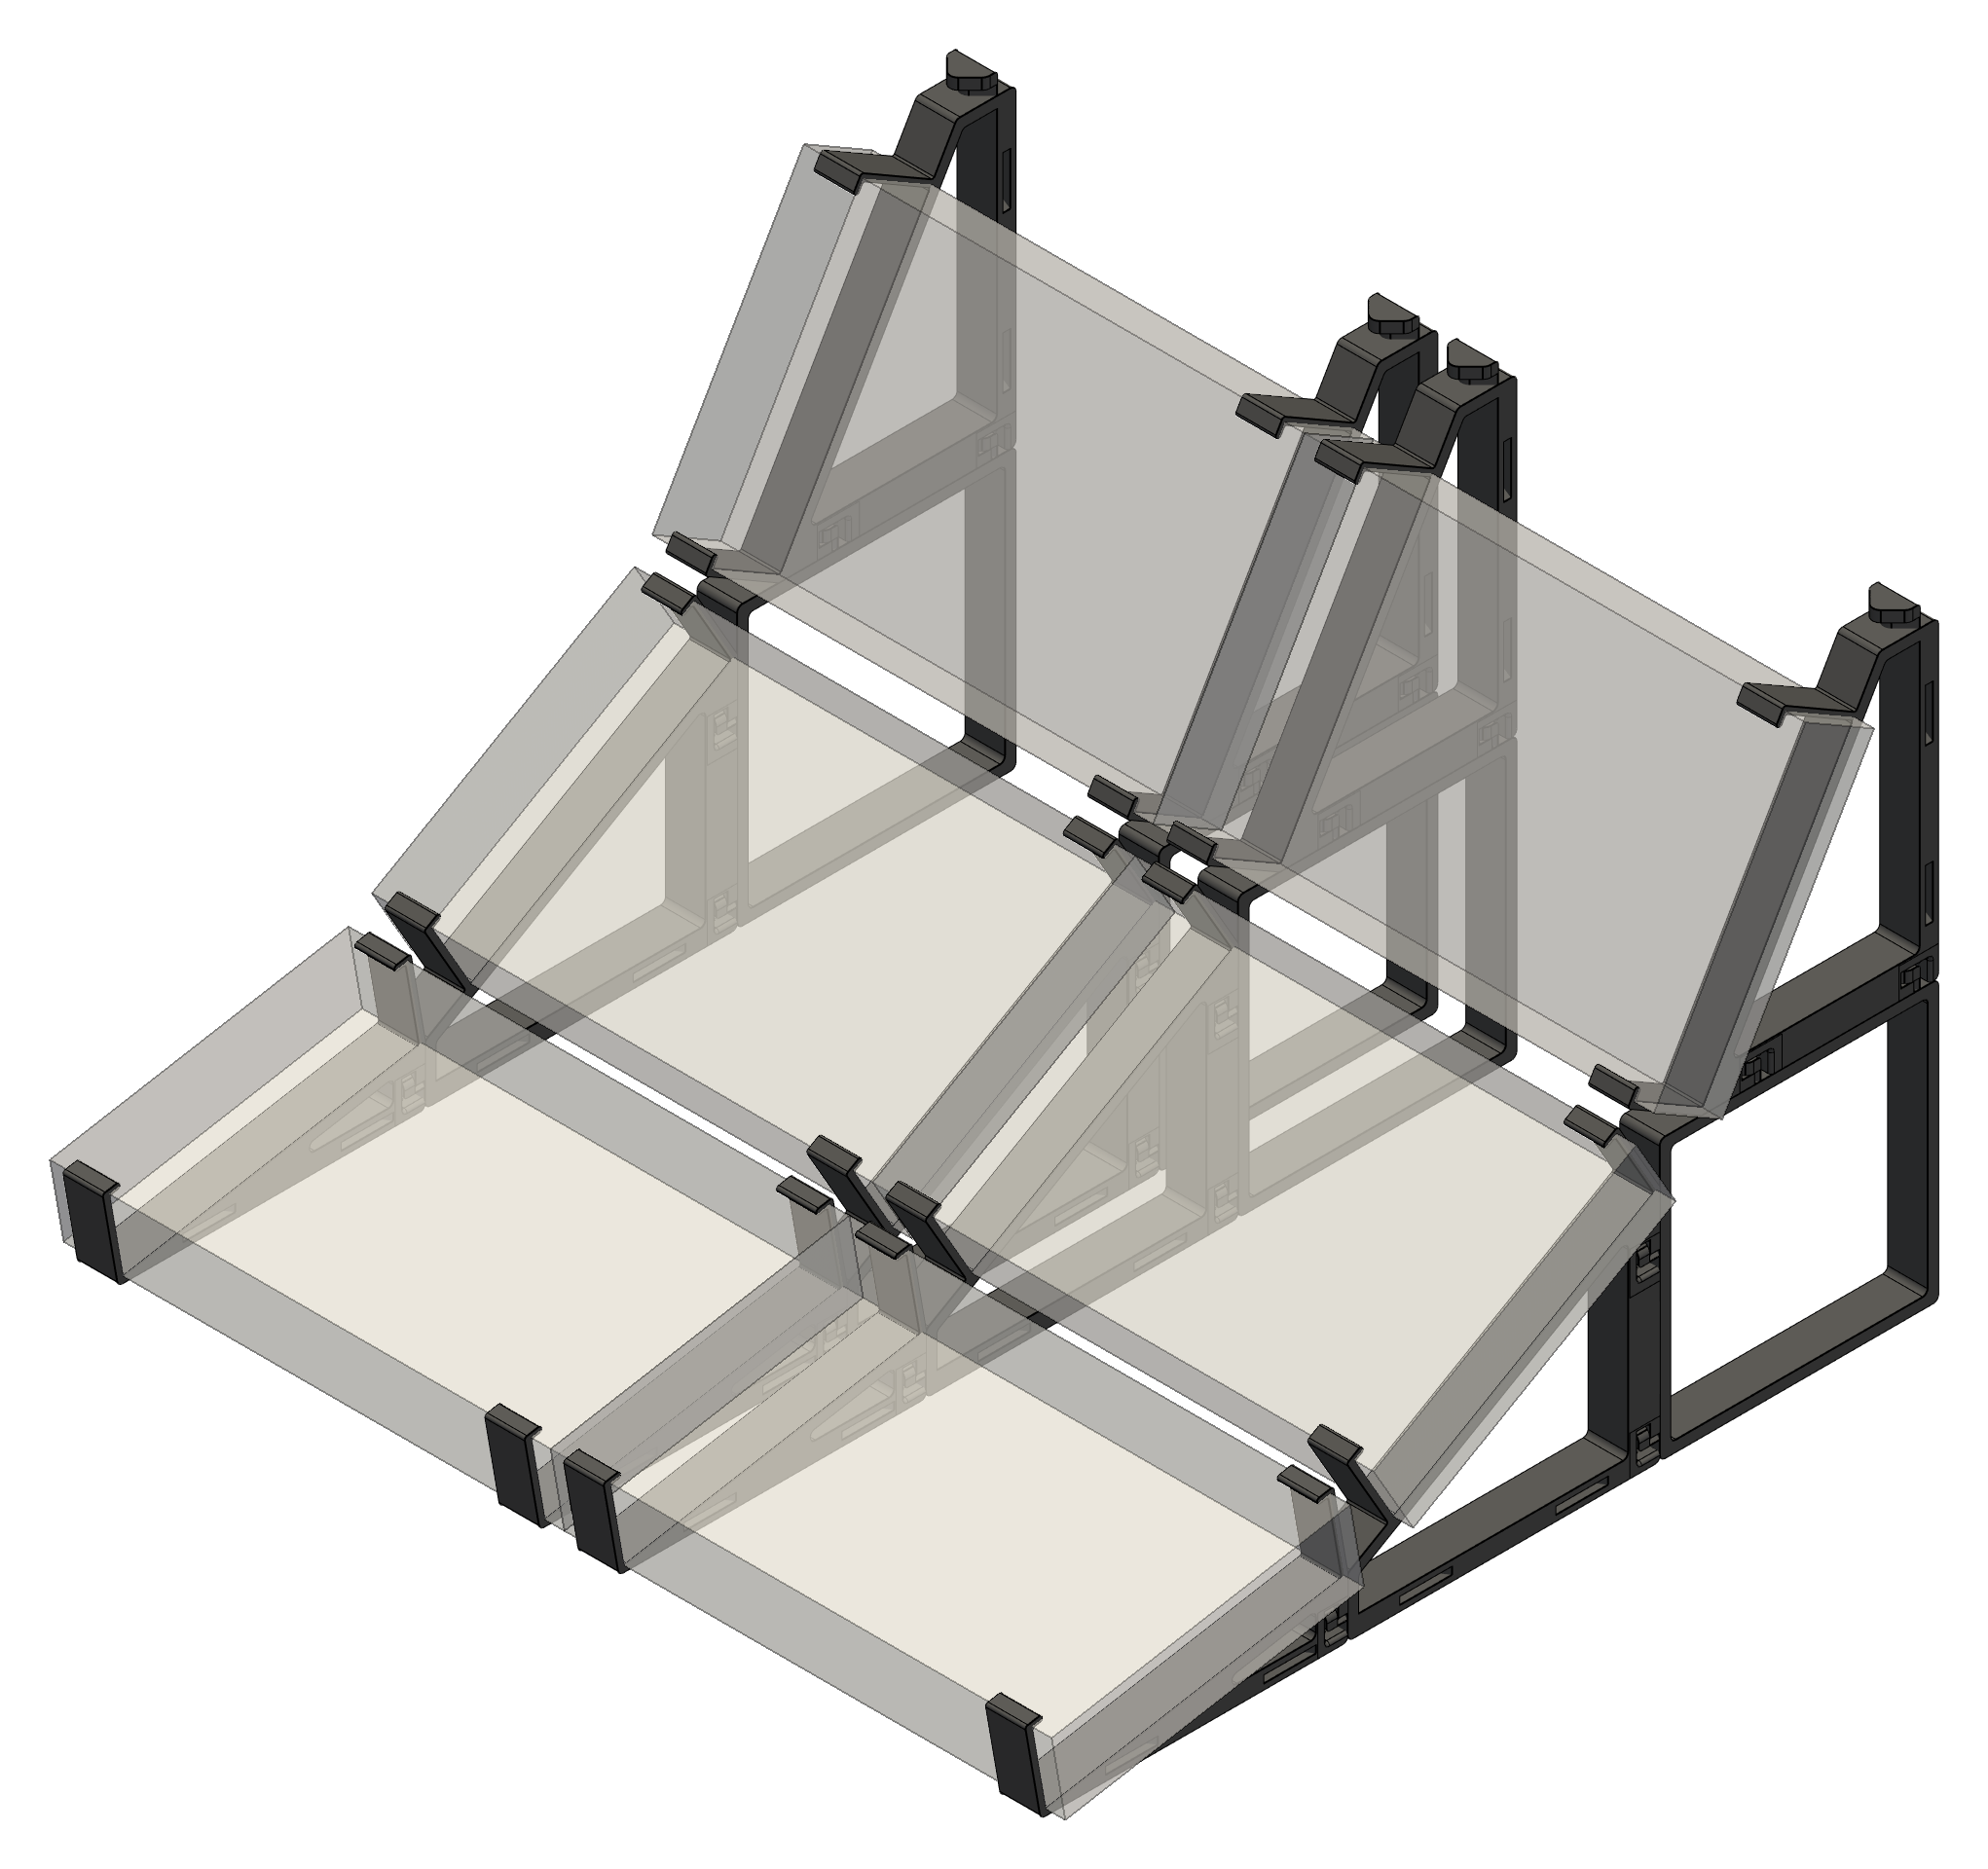
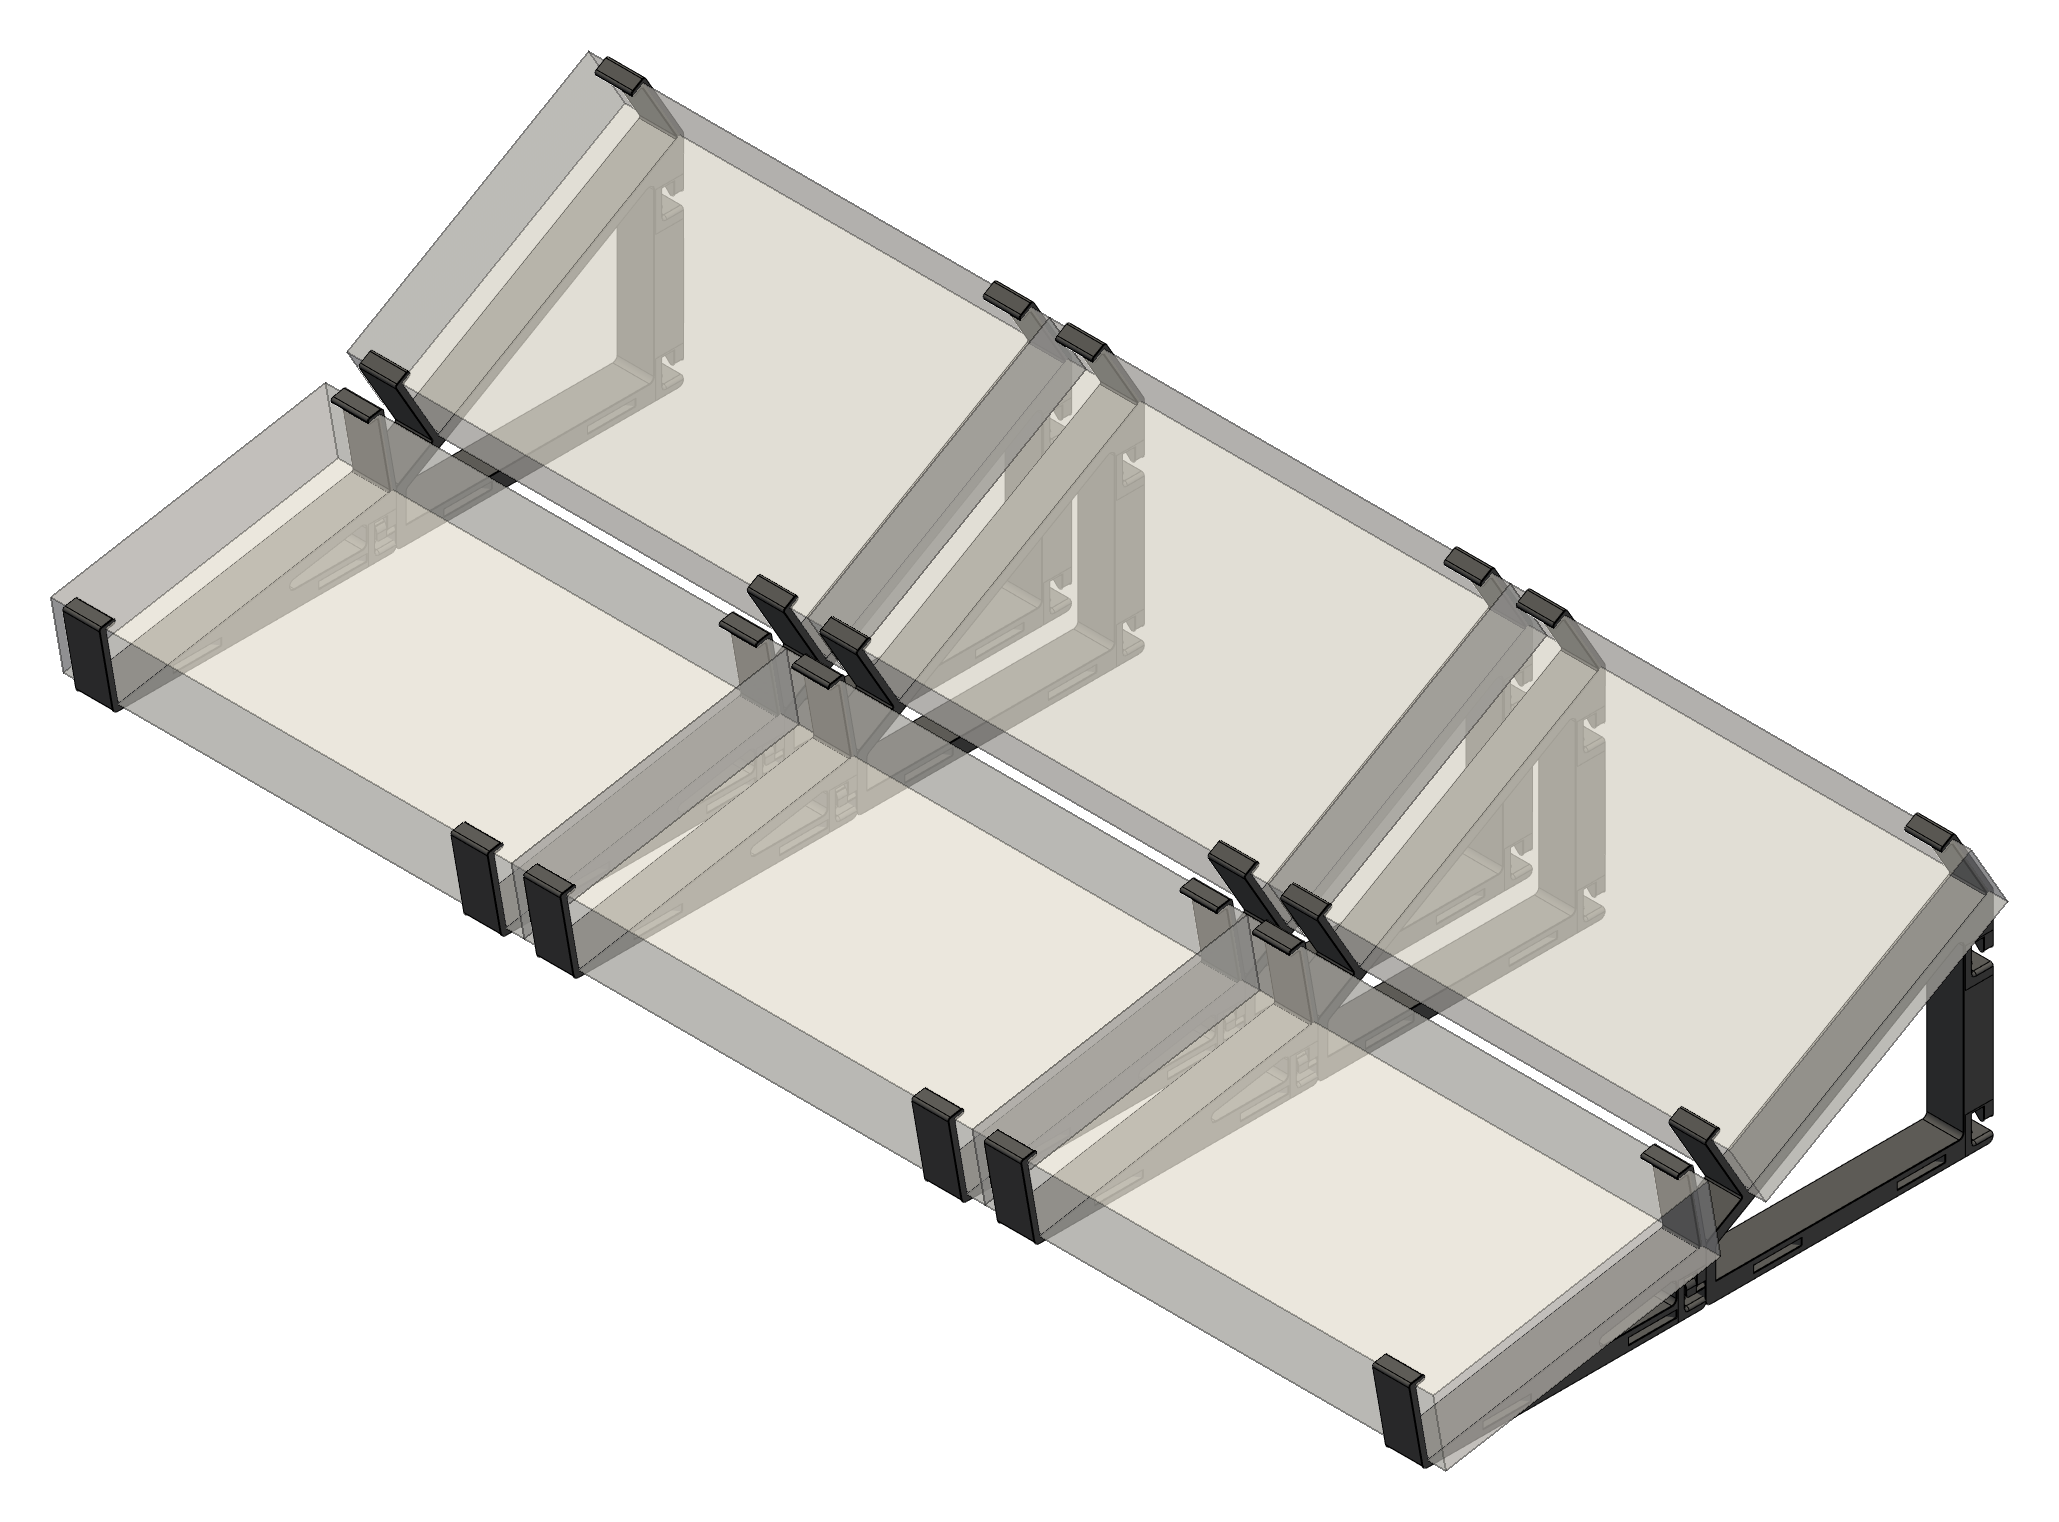
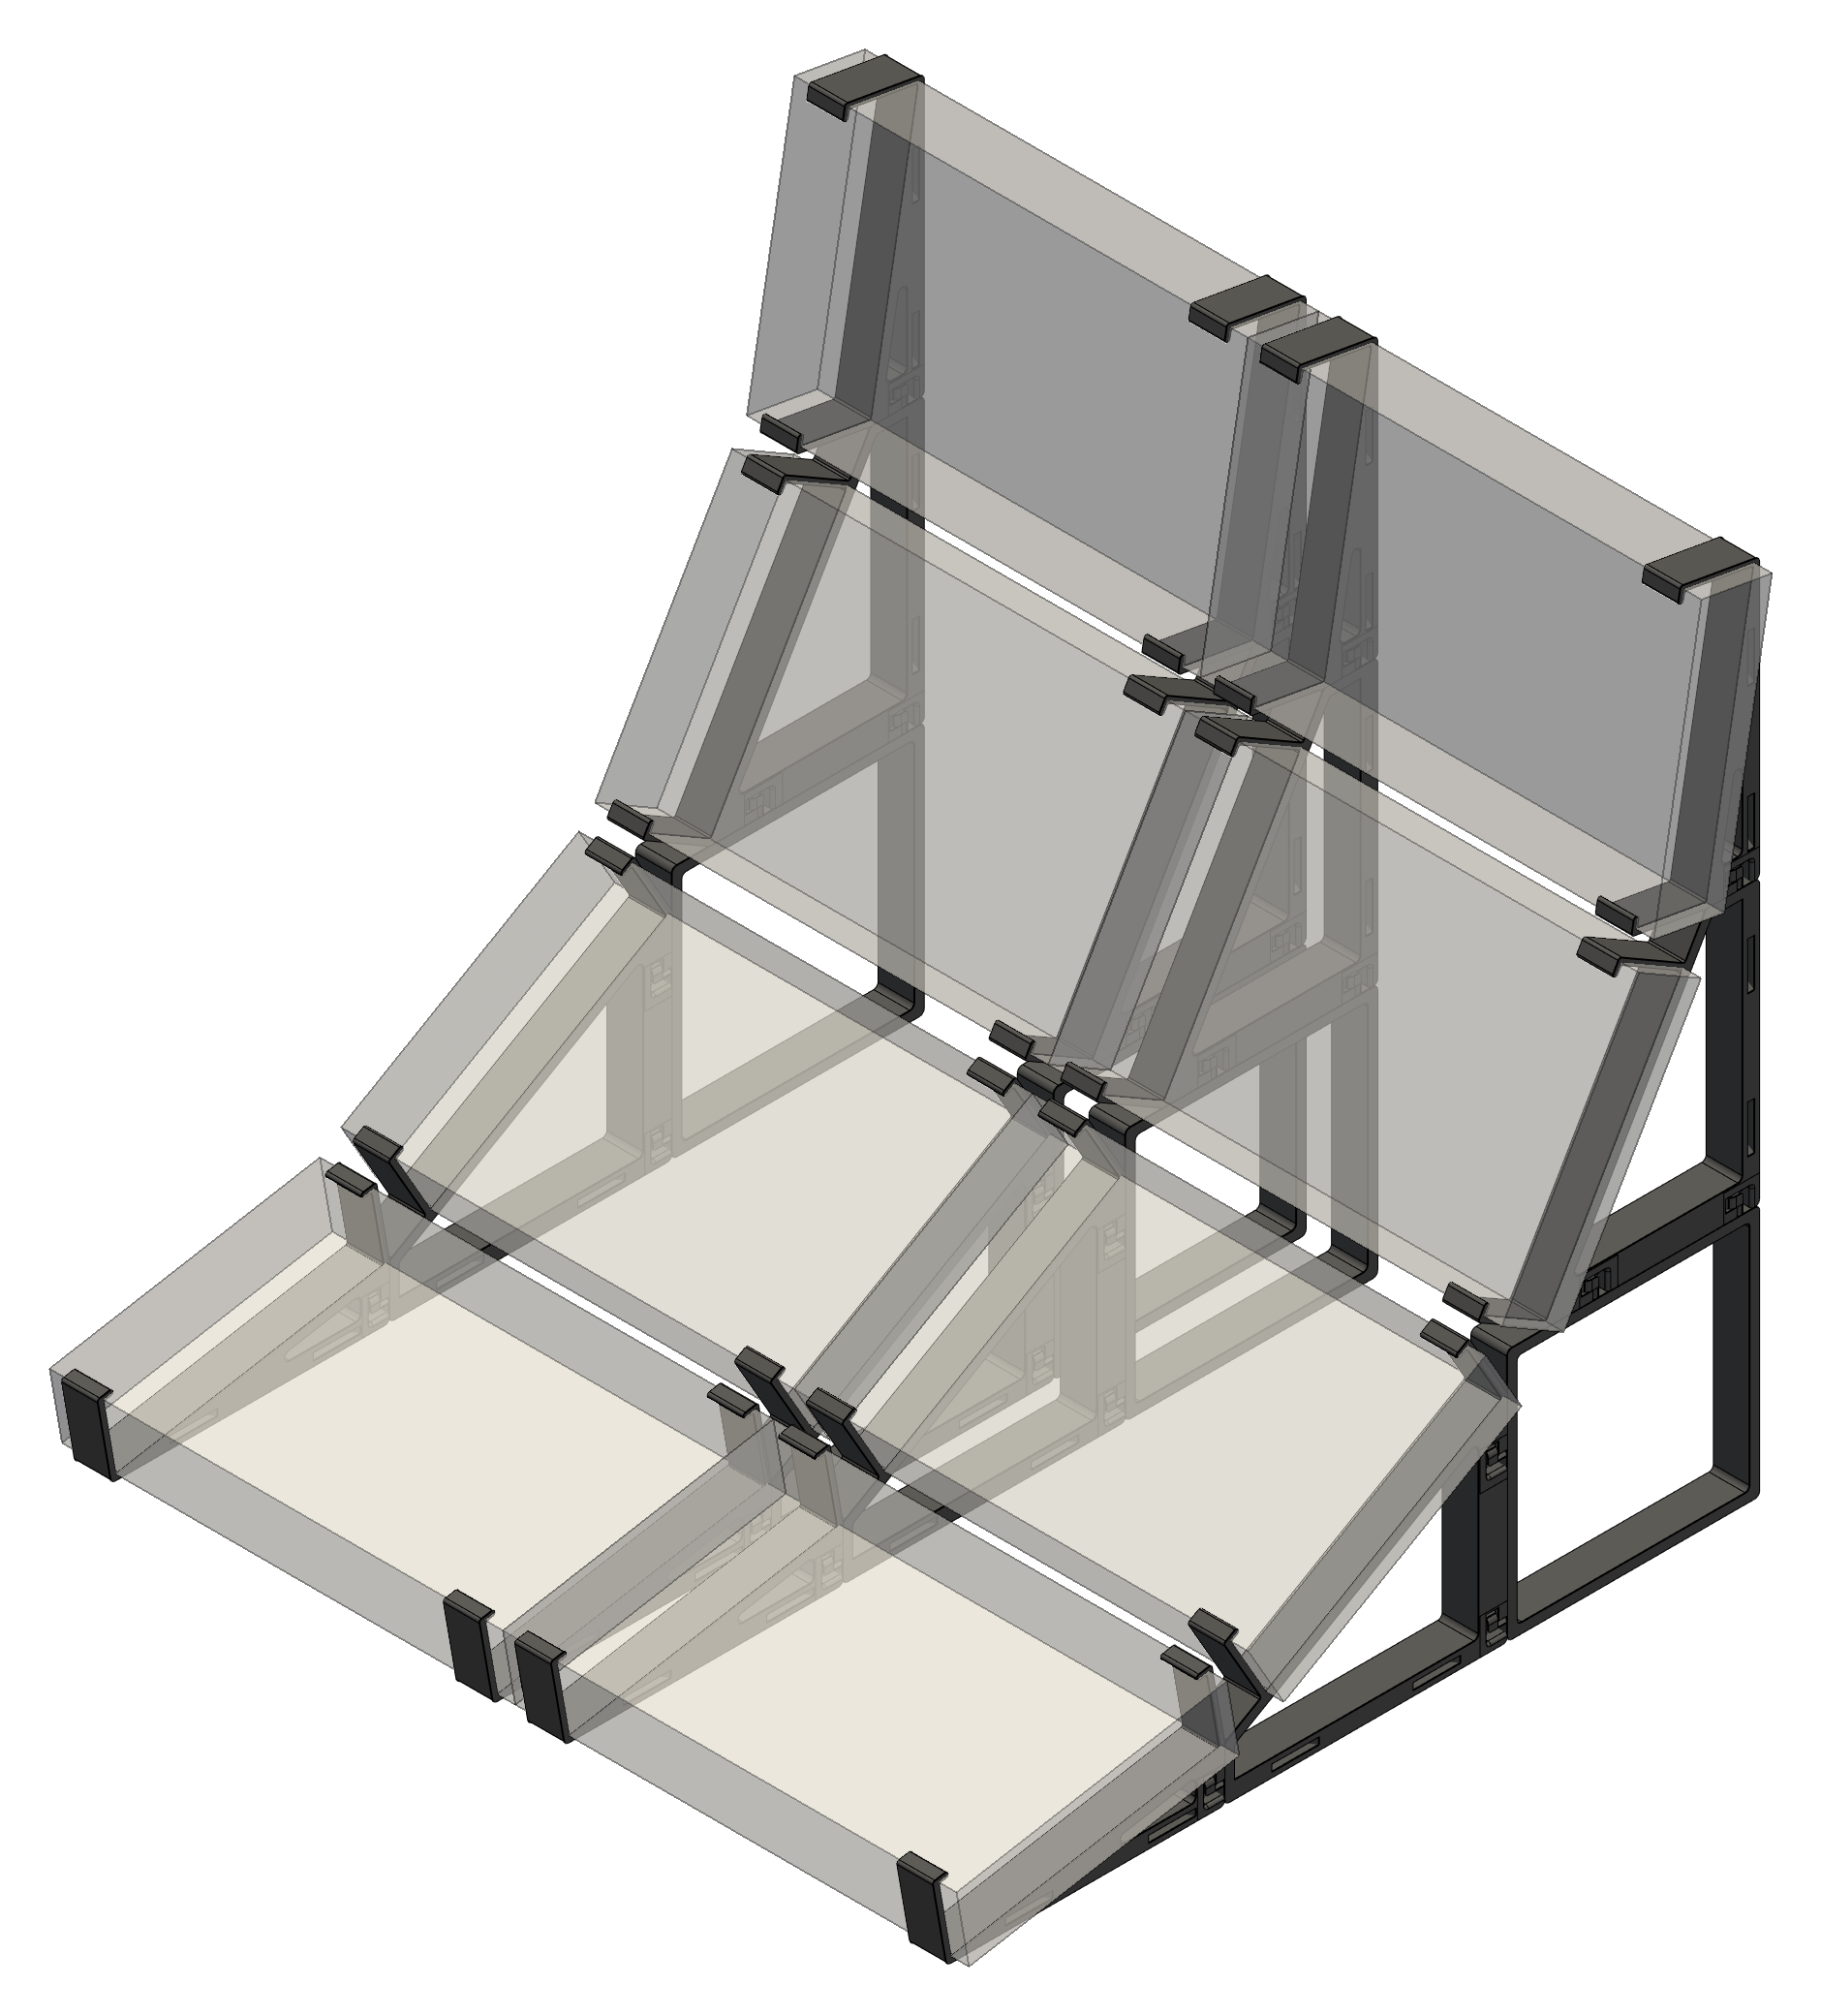
The first part is A-stand, it has two main usages:
- Flat on the table it holds one side of a Volca at an angle of 10° (example here).
- Vertically, attached to a
B-standorSquarefor stability, in which case the instrument is at an angle of 80° (example here).
A-stand parts are used in pair, each one holding one side of a Volca. They
have two side connector ports to attach them lateraly to another A-stand. And
one hook at the back to attached them longitudinally to a B-stand or
Square.

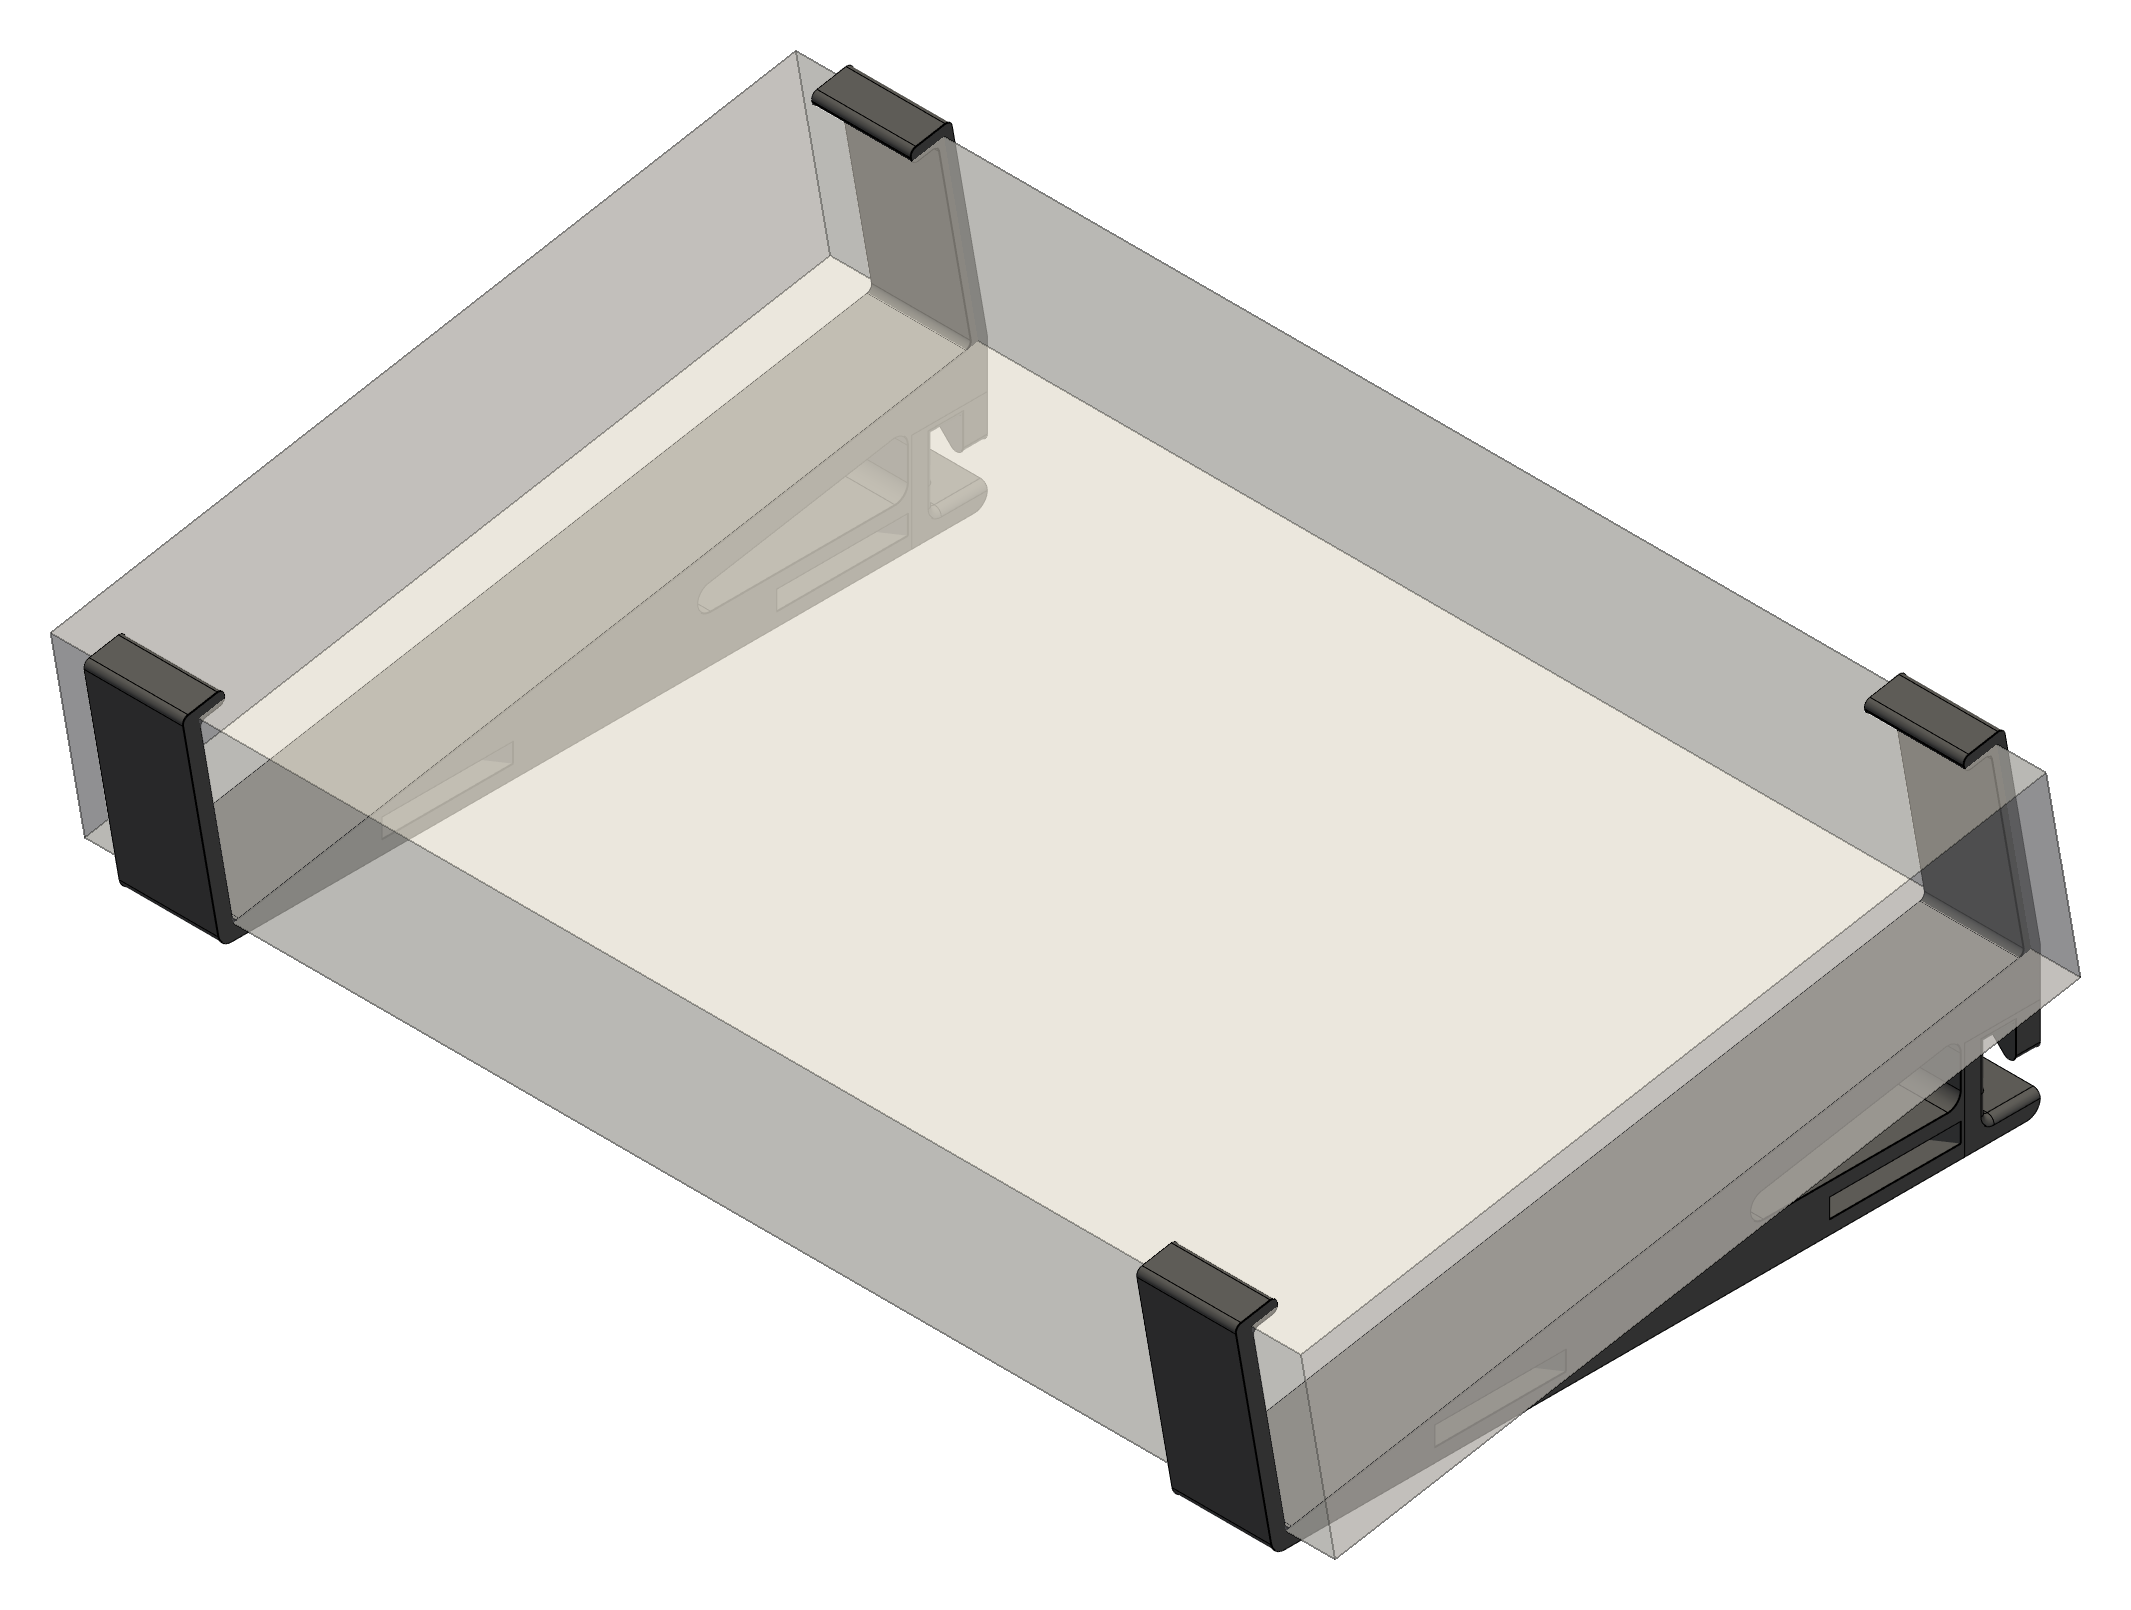
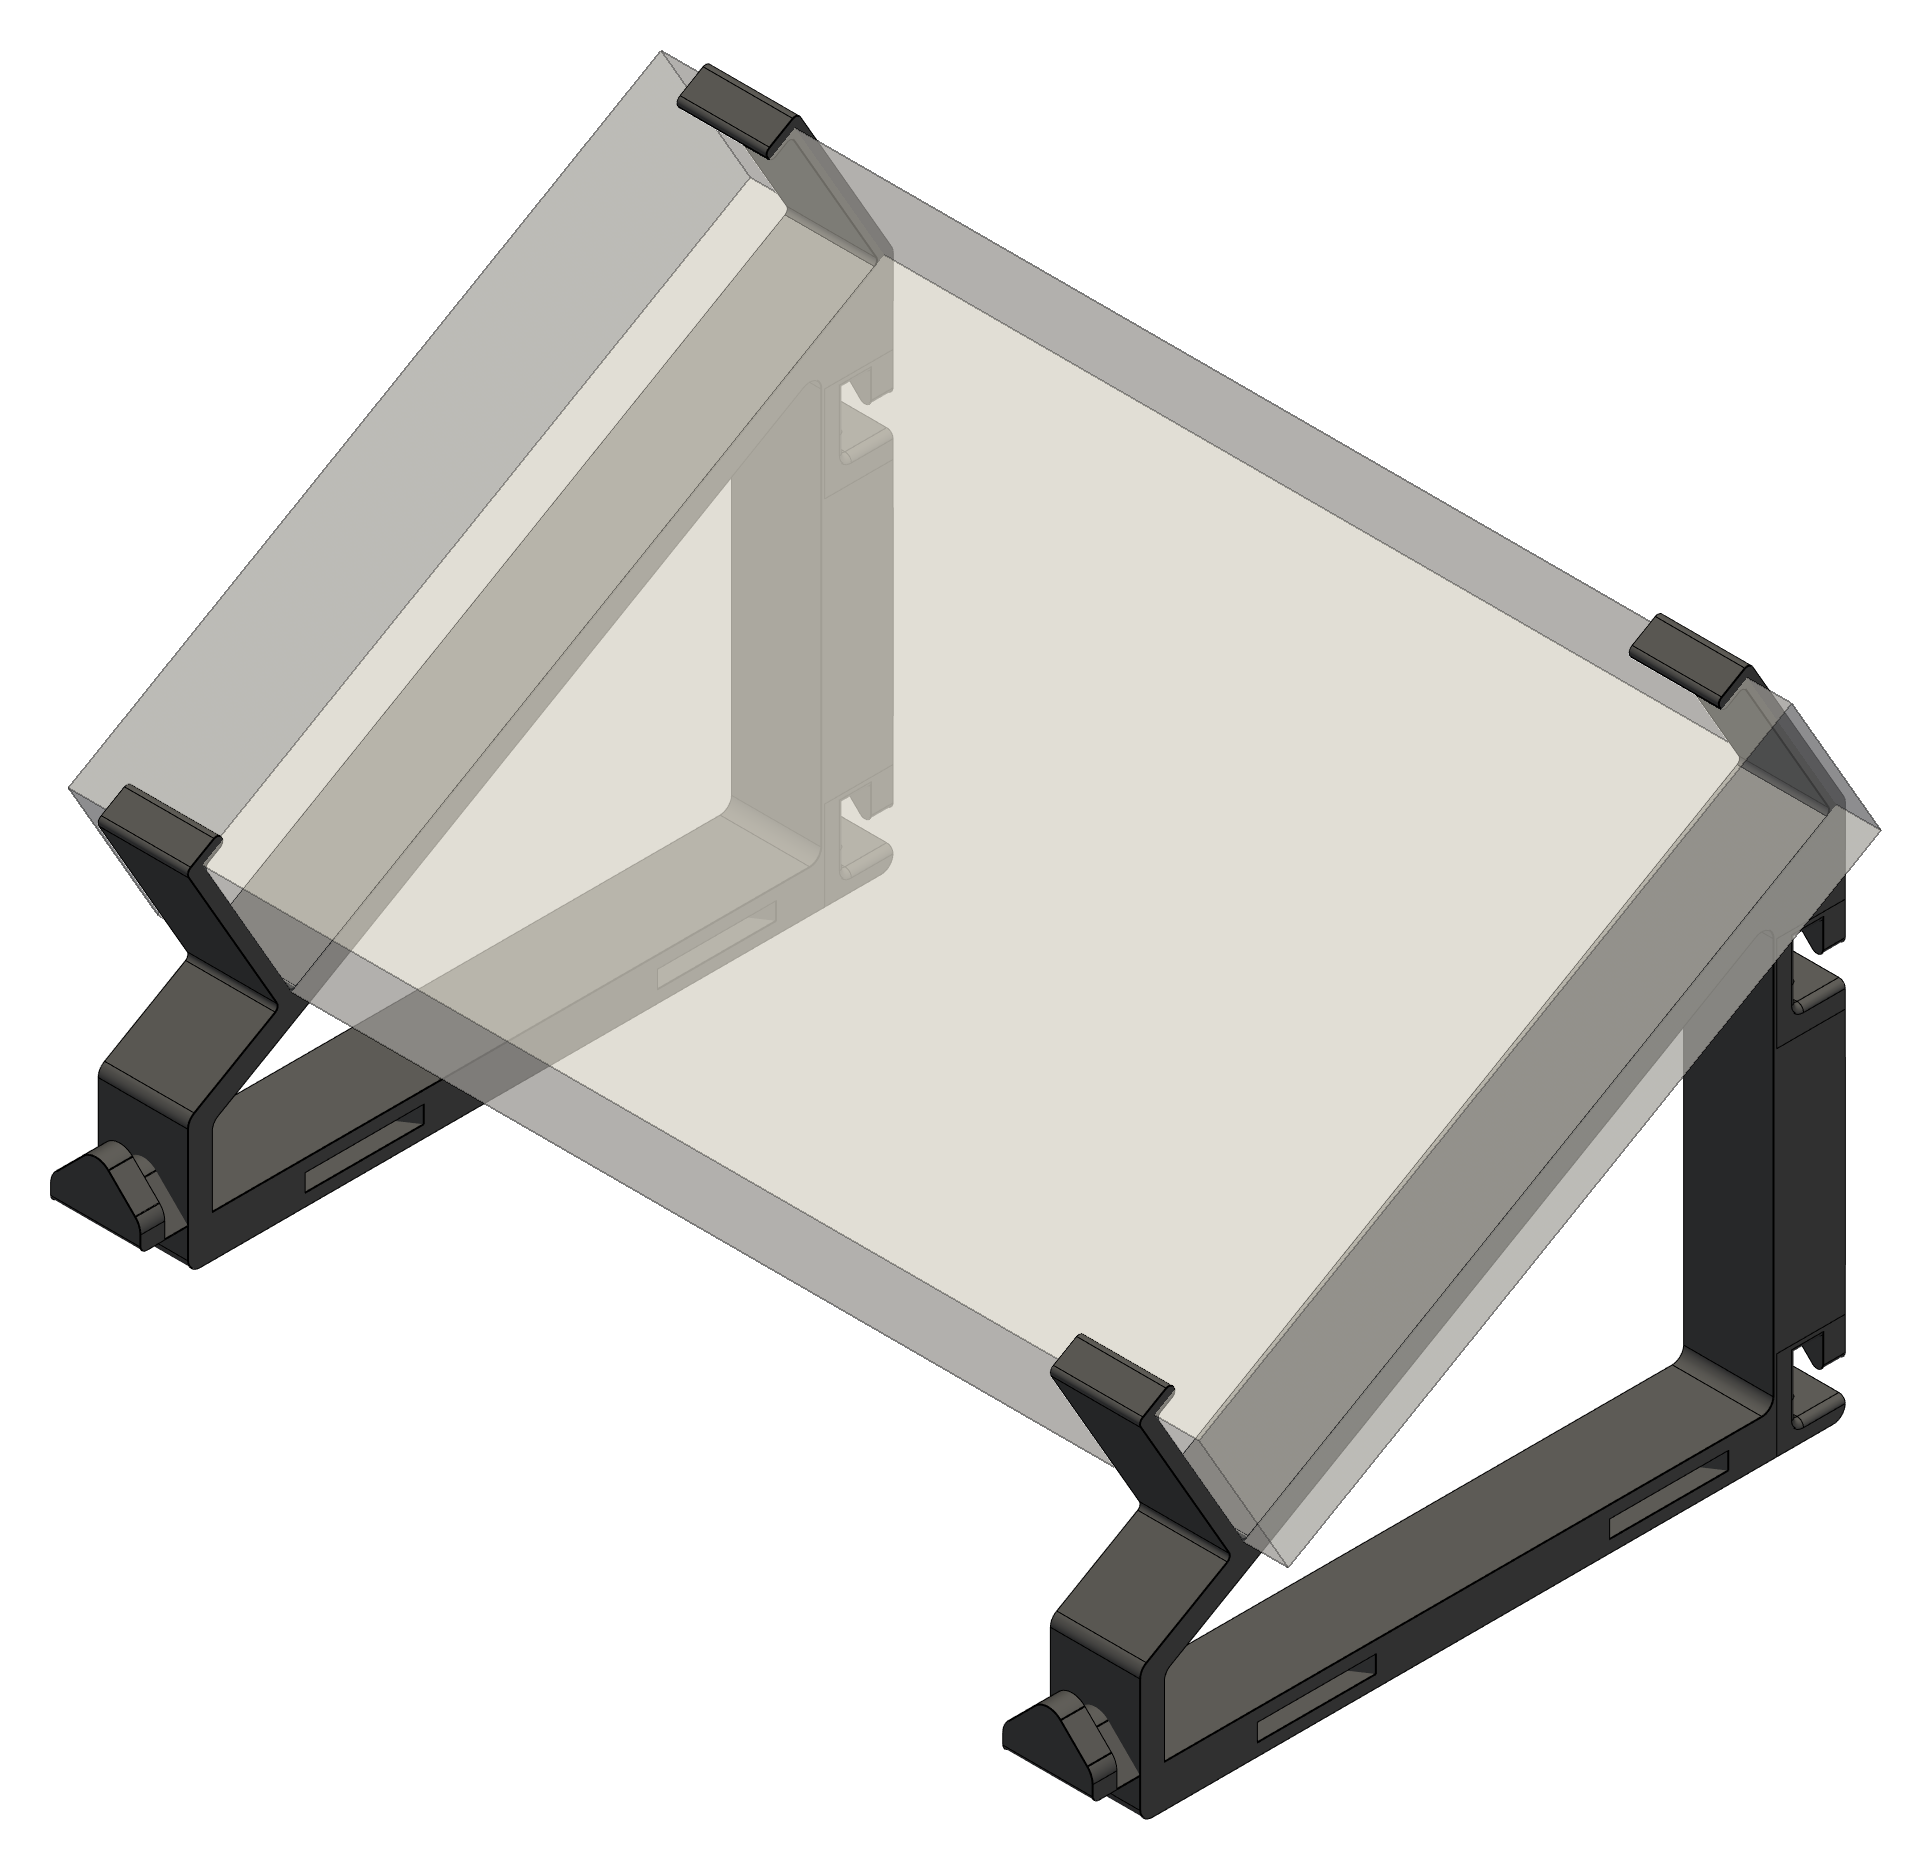
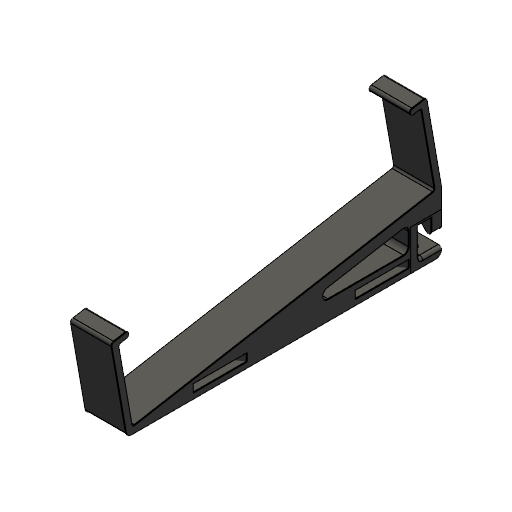
B-stand
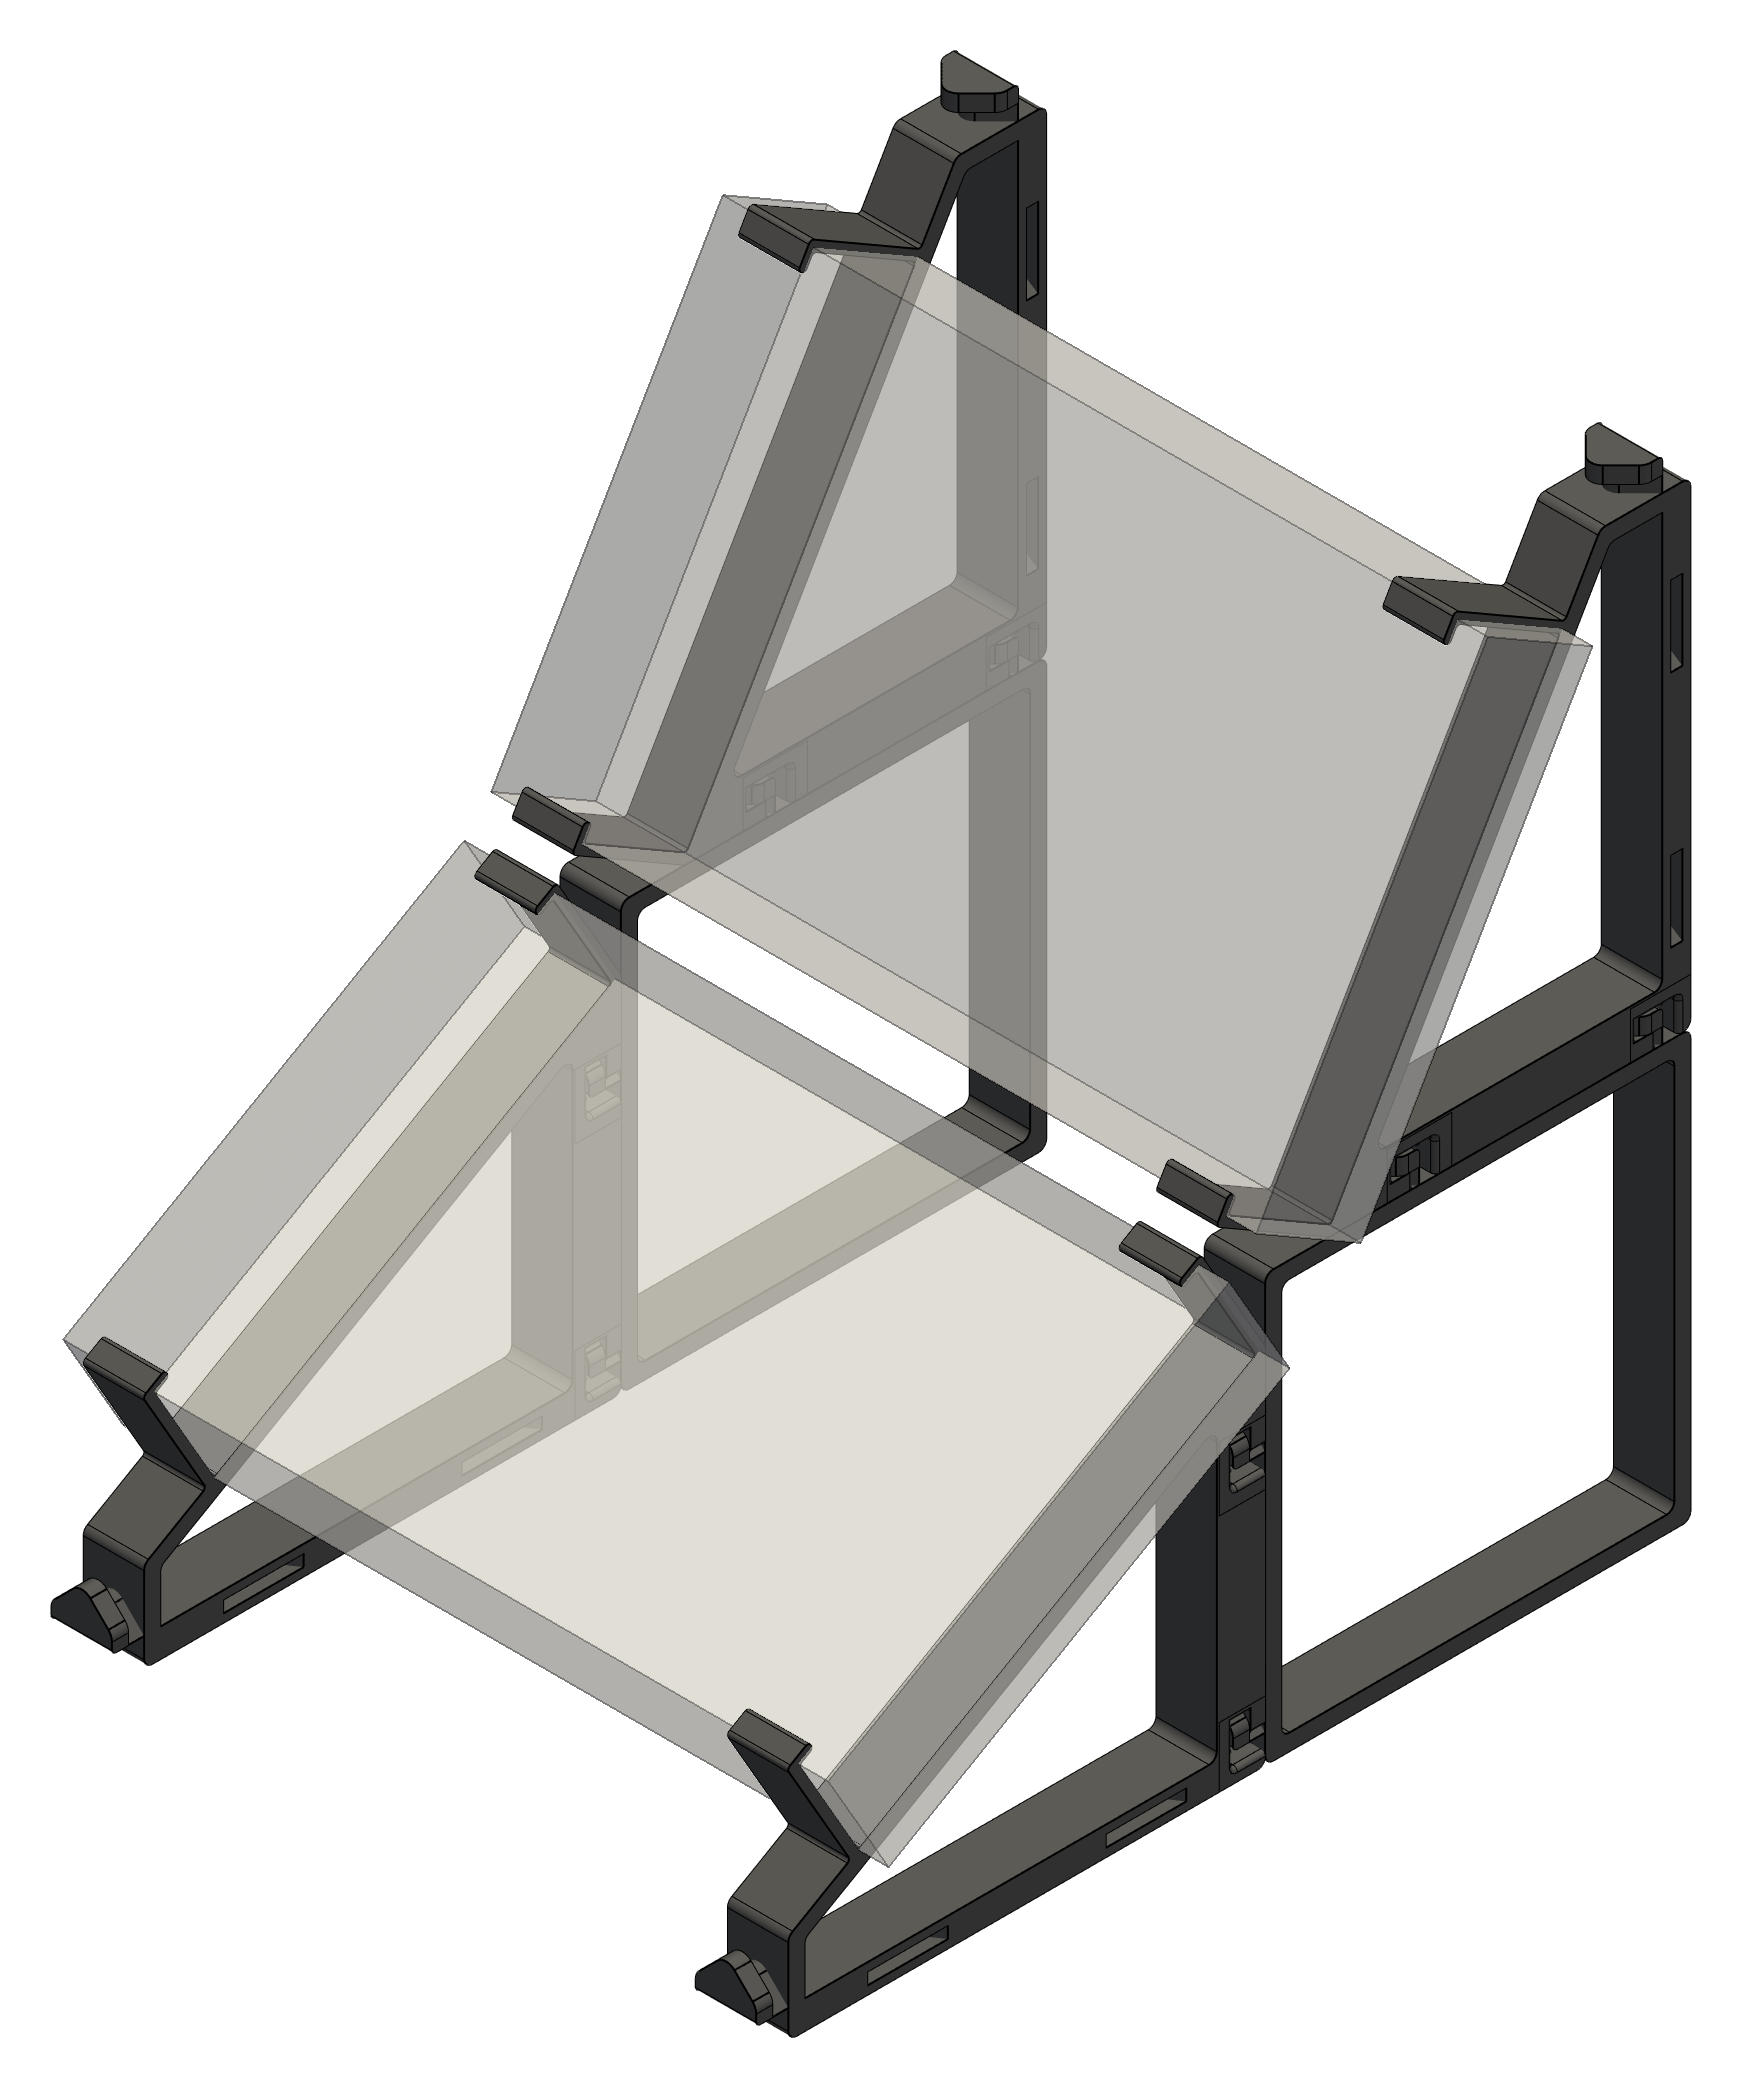
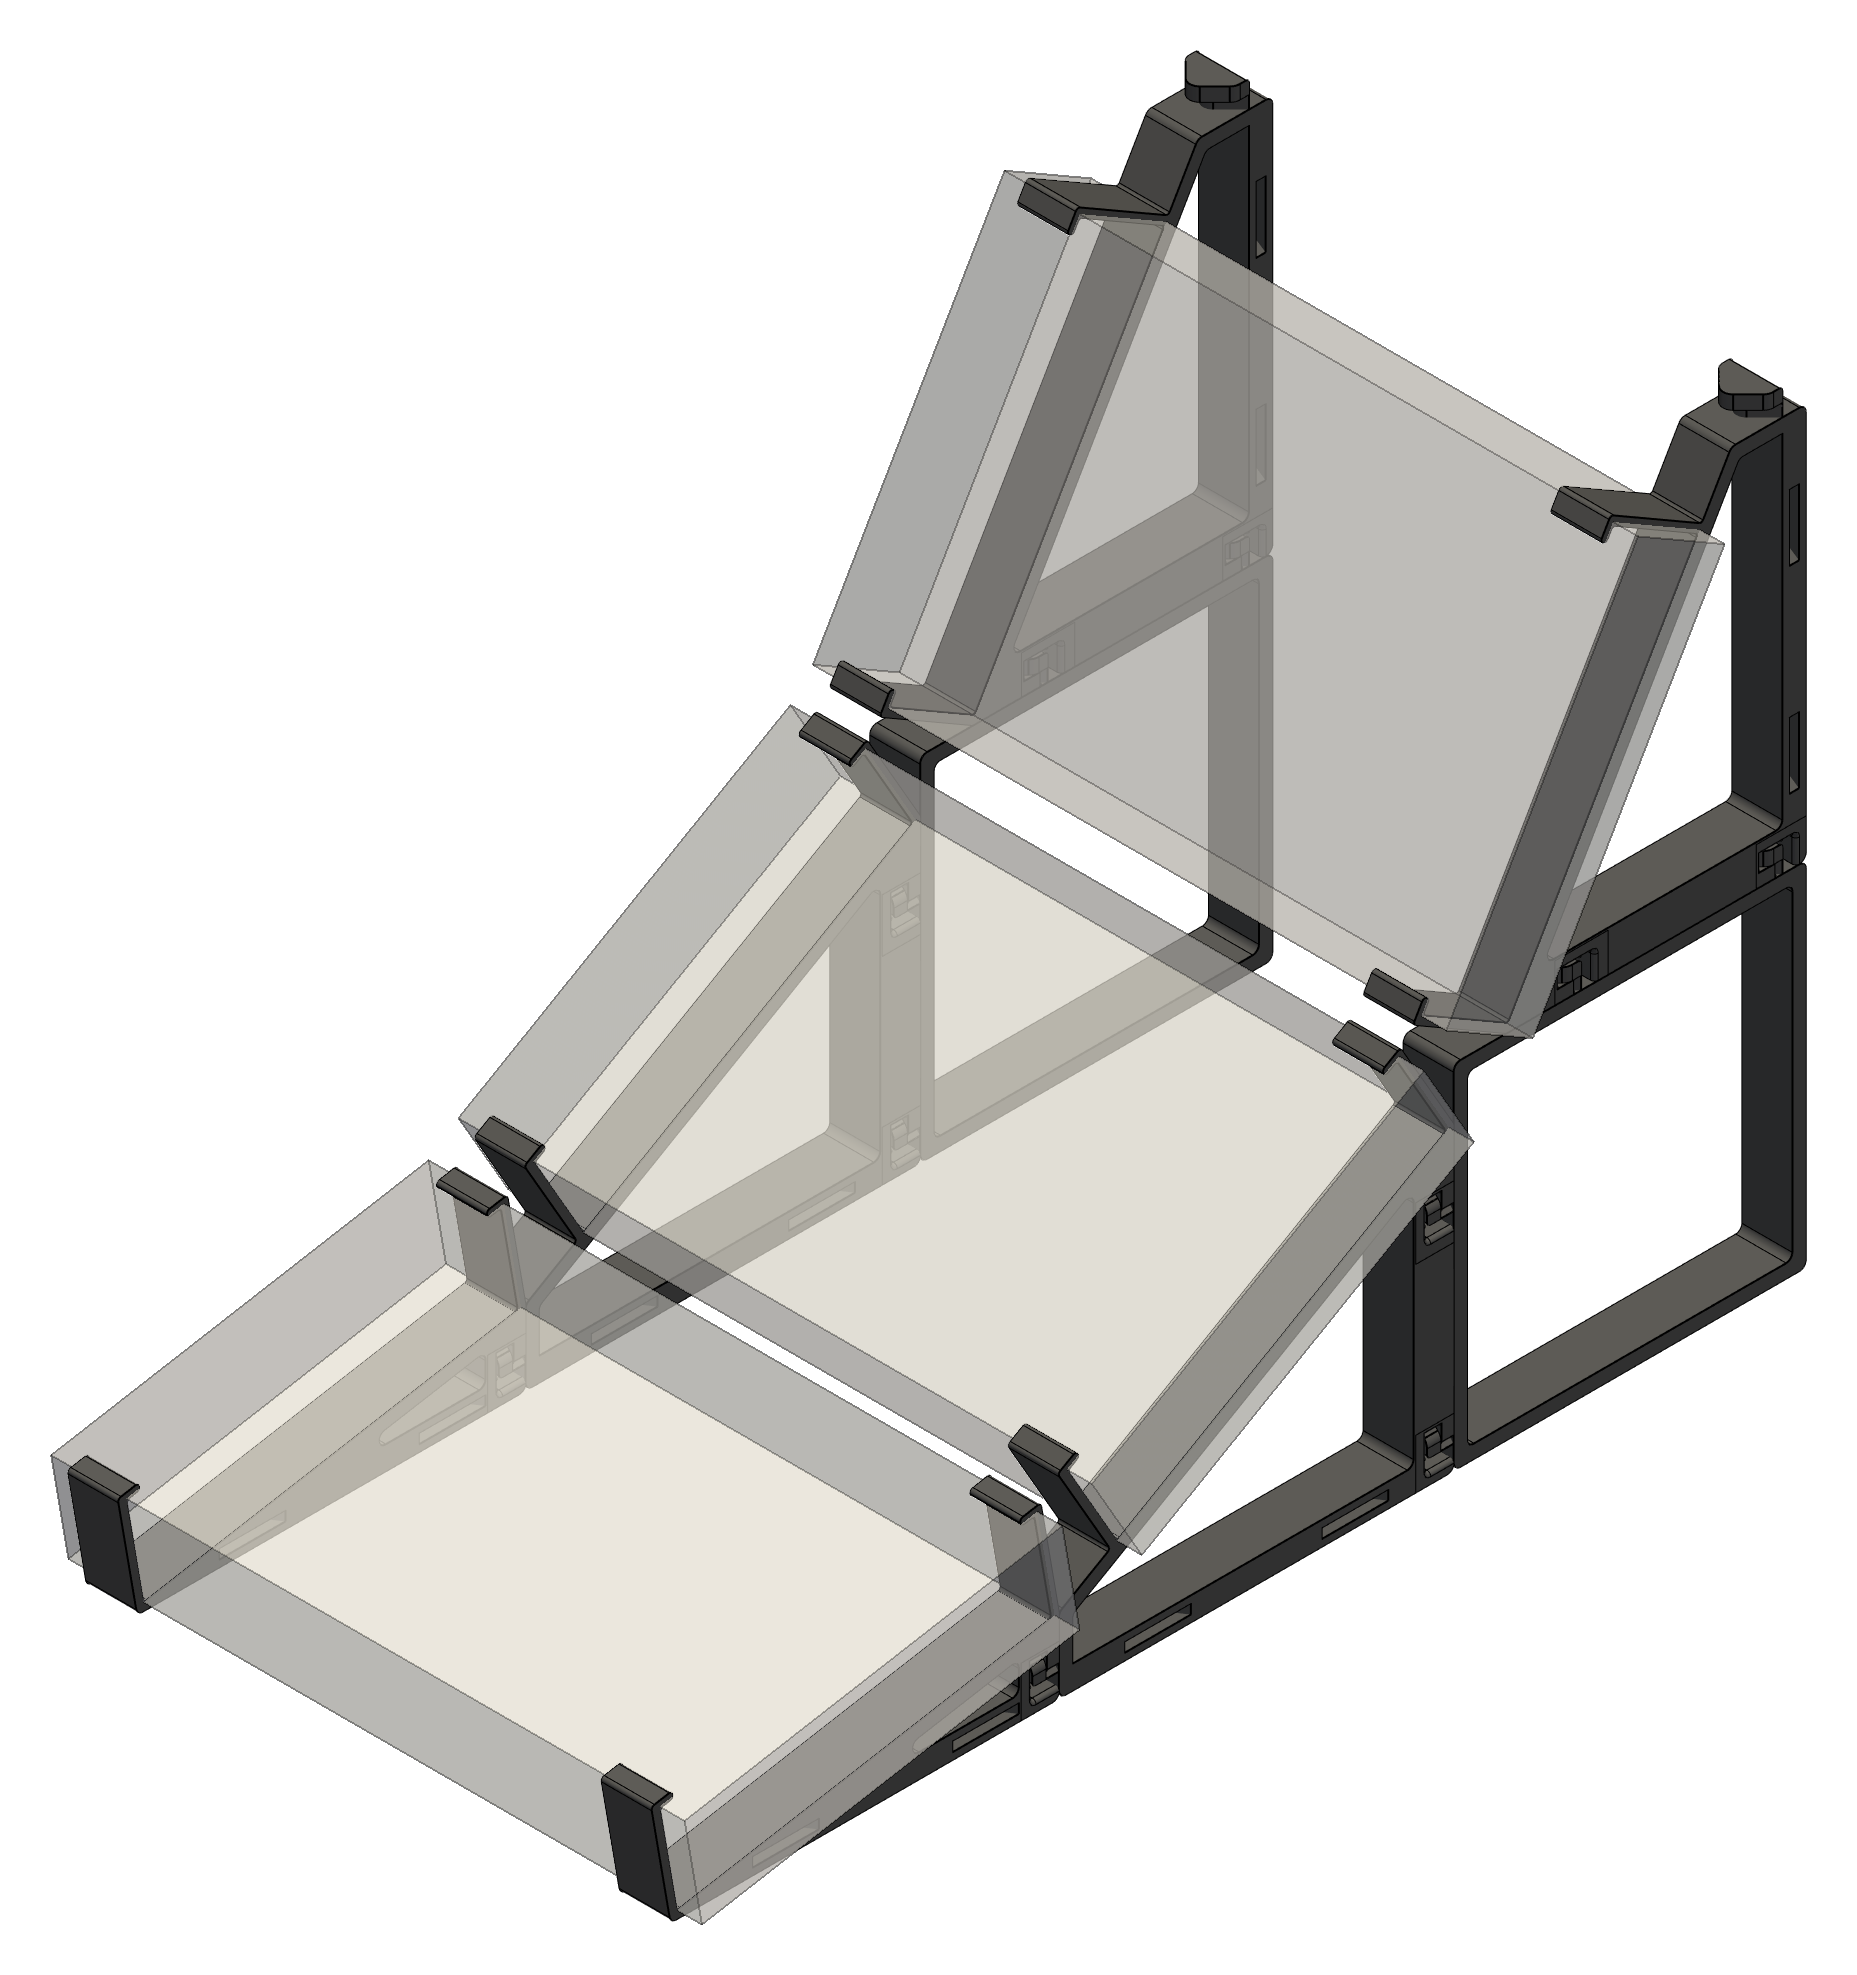
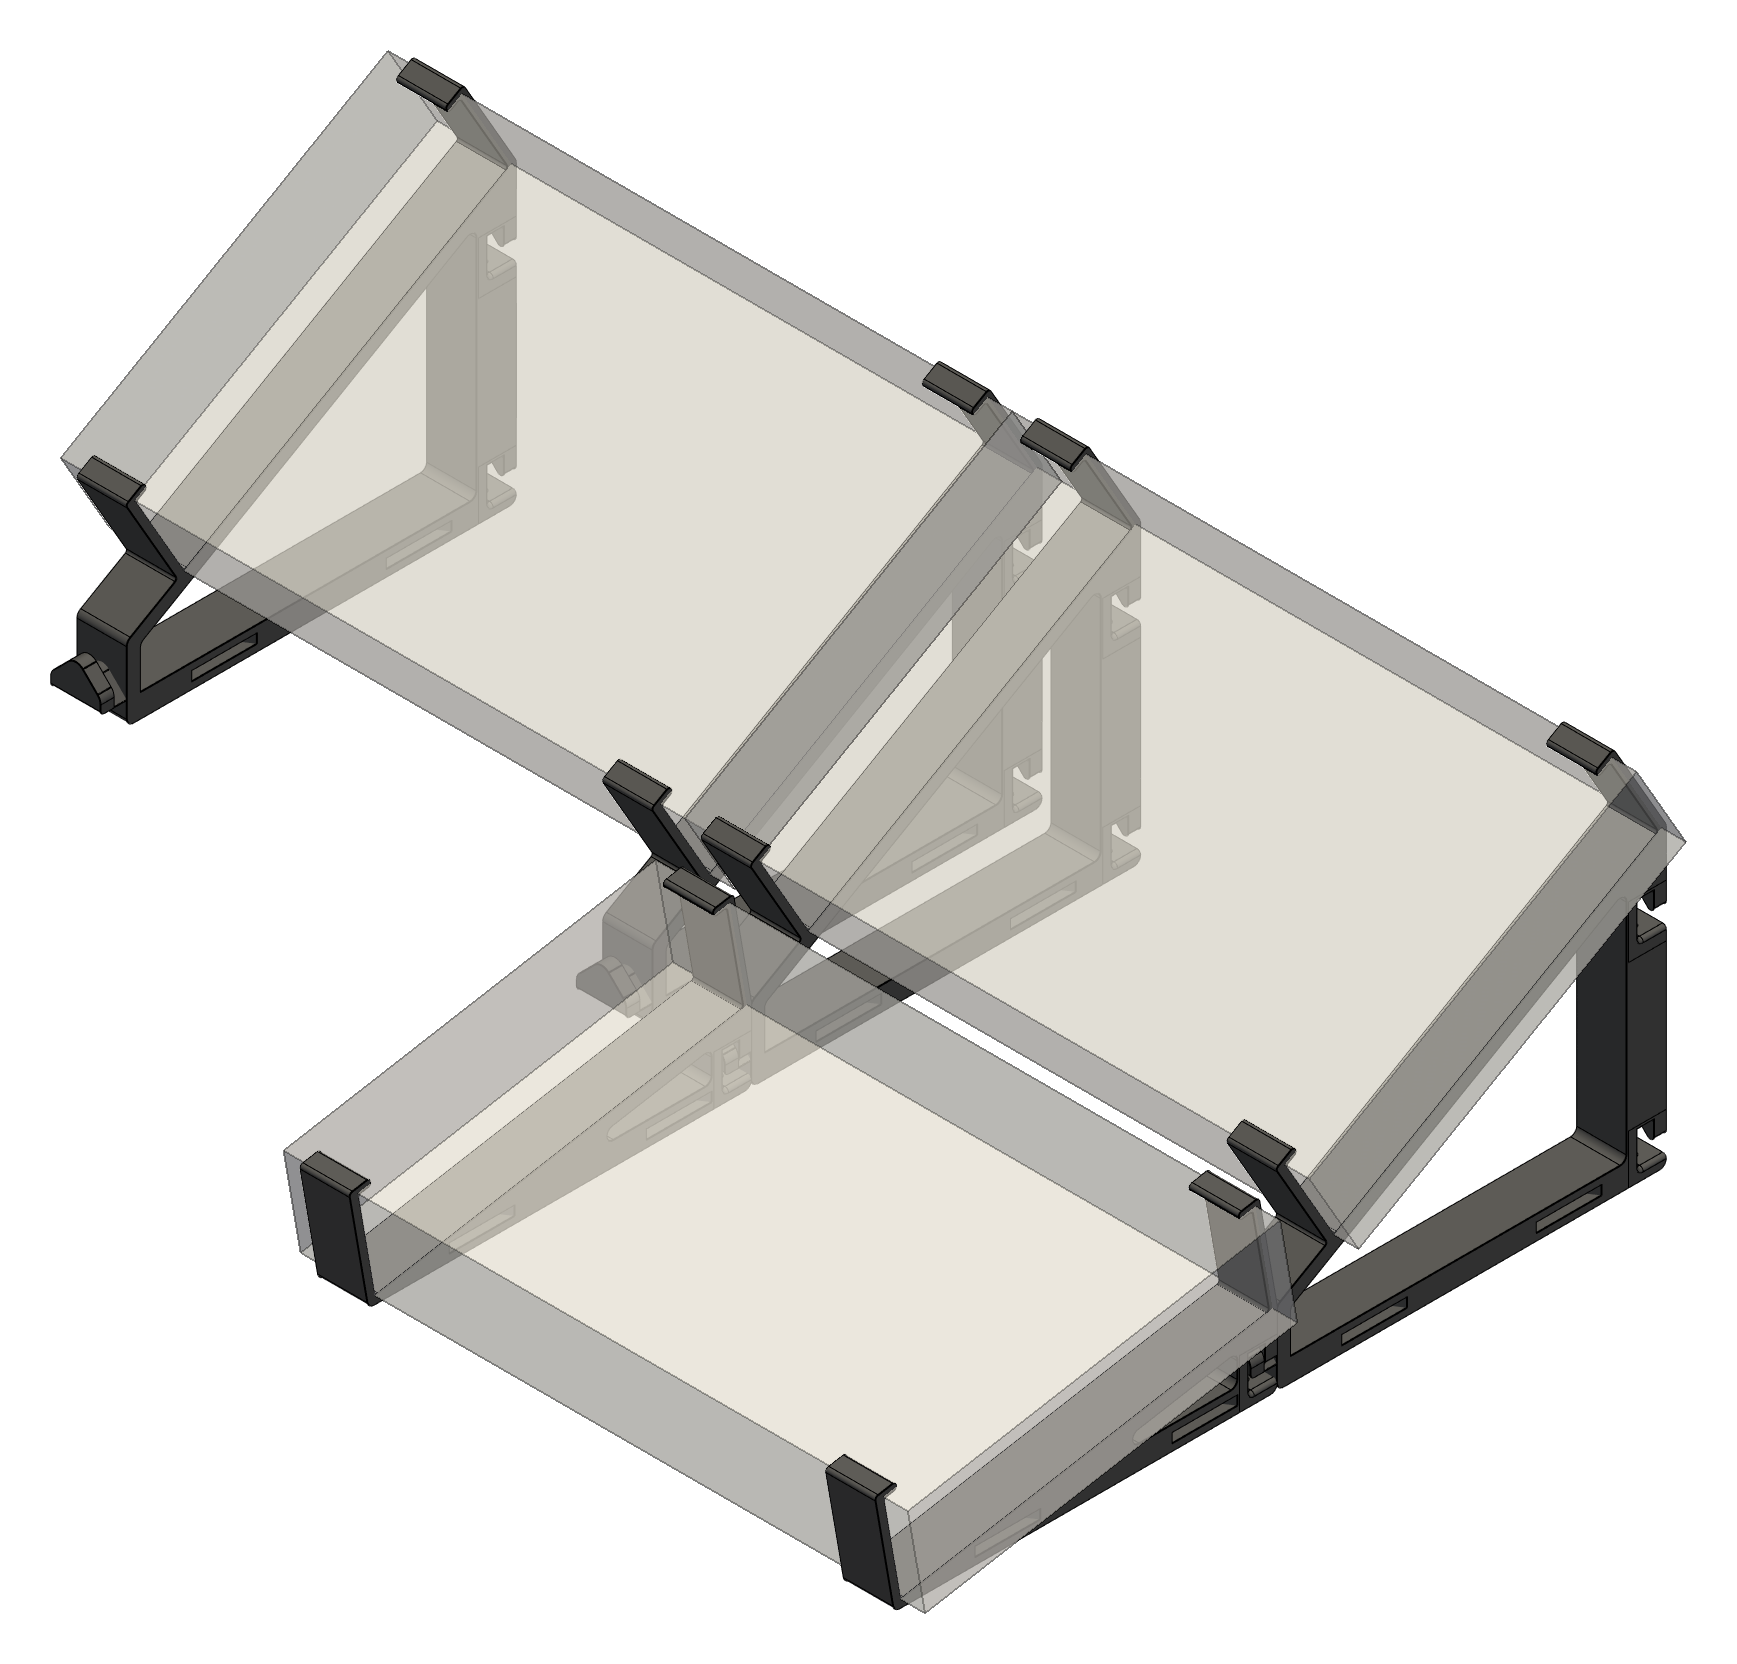
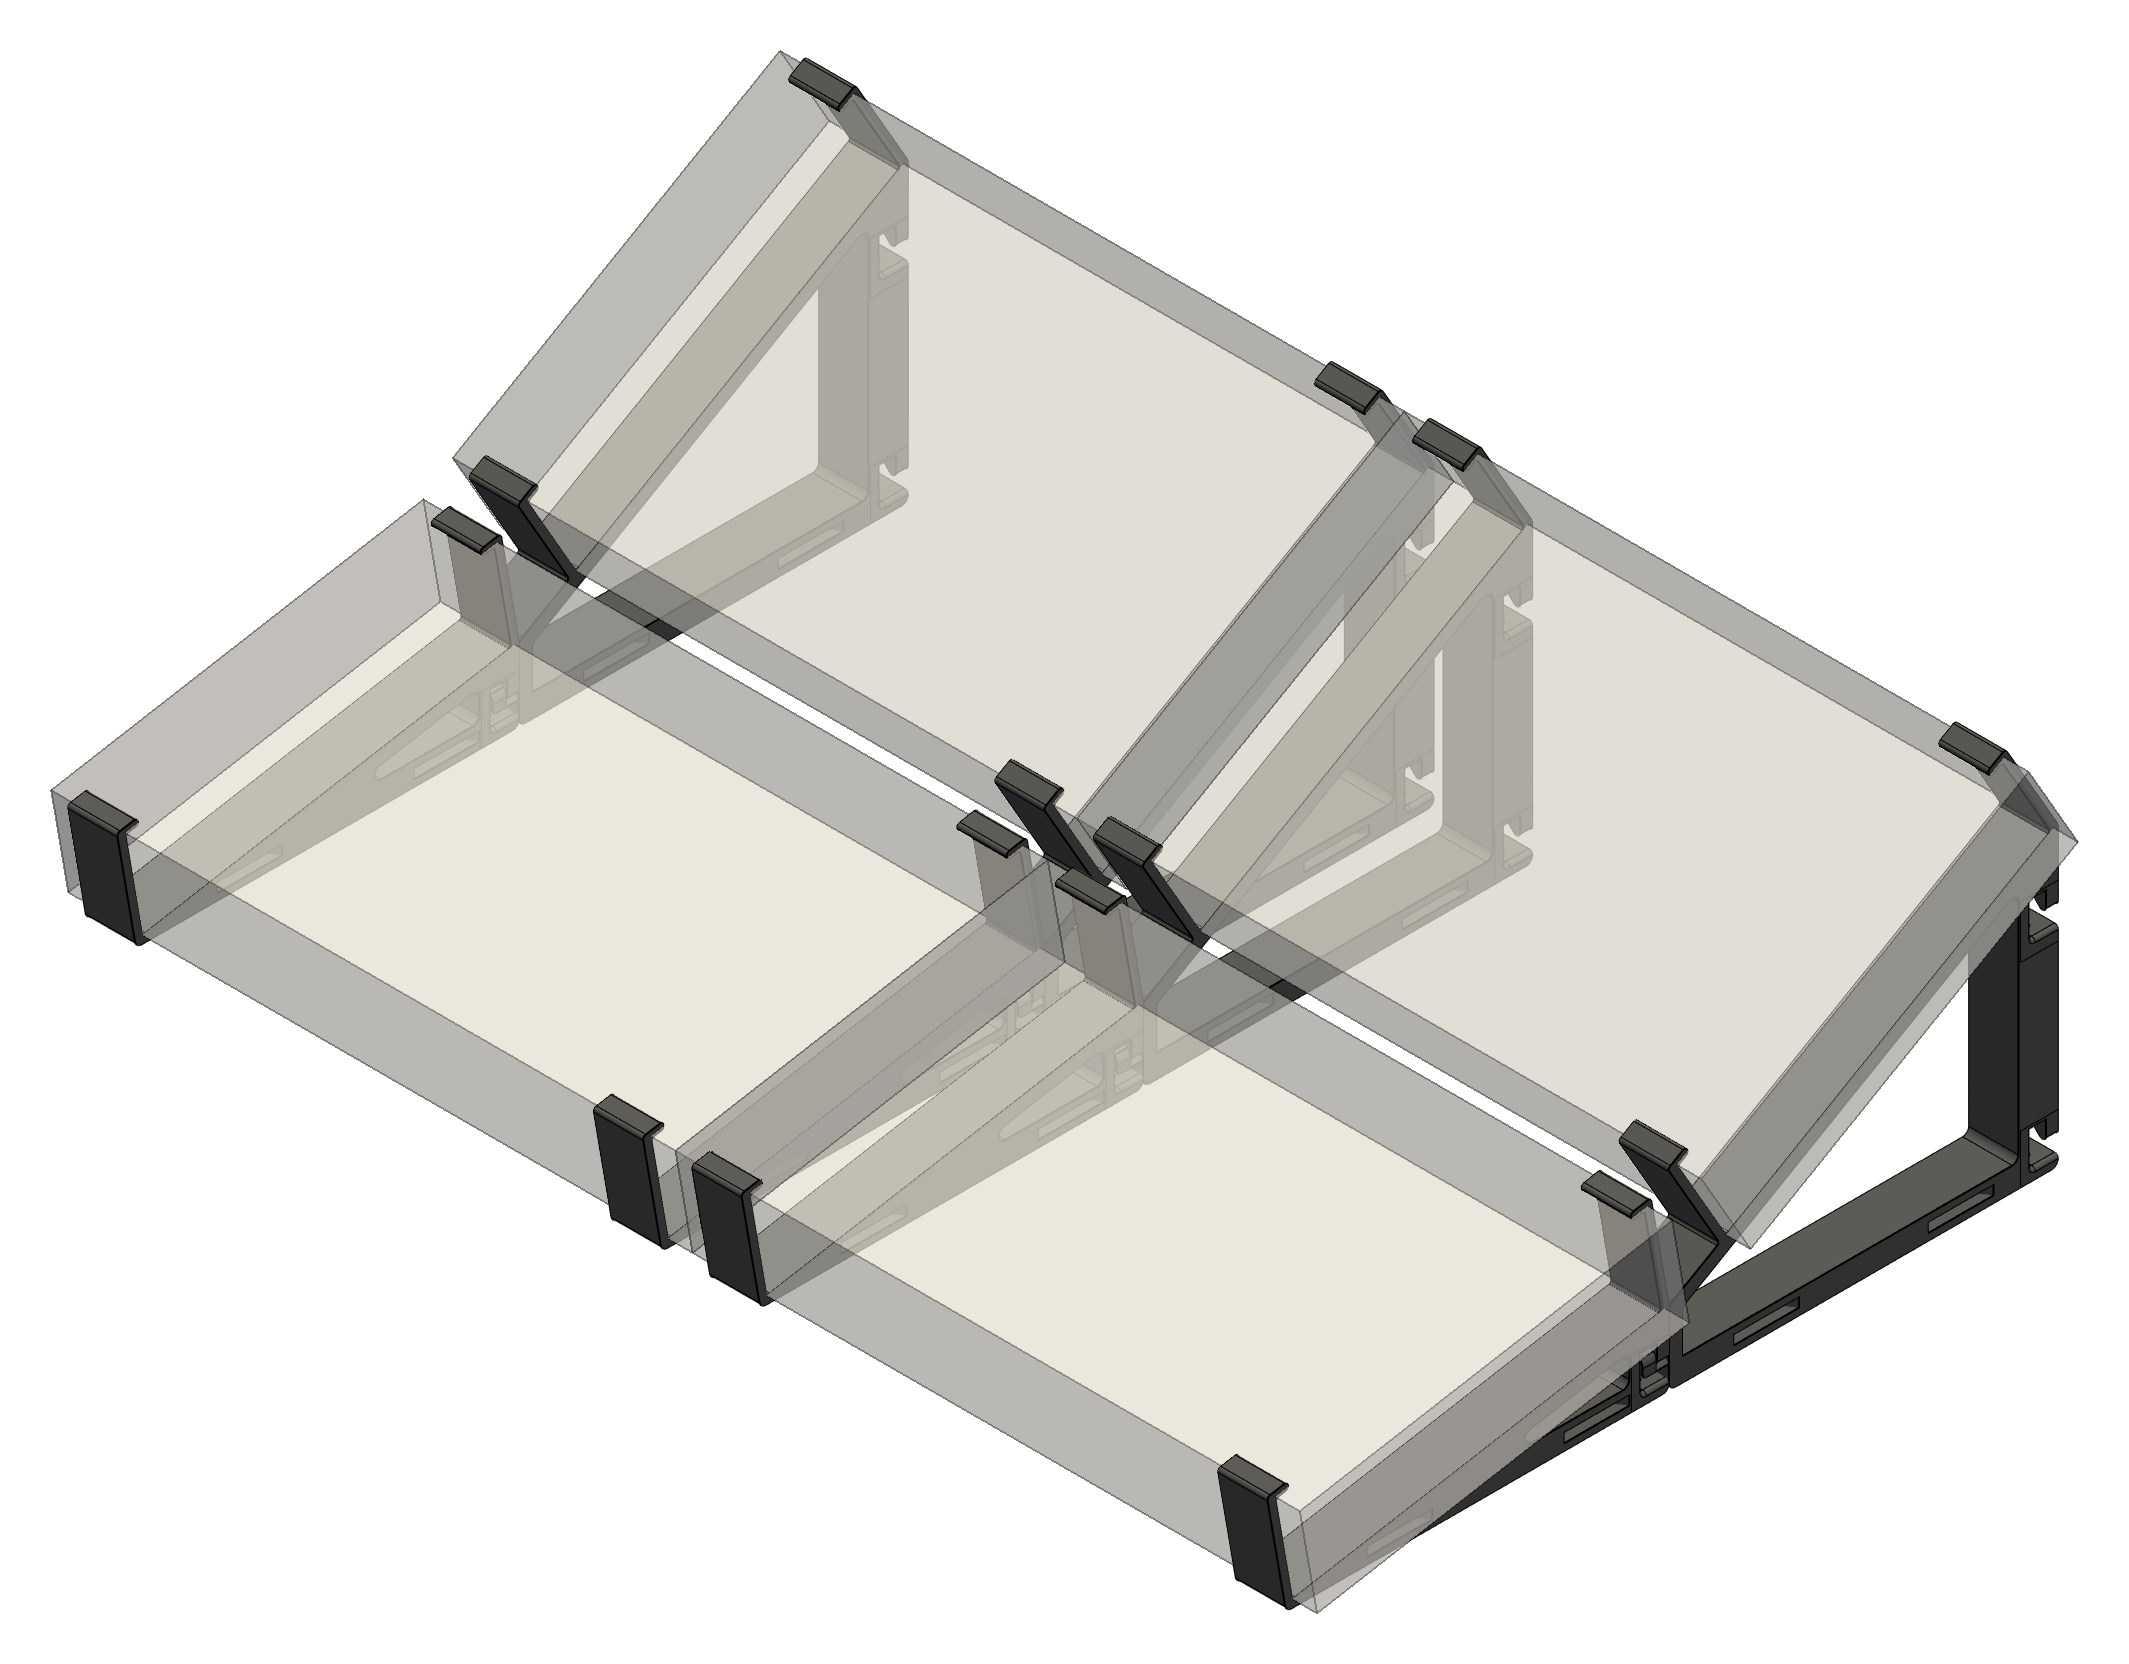
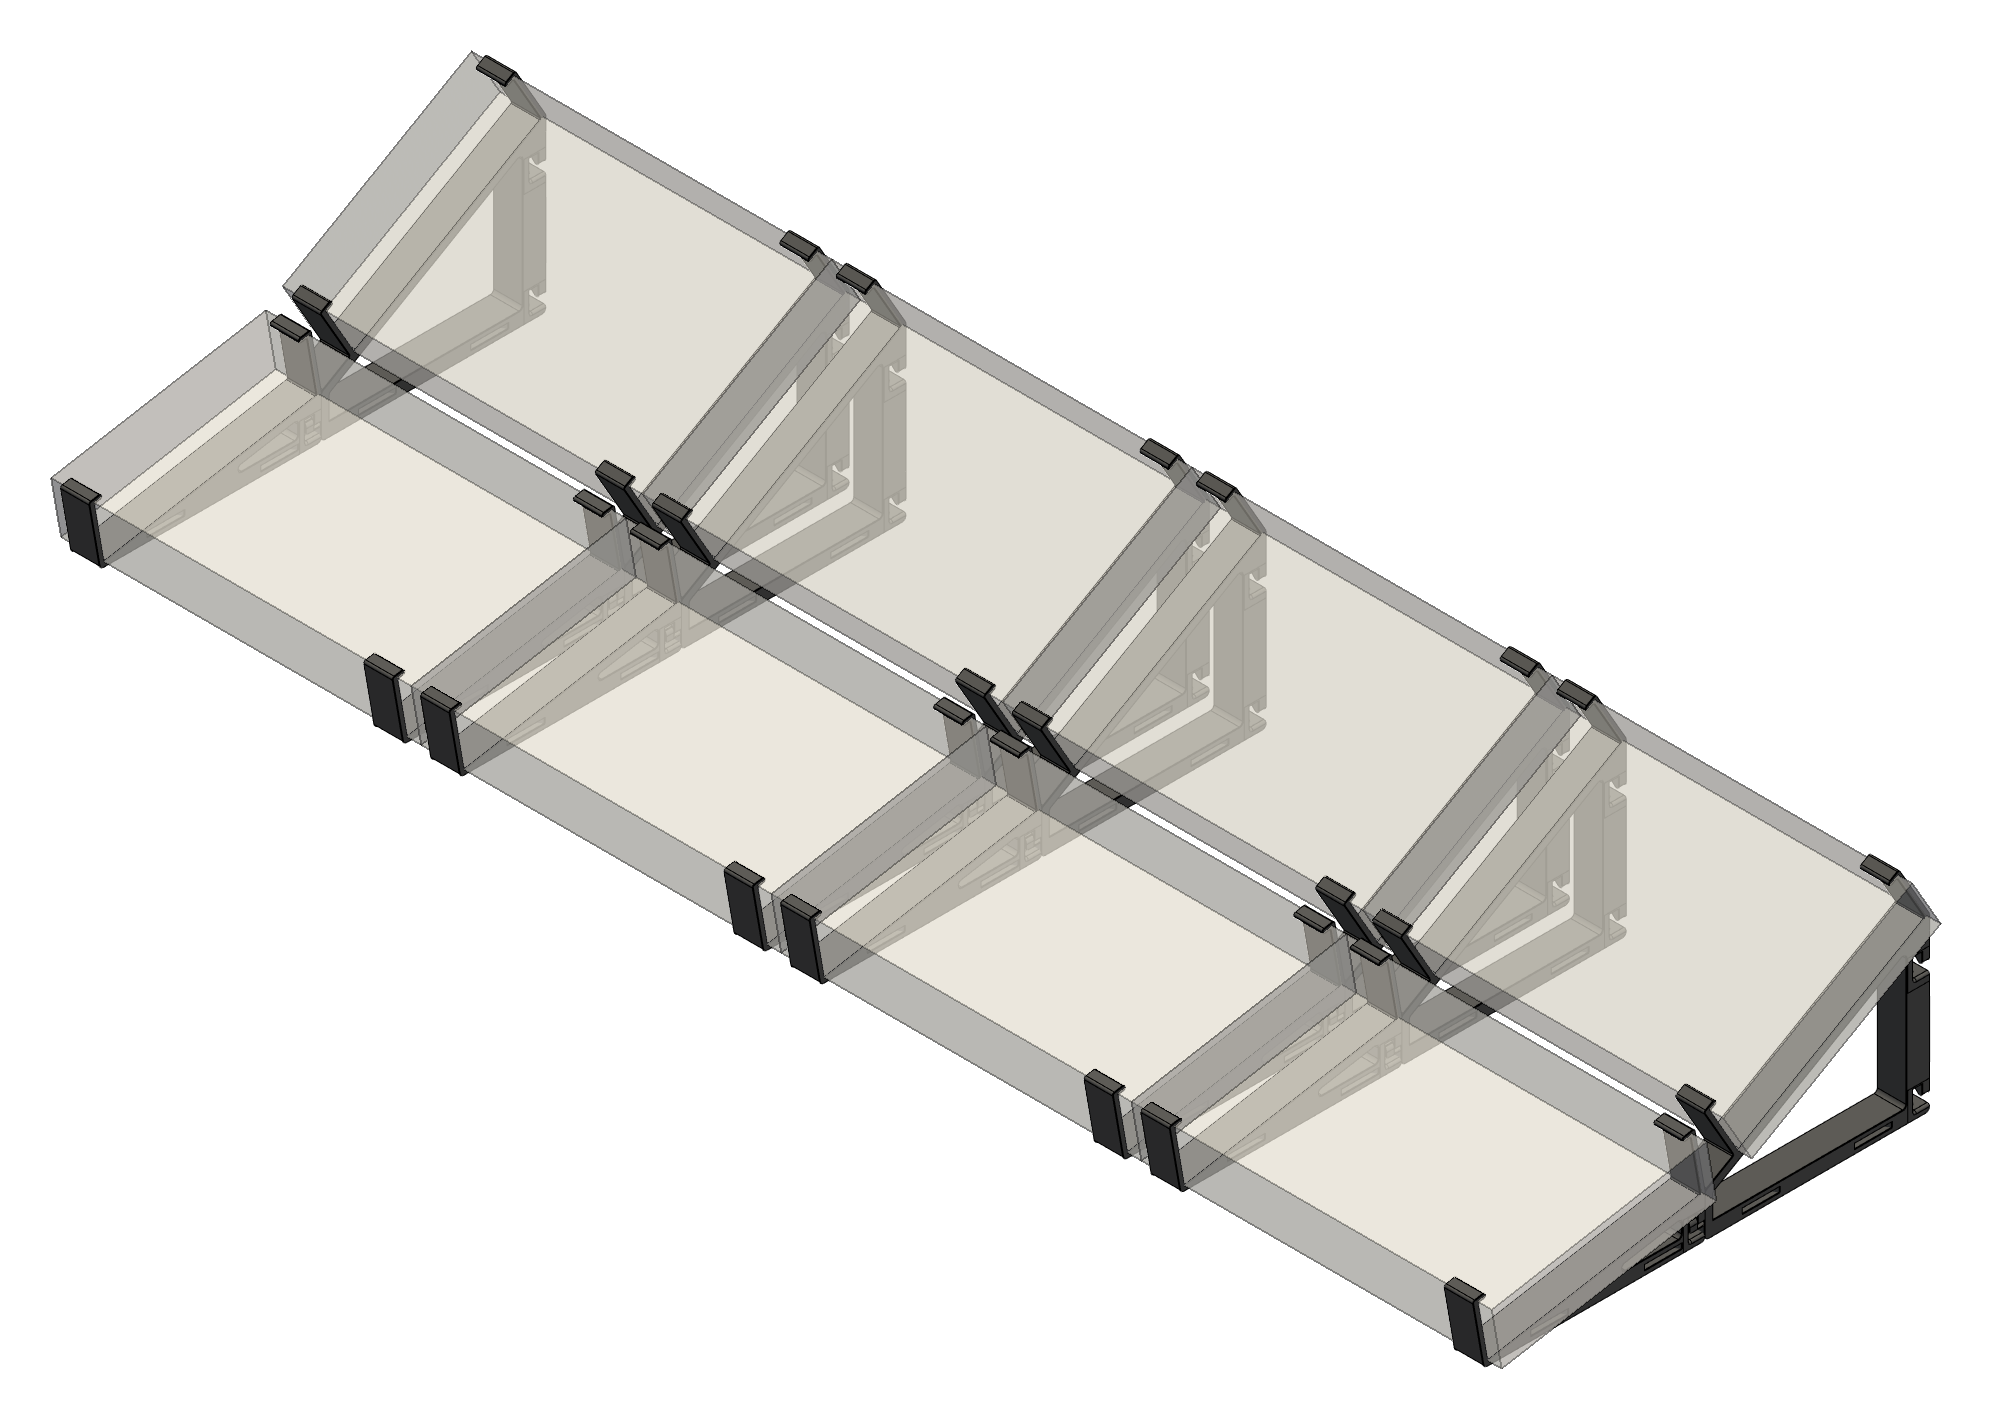
Next is the B-stand, like the A-stand it has two main usages:
- Flat on the table it holds one side of a Volca at an angle of 30° (example here).
- Vertically, either alone or attached to a
Square, in which case the instrument is at an angle of 60° (example here).
B-stand parts are used in pair, each one holding one side of a Volca. They
have two side connector ports to attach them lateraly to another B-stand. And
two hooks to attached them longitudinally to a Square.

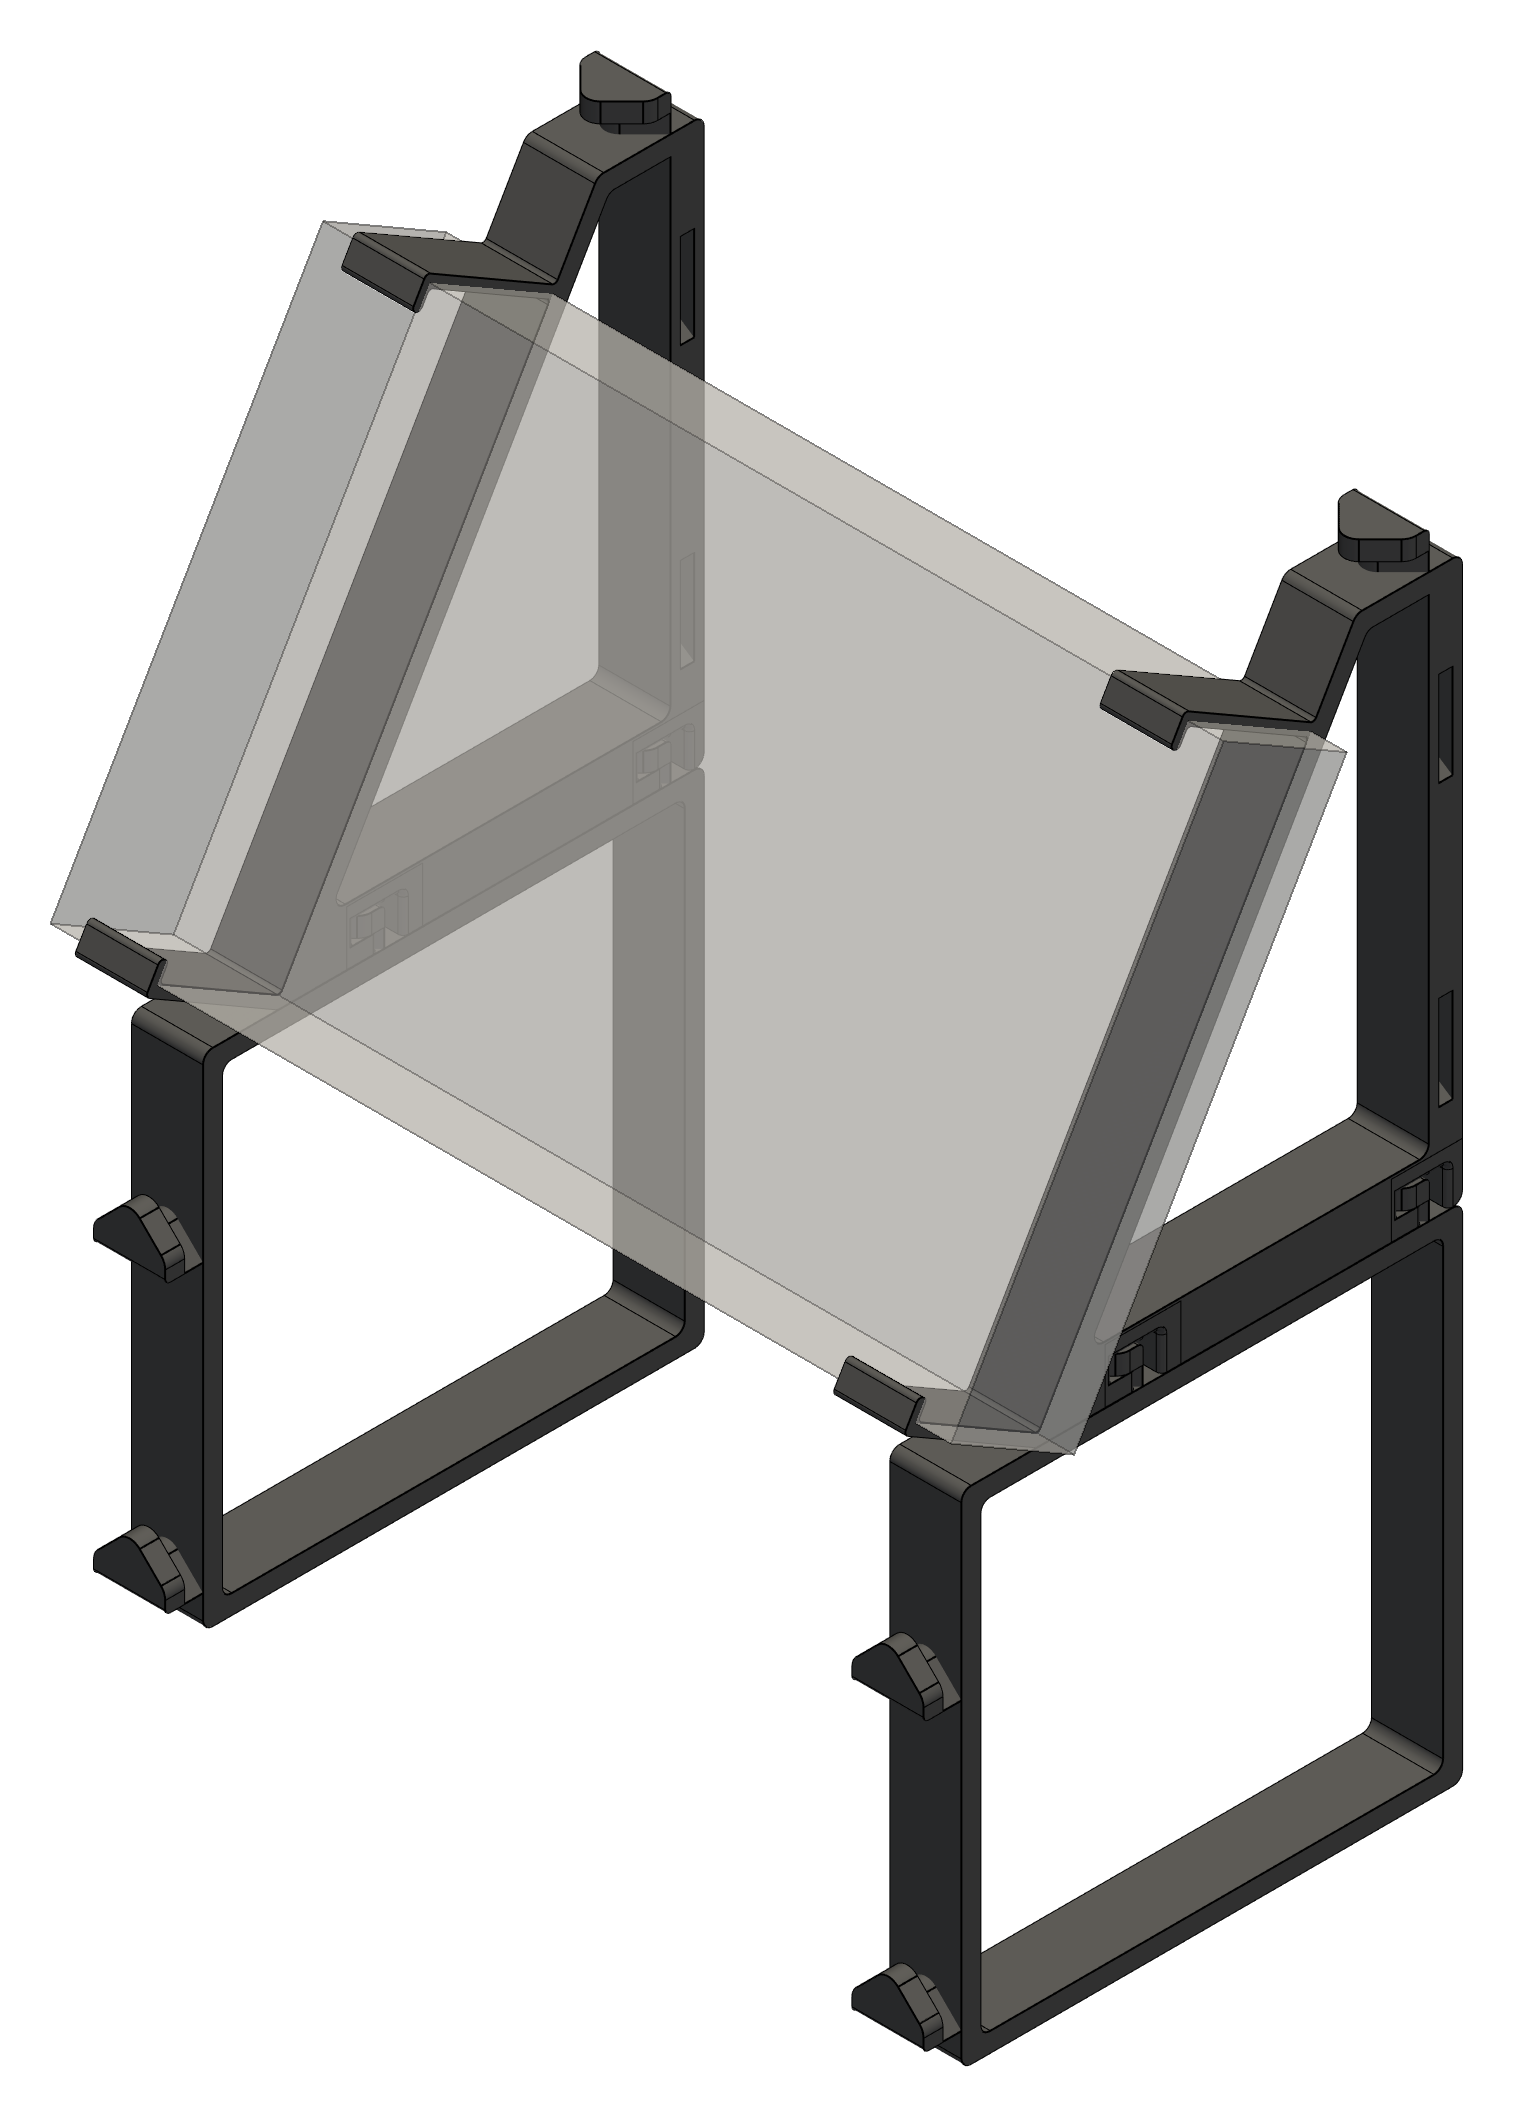
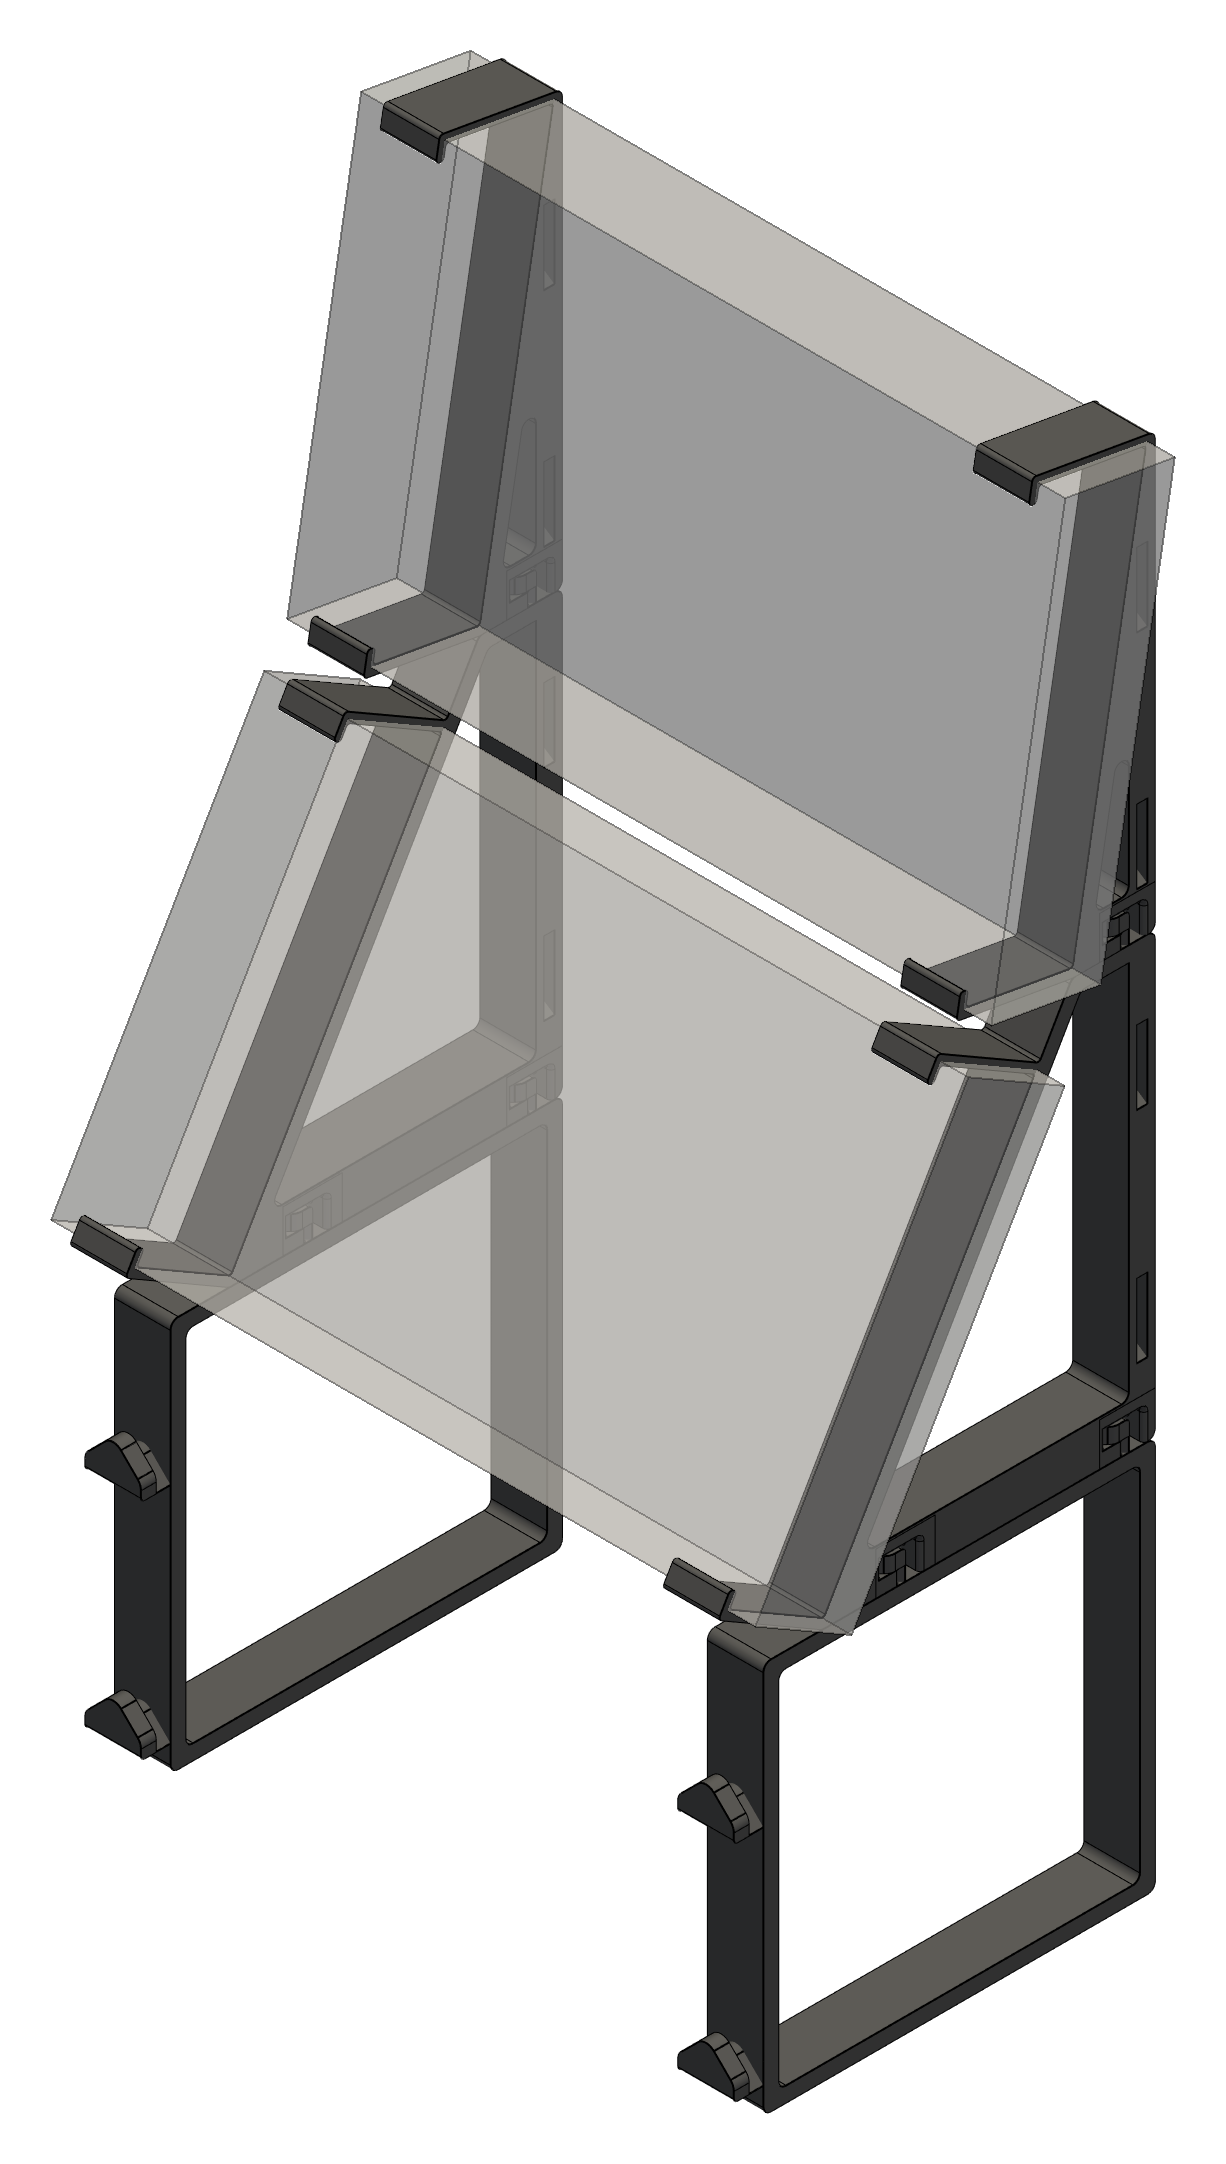
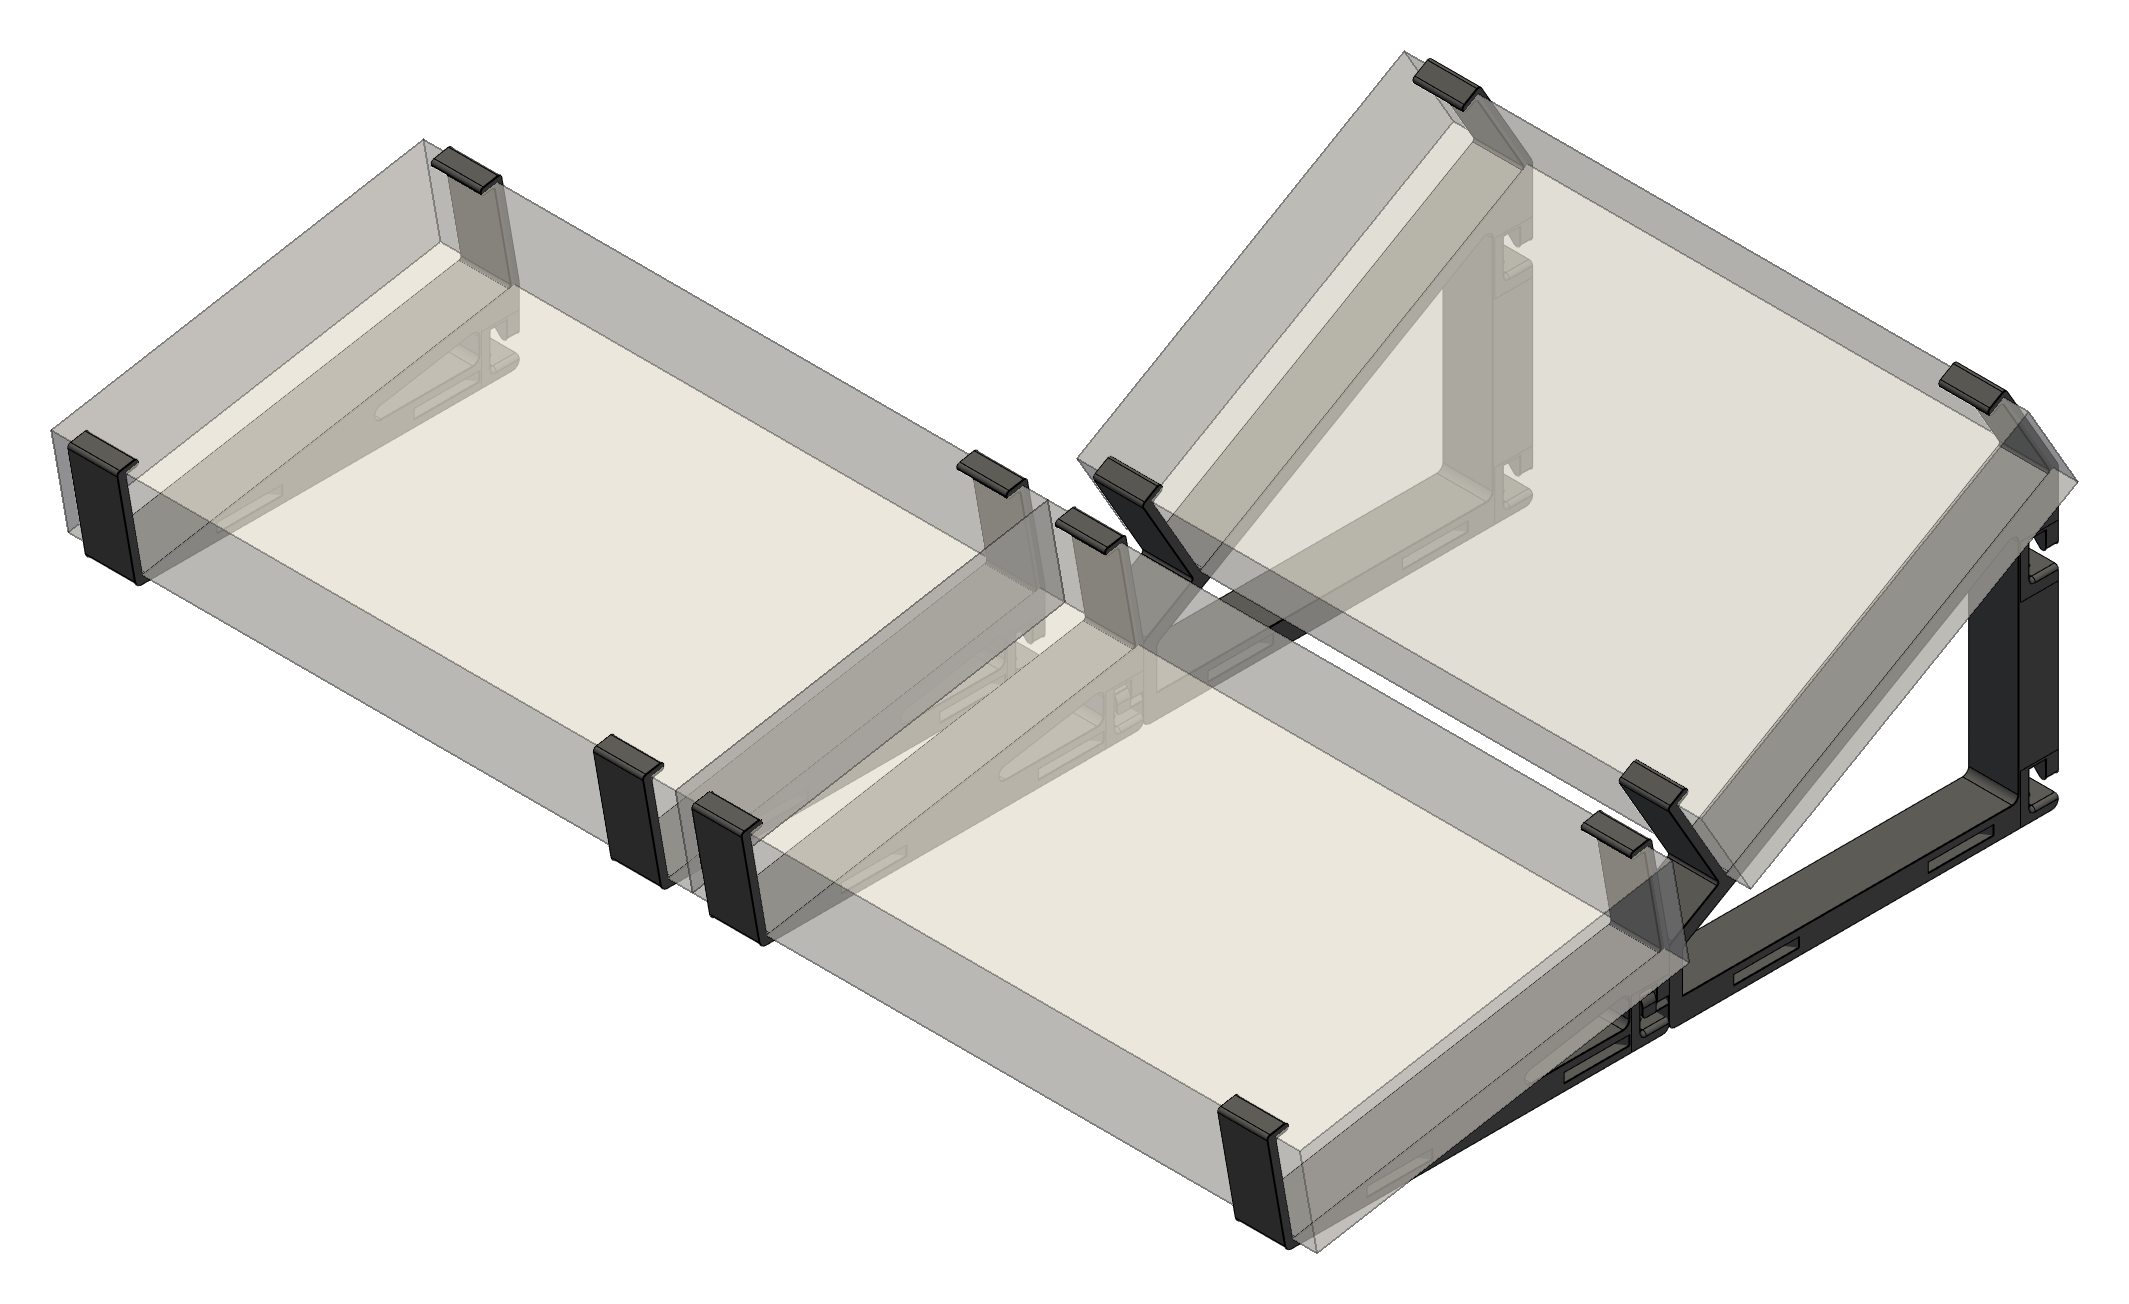
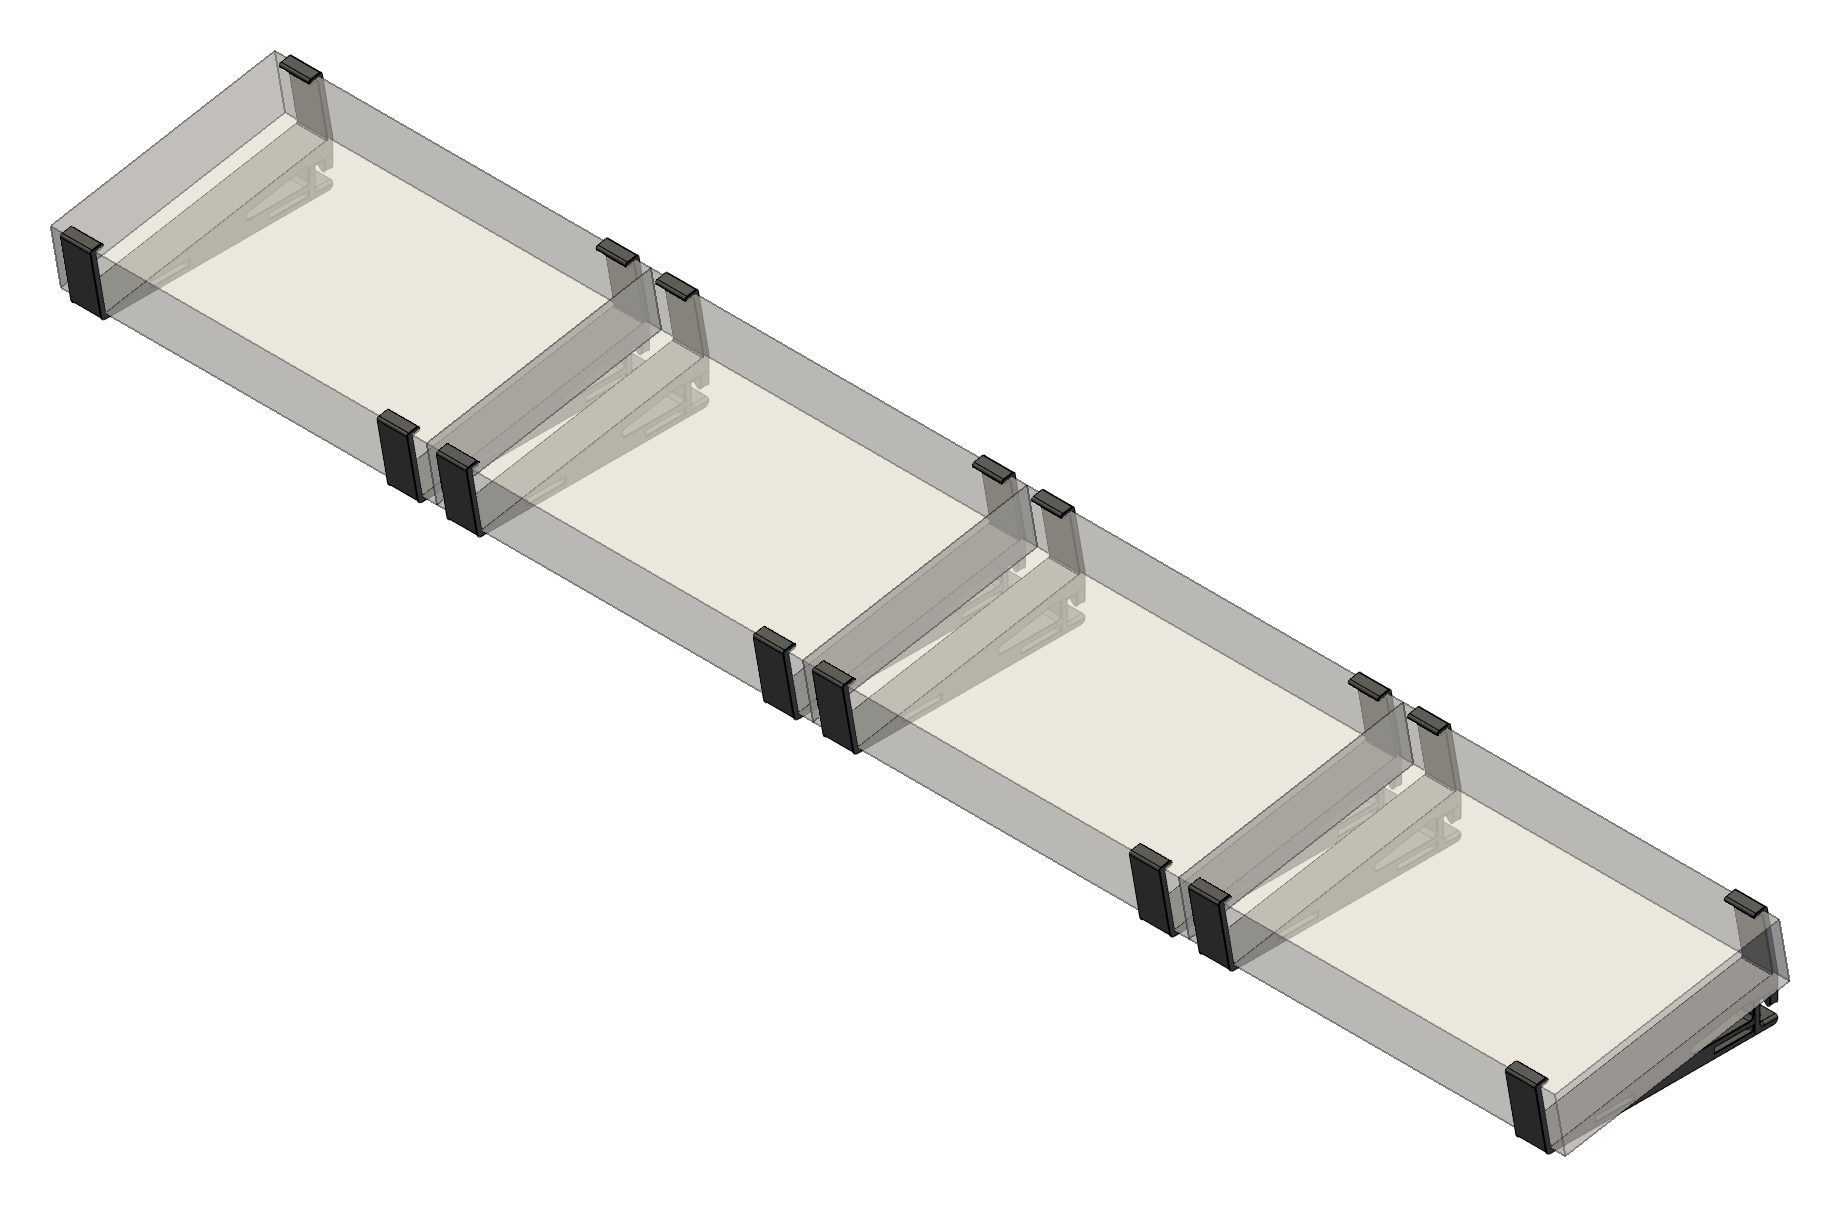
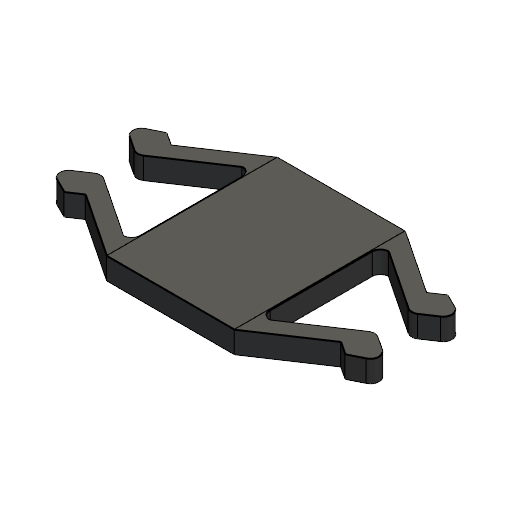
Square
Square parts are used as a platform to raise vertical A-stand or B-stand
to create a 3rd row of volcas. Like the A-stand and B-stand, Square are
used in pair. Square parts have four hooks to attached them longitudinally to
A-stands and/or B-stands.
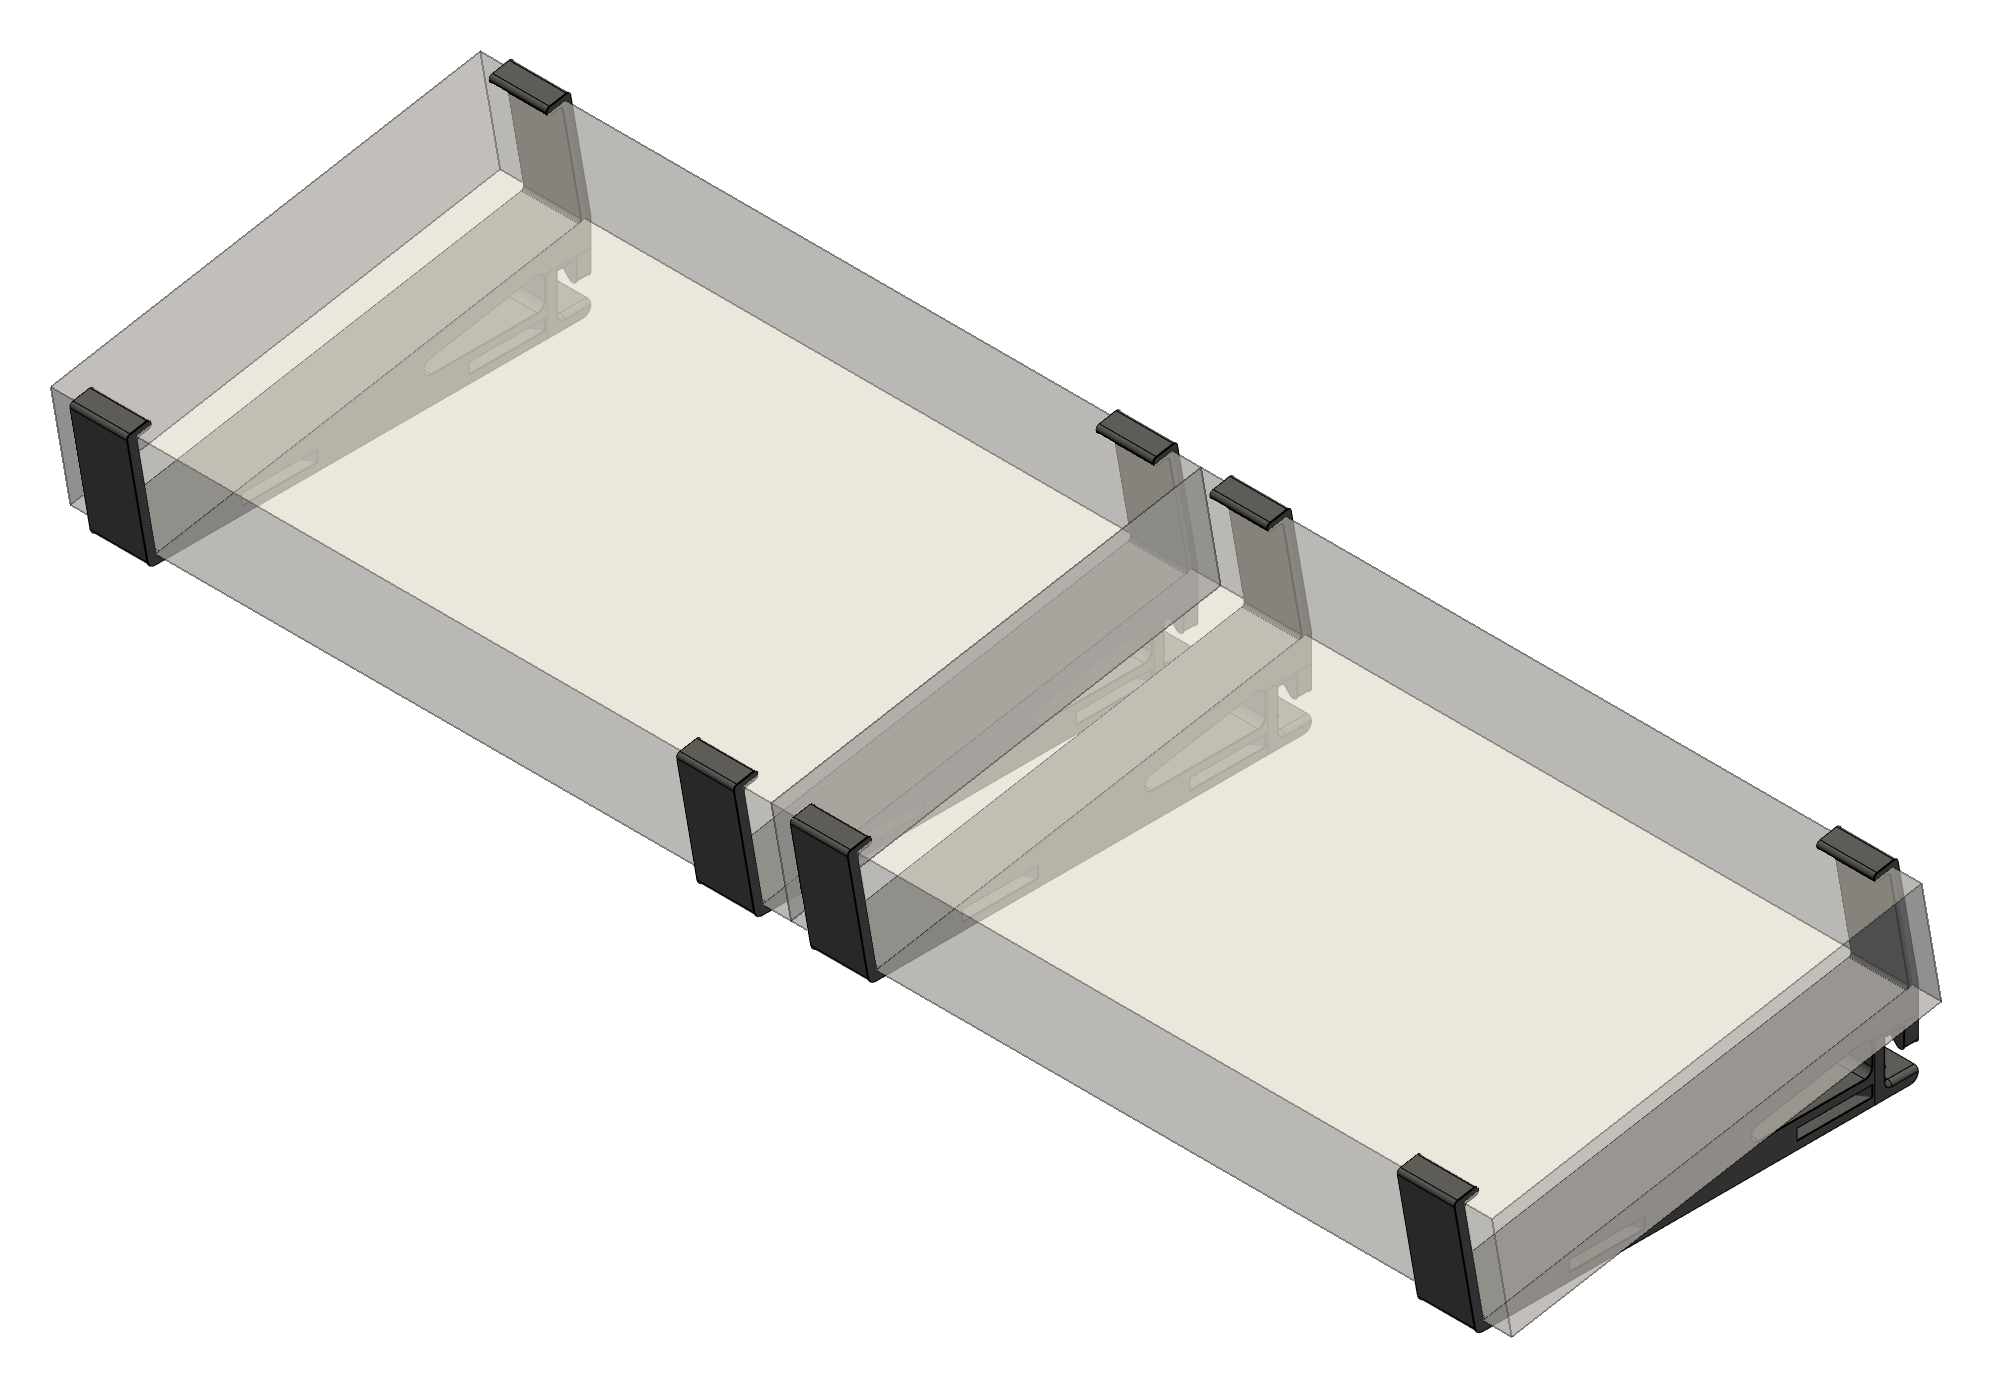
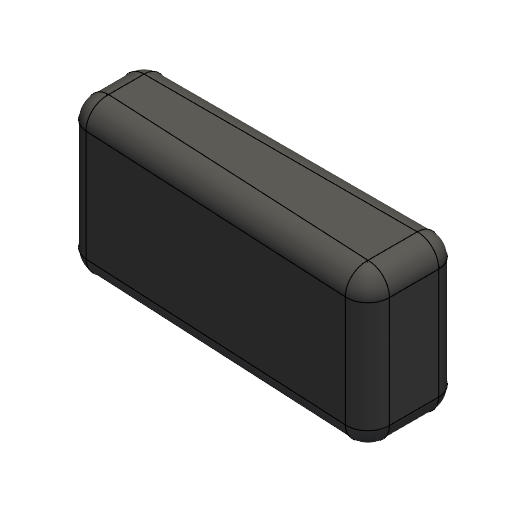
Connector
Connector are snap-fit pieces used to hold stands side by side.
Three dimenstions of connectors are provided (3cm, 5cm, 10cm). The 3cm
Connector is recommend to attach stands side by side without any gap between
the Volcas.
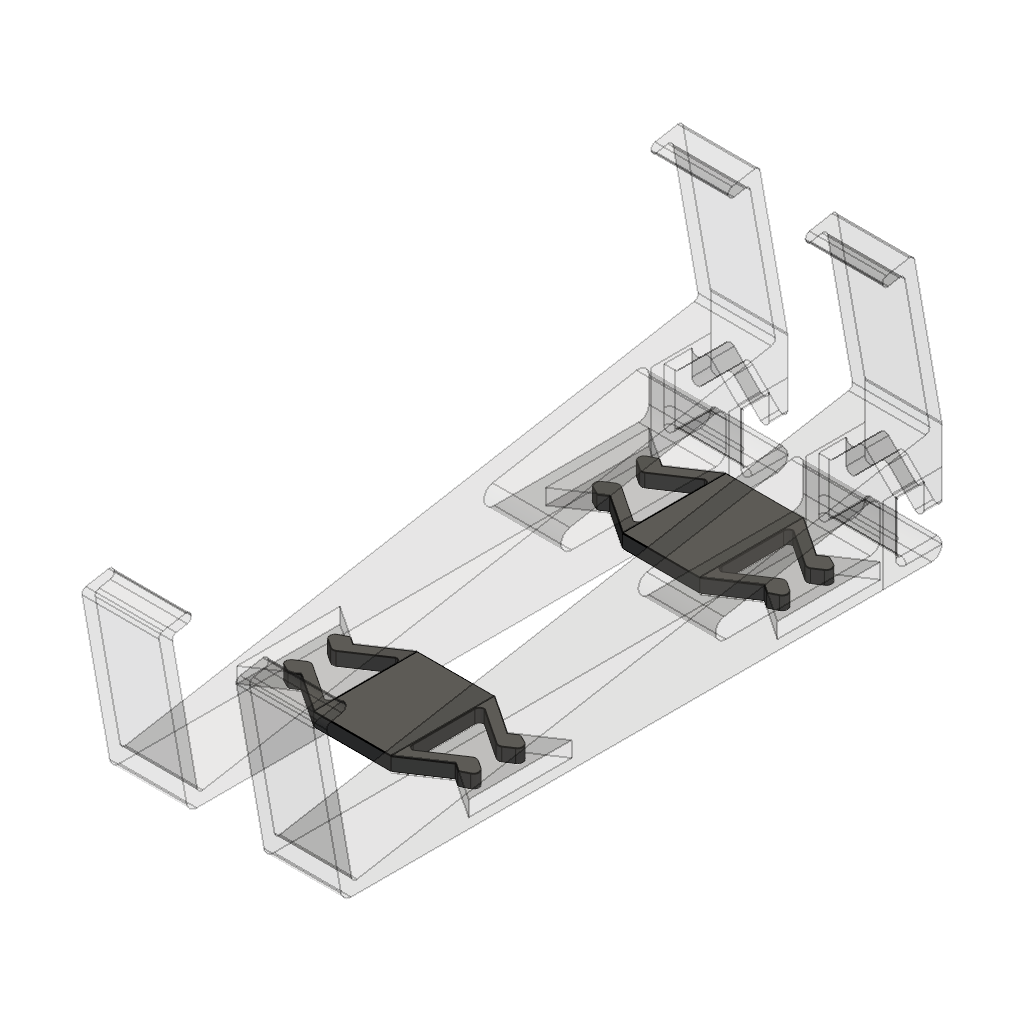
Key
Key parts are small tapered pieces press fitted in hook connections to secure
them in place. When attached, A-stand parts use one key while B-stand use
two keys.

3D Printing Instructions
The parts are designed to be printed flat on the print bed, without any support. The recommended layer height is 0.2mm. You can experiment with different layer height for faster printing, however keep in mind the tolerances for interconnecting parts.
Most of the parts work by pair, so you can always print 2 of the A-stand, 2 of the B-stand, 2 of the Square, and 2 of the connectors.