When designing a hardware synth, controller, or any other little noise making gadget, the enclosure isn’t just the shell. The tactile feel, the weight, the finish, the color, all these things live between function and aesthetic, turning an object into something we actually want to touch and use. That’s why we love hardware synths.
For the PGB-1, the custom case is a major element for our vision of the ultimate pocket instrument: extremely compact, durable, and reliable. We were also looking for a premium tractile feel for the buttons. The best feeling we could achieve combines precise and clicky “mechanical” push buttons with a top rubber cover. Together they provide a bouncy touch with a nice and subtle mechanical and audio feedback. The push buttons are off the shelf parts, but the rubber cover required a custom design.
We recently wrapped up production of the first batch of PGB-1, and we partnered with PCBway for the production of three mechanical parts: CNC machined aluminum for the main housing, a plastic variant for an alternate version (lighter, cheaper, but still solid), and the rubber keypad.
A name you probably already know if you’ve been in the DIY electronics world. While they’re often associated with PCBs (the name is a dead giveaway), PCBWay also offers high-quality manufacturing of mechanical parts through various processes: CNC machining, sheet metal fabrication, 3D printing, and injection molding.
A Real Collaboration
One of the things that we appreciated working with PCBWay was how collaborative the process felt. It wasn’t just a “submit your CAD files and pray” kind of situation. The process of injection molding (plastic for the case, silicone for the keypad) is quite stressful. There is a high upfront cost in making the mold, and any major error results in a big waste of time and money (that we could not afford given the tight budget). So in this process in particular, the back and forth was really appreciated. One of the points to discuss was the location of the material inlet.
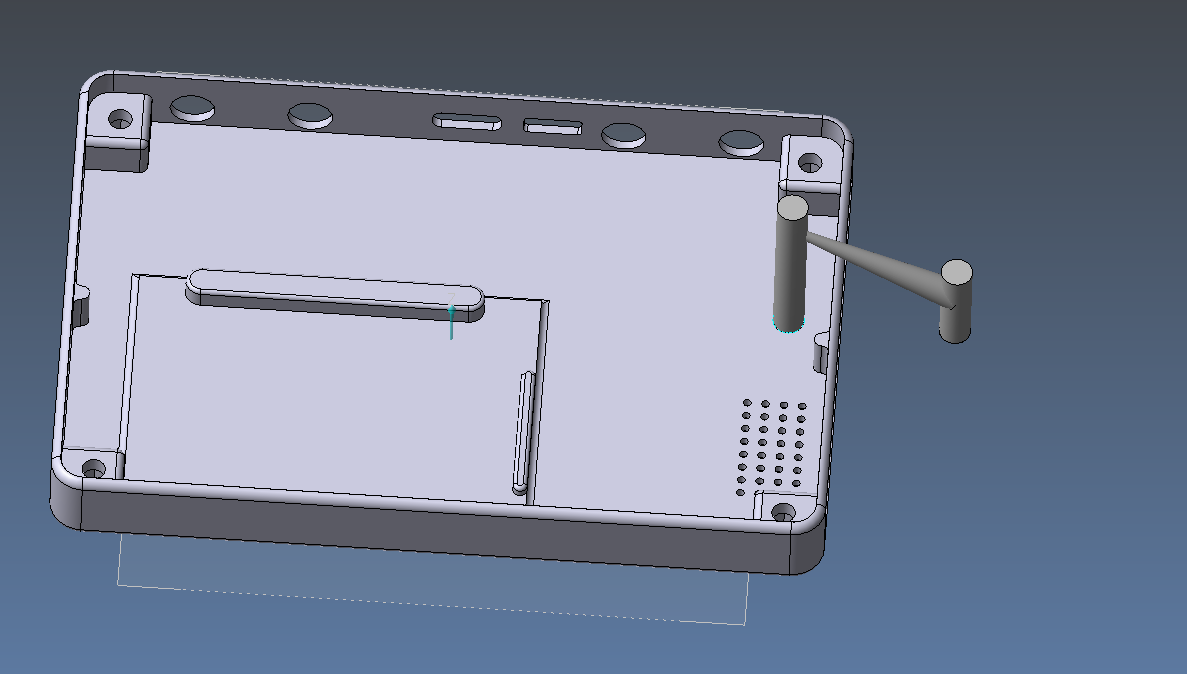
We only provided a 3d model for the case without context, and therefore it was not clear how the part would be used. Something we can improve on our side for next time, is to provide a document alongside the 3D model to specify the user facing part of the model. Or even suggest possible locations for the inlet.
Prototyping
Prototyping is still a mandatory step to lower the risks. With plastic injection molding, 3D printing is a good prototyping option with very similar results to the end product. We can recommend the Nylon HP-PA-12 process, it yields very good looking results without much of the usual 3D printing artefacts. For silicone injection molding, another process called vacuum casting can be used for prototyping. It’s not as cheap as 3D printing, but it’s the best option for flexible/rubber parts.
Give it try
As part of our partnership with PCBway we are happy to announce that every PGB-1 from the first batch includes a $10 coupon for you to try PCBway services. We live in a truly amazing time where the combination of free and open-source software such as Kicad, FreeCAD, Inkscape, and easily accessible manufacturing services enables everyone to design and make premium products, just like we did with the PGB-1.
As always, if you have any questions on this topic or anything else, please join the Wee Noise Makers Discord Server.
